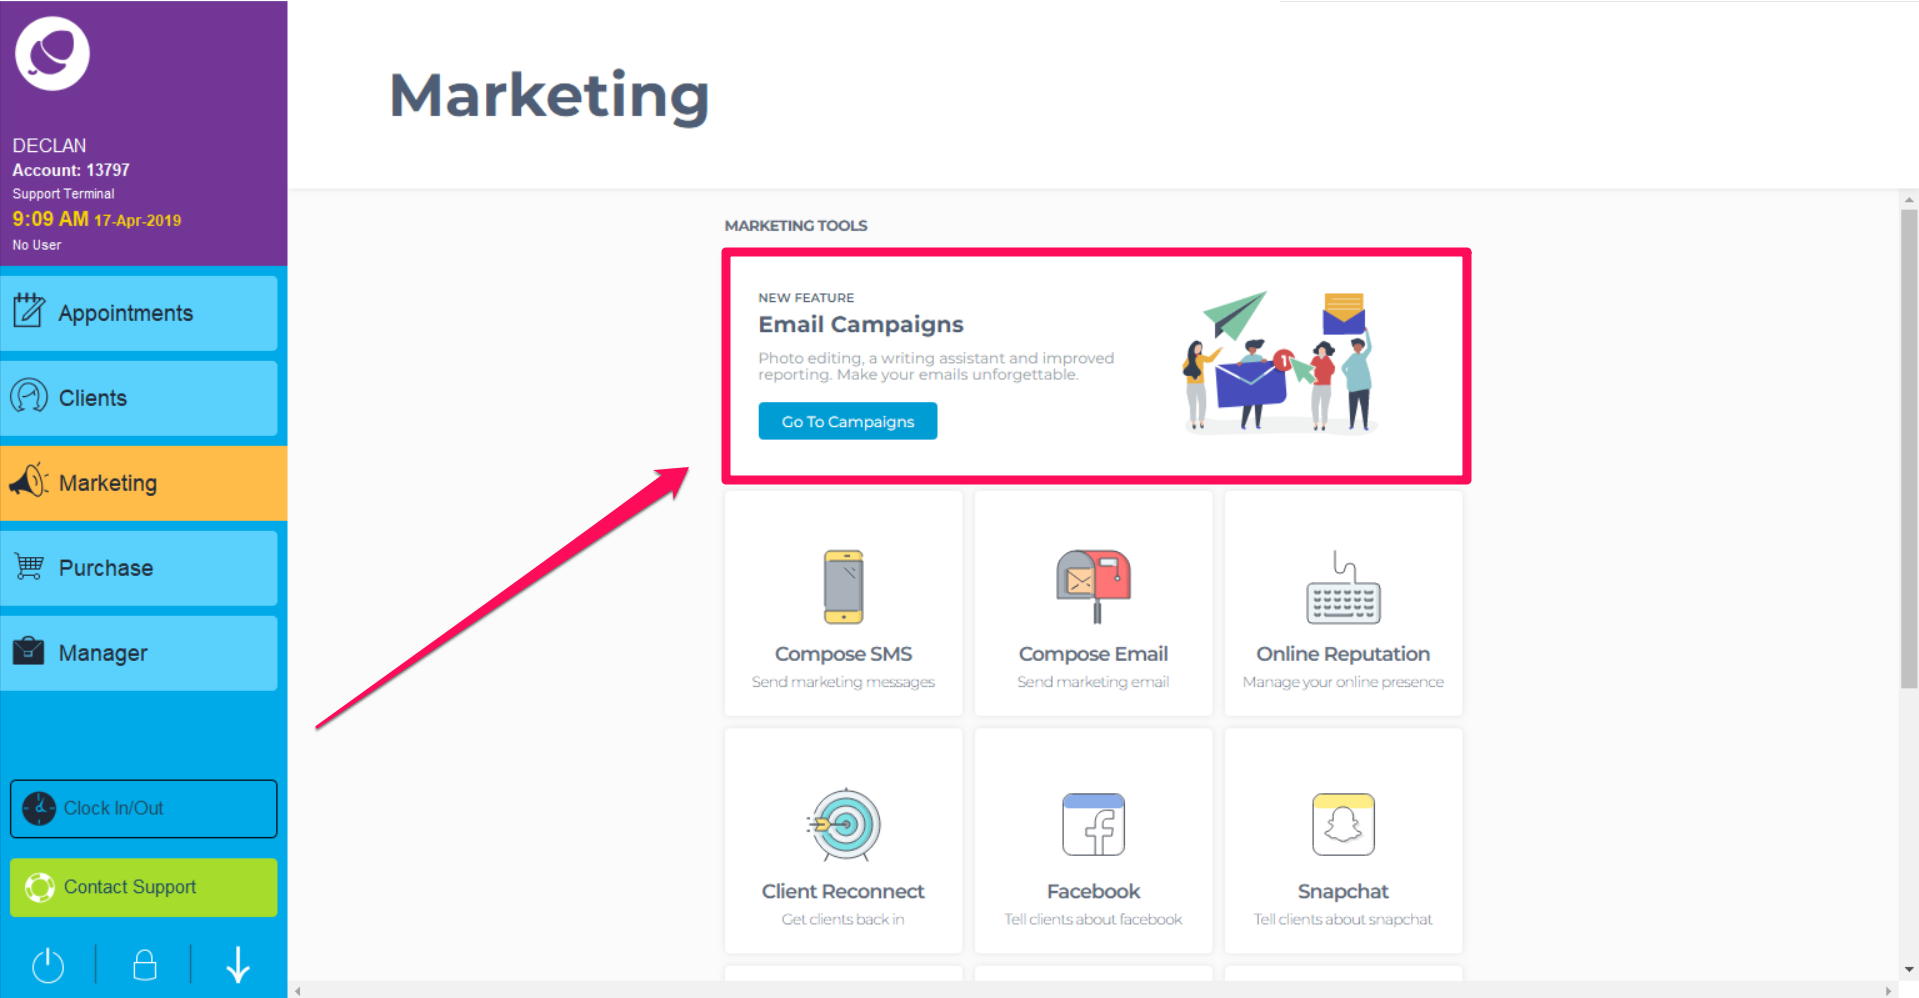
To access the advance Image Editor, go to Marketing and click the Go To Campaigns button at the top of the screen.
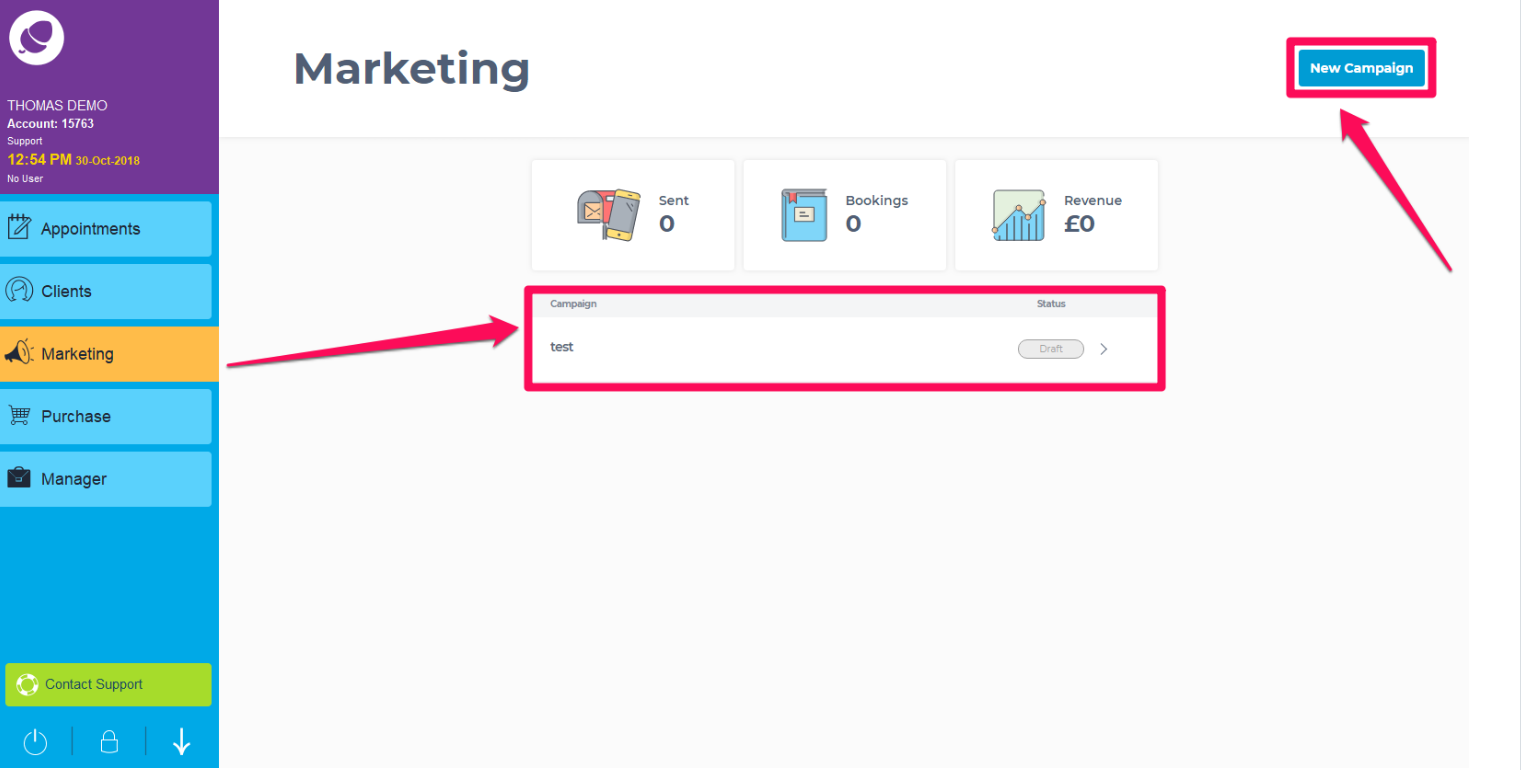
On this screen, you will see any Draft Campaigns you have created. In the top right-hand corner is the option to create a New campaign. Click here to start creating your email campaign.
On this screen give the campaign a name and enter a subject line. Next click Create Your Own to create a new email.

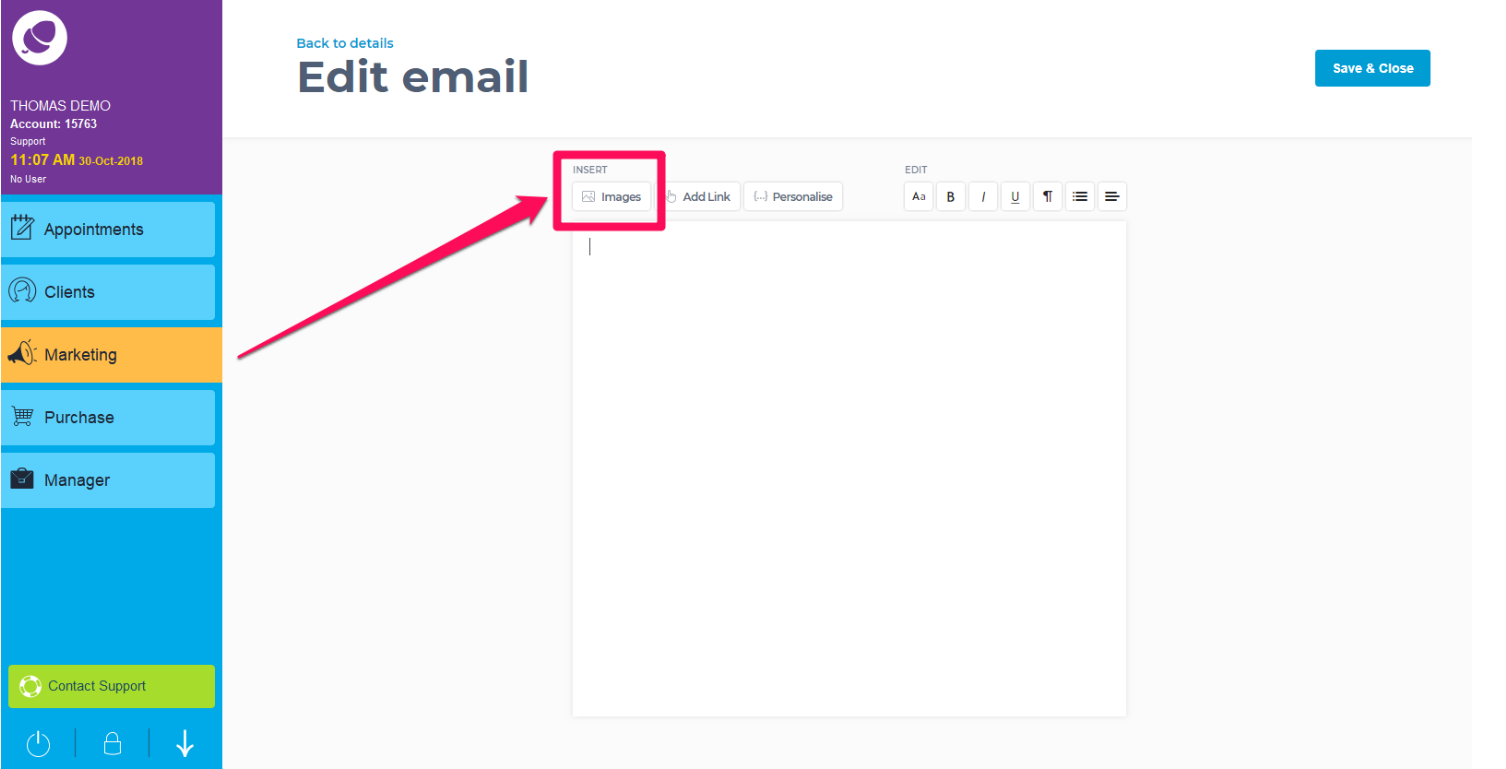
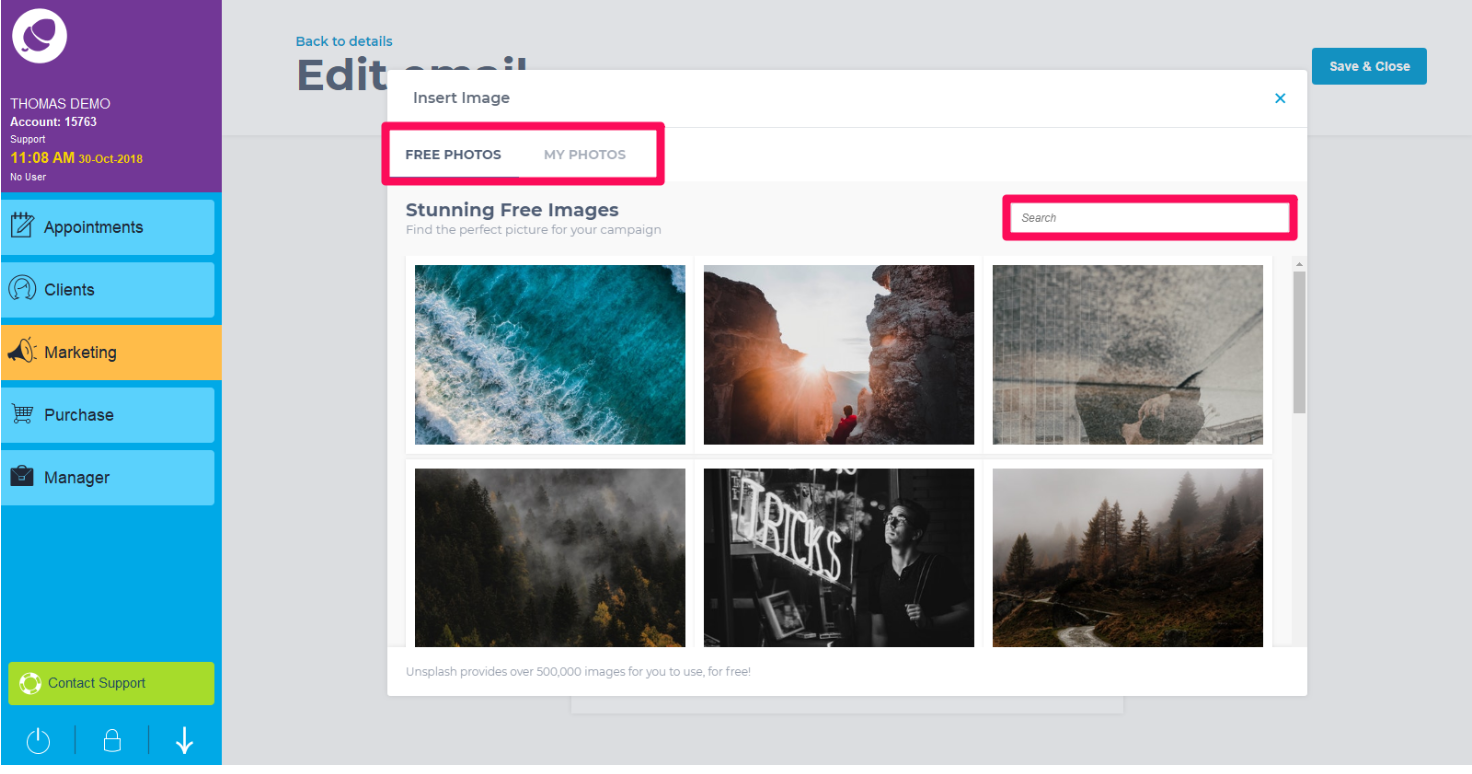
This will direct you to a blank email screen where you can begin to personalize your email campaign with images by selecting the Images button.
On this screen, insert images from the Free Photo section where there is an image database of over 500,000 free, high-quality images. Alternatively, upload an image from your PC by clicking My Photos.
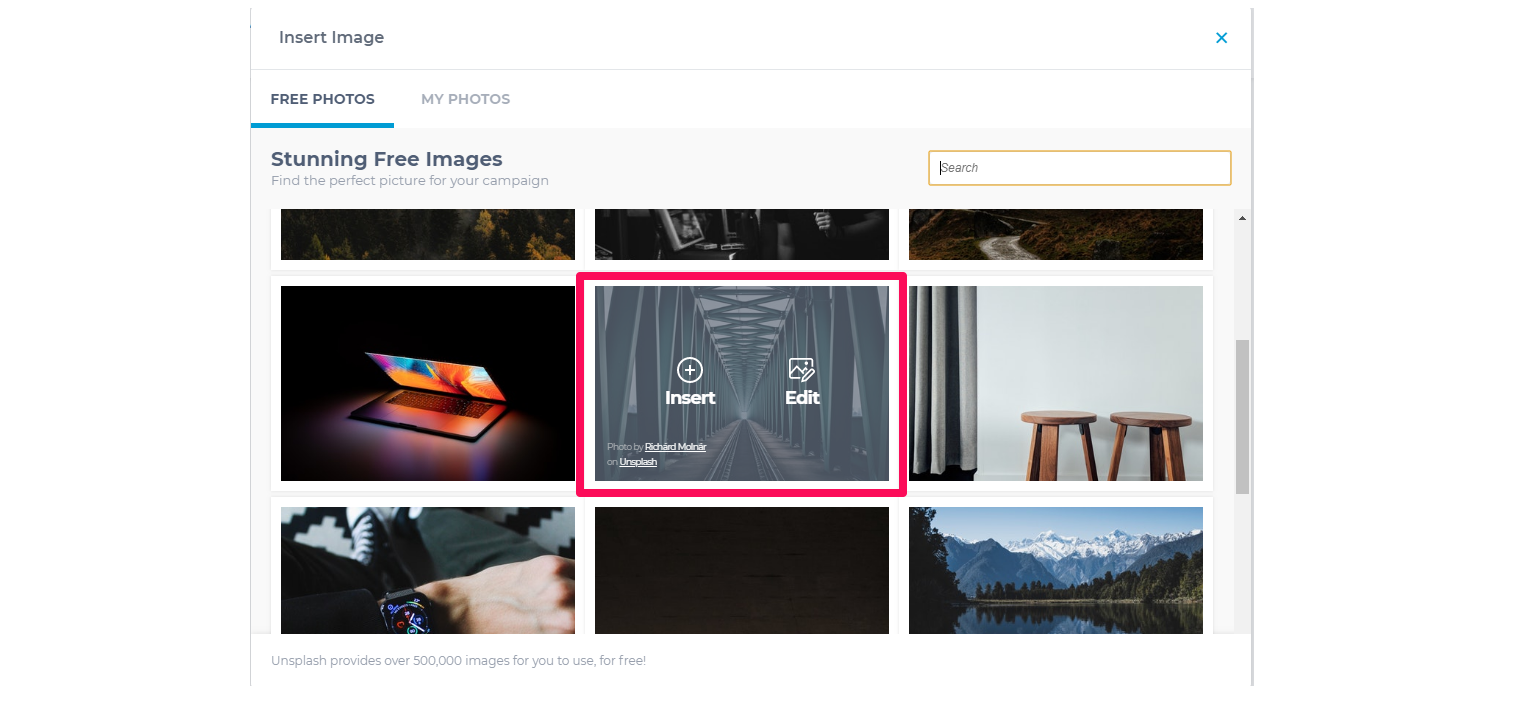
Select the image to add to the email campaign. There is an option to Insert the image or Edit the image.
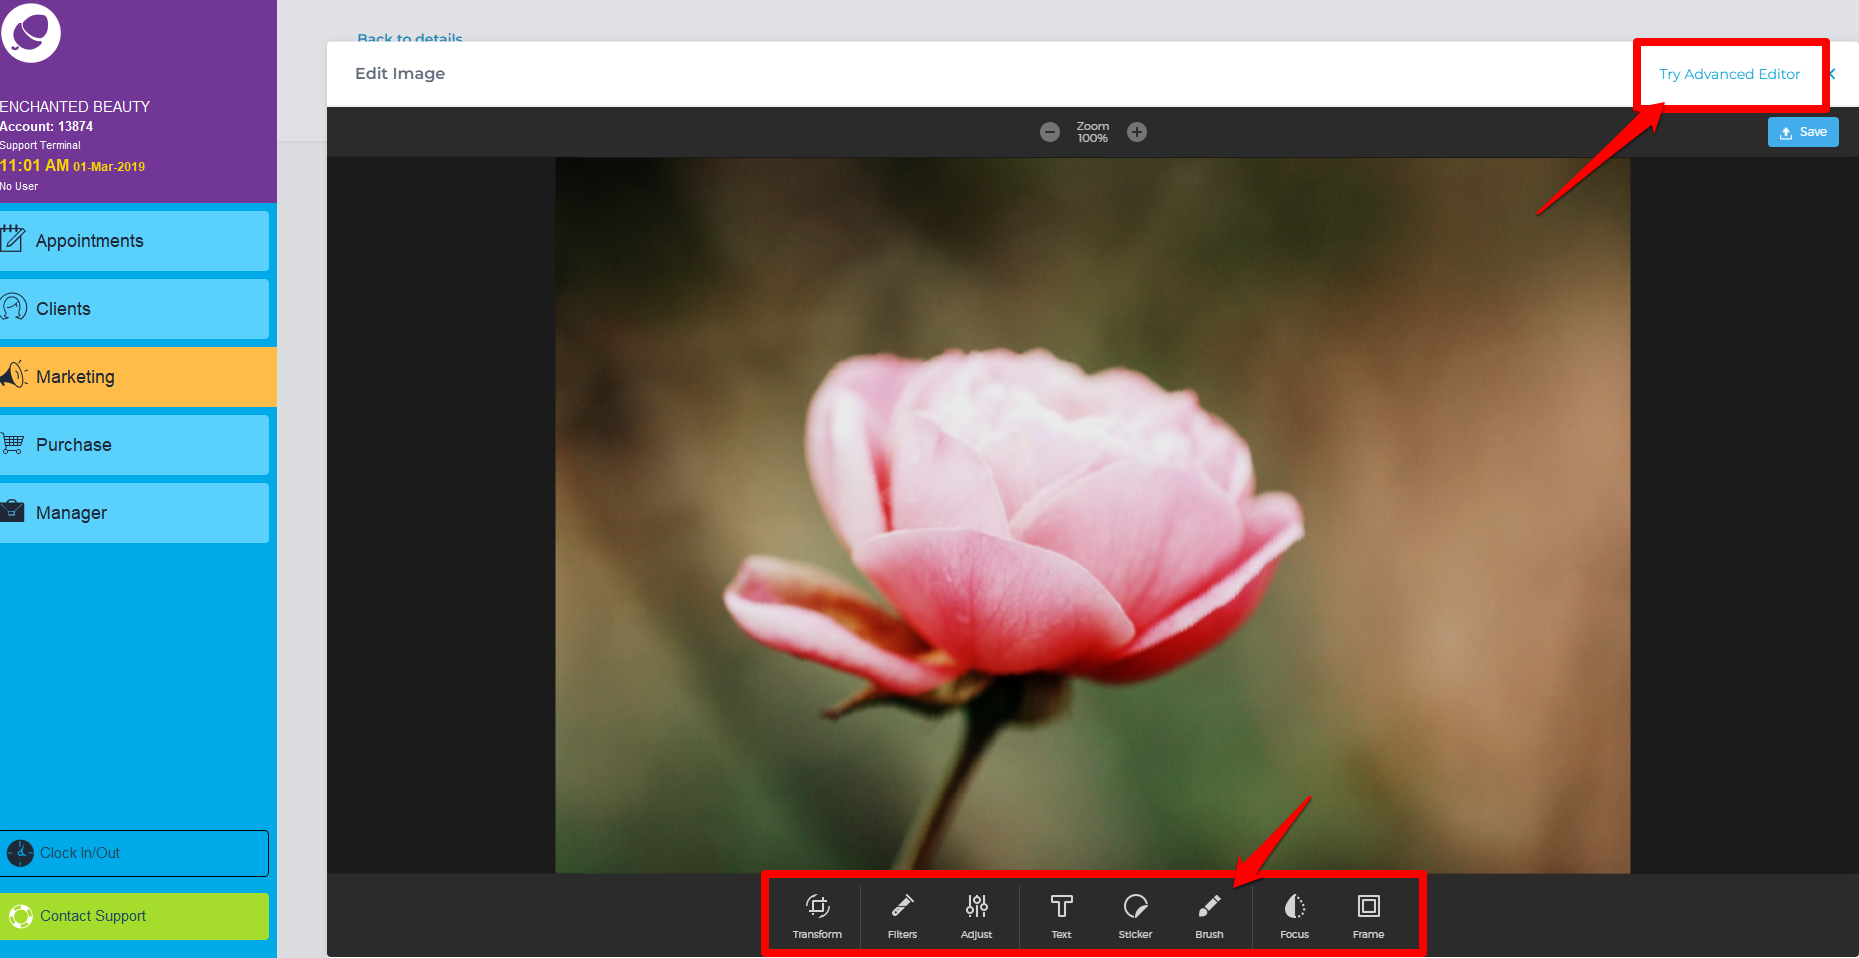
Click on Edit, to open the basic Image Editor. The Image Editor allows to manipulate the chosen image with features including Filters, Adjustments, Text & Stickers. Click the Save button in the top right-hand side or alternatively use our Advanced Editor.
In the Advanced Editor, there is a wider range of text templates, filters, borders, and photo adjustments to use. Below is an chosen example a text format and written the content in the box that will show. Click on the Tick when happy with your text.
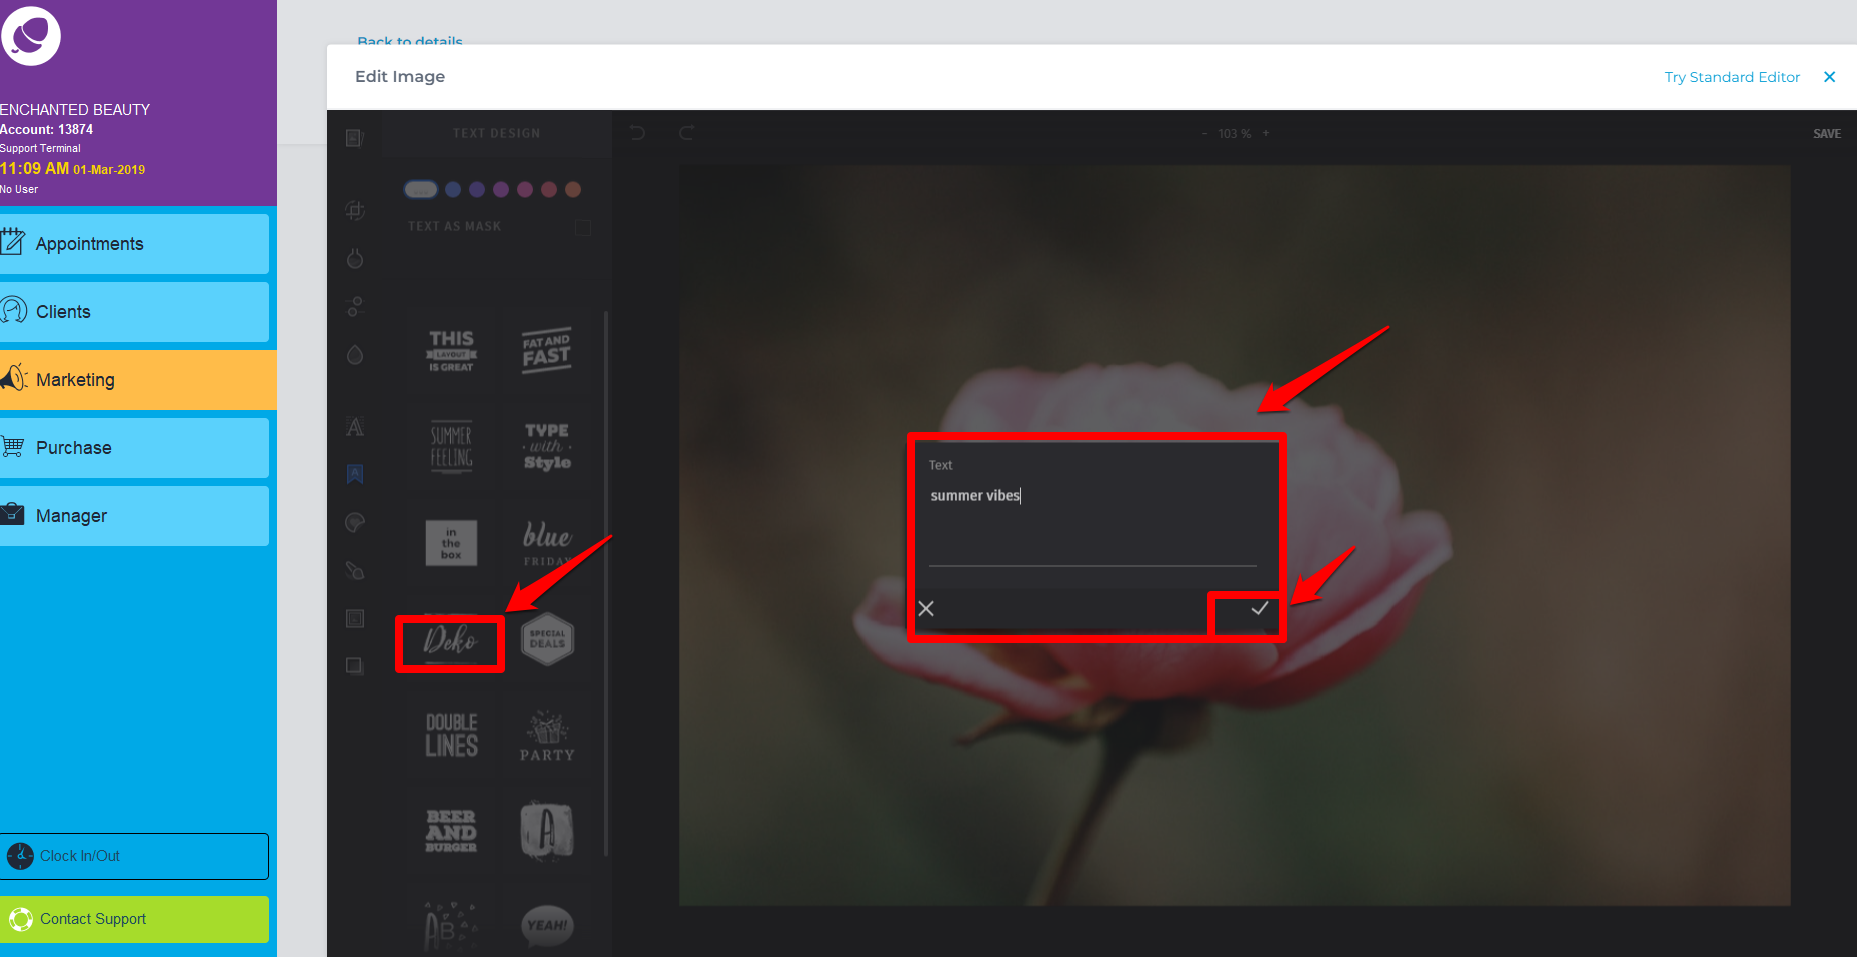
The text can be located in the desired area by dragging with your mouse. Change the format of this text by clicking on the arrows that show in the text box highlighted on the left-hand side of the screen.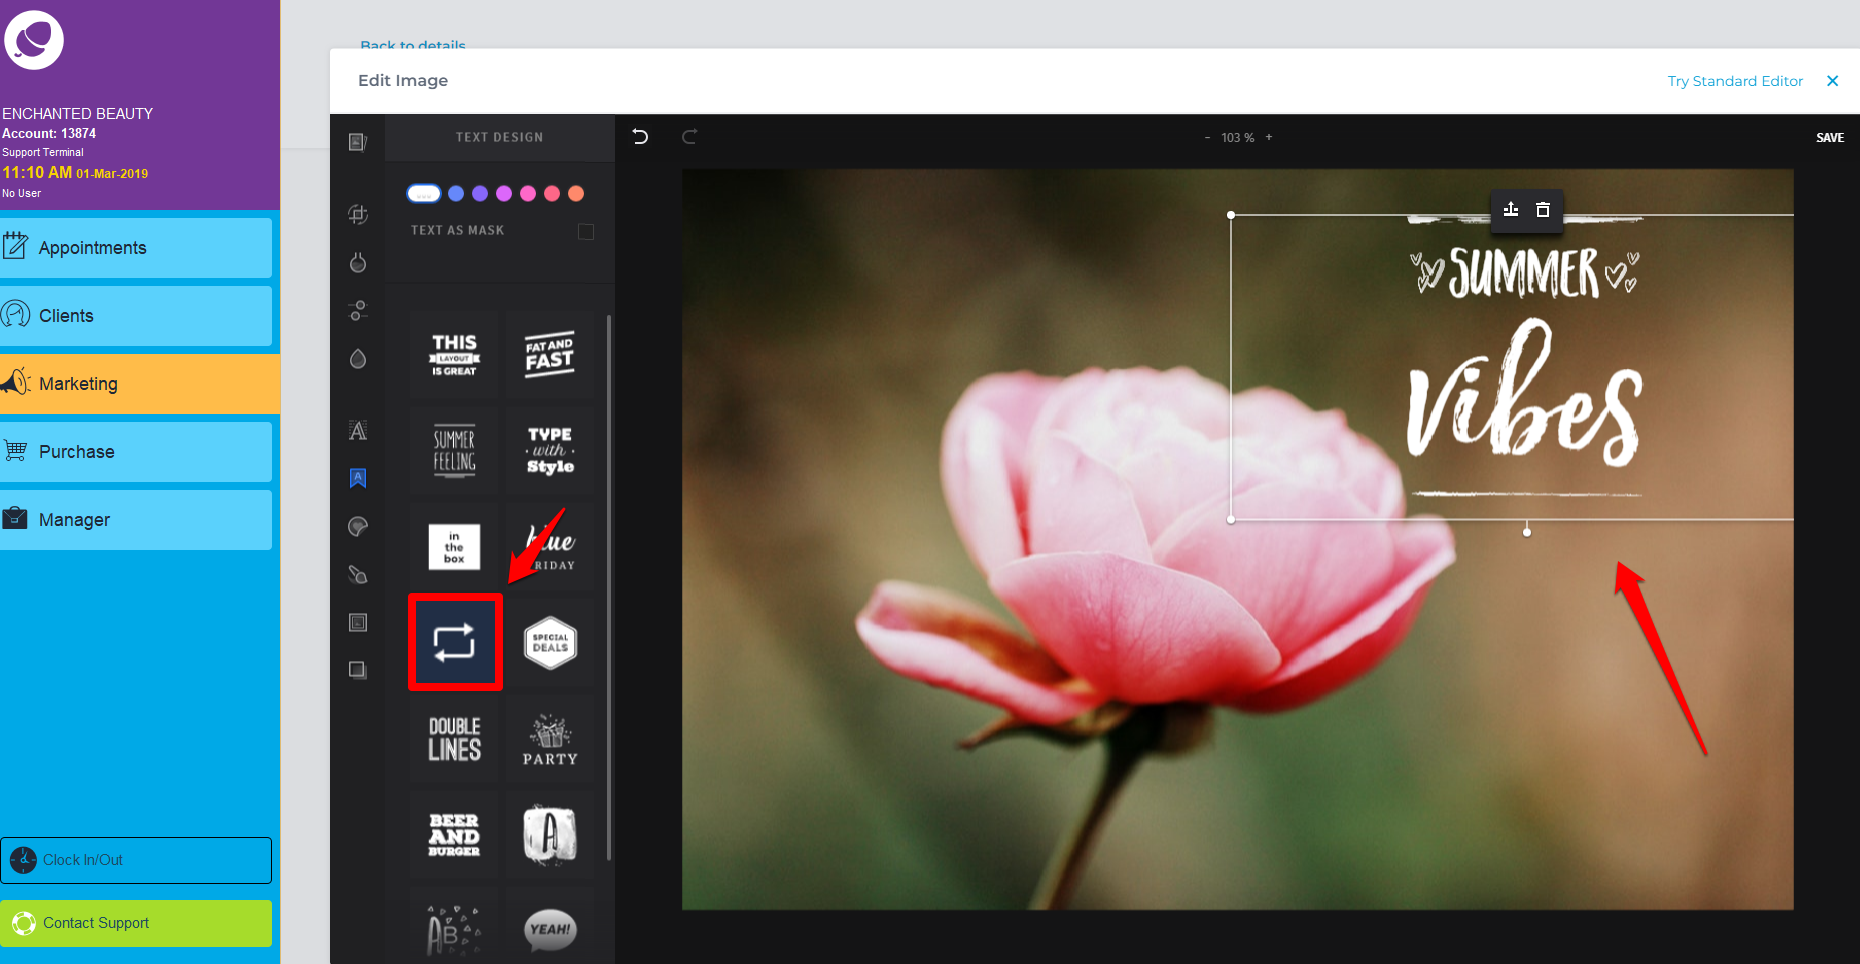
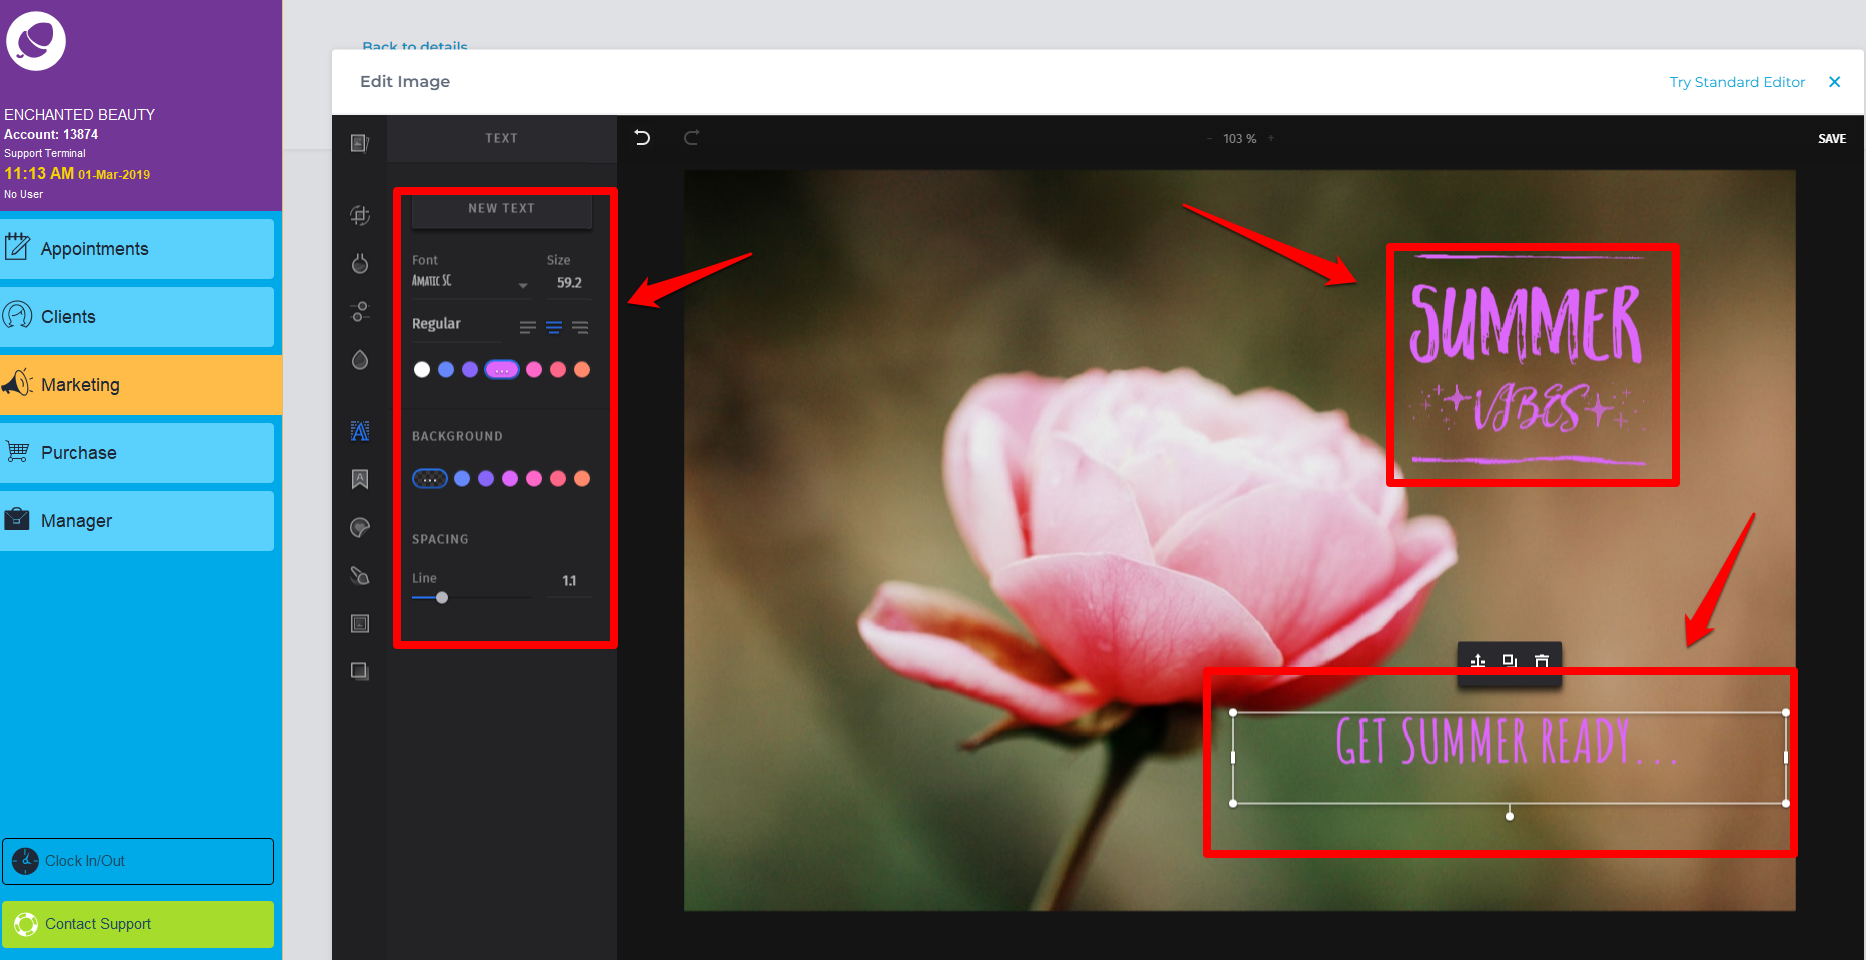
To add additional text, click on text on the left-hand side of screen and text box will appear. Choose your content, font, colour, and size.
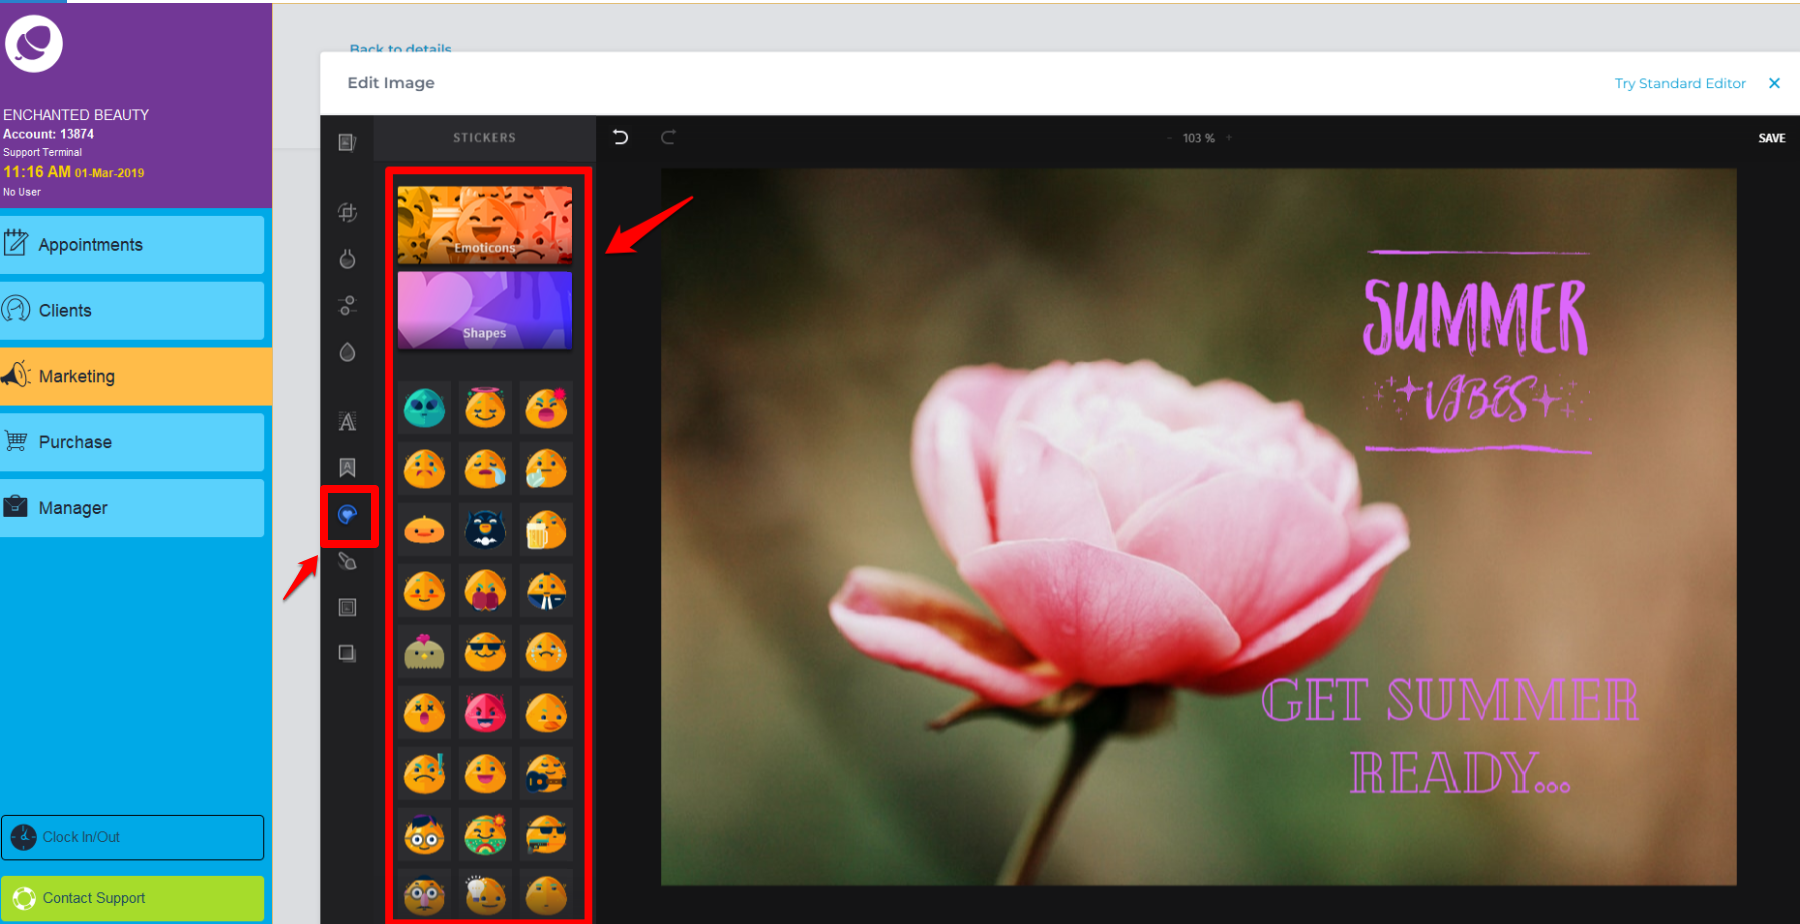
Along the left-hand side of the screen highlighted, choose an emoji to insert into the photo.
To choose a Frame for the photo, click on the option highlighted to see all frame options.
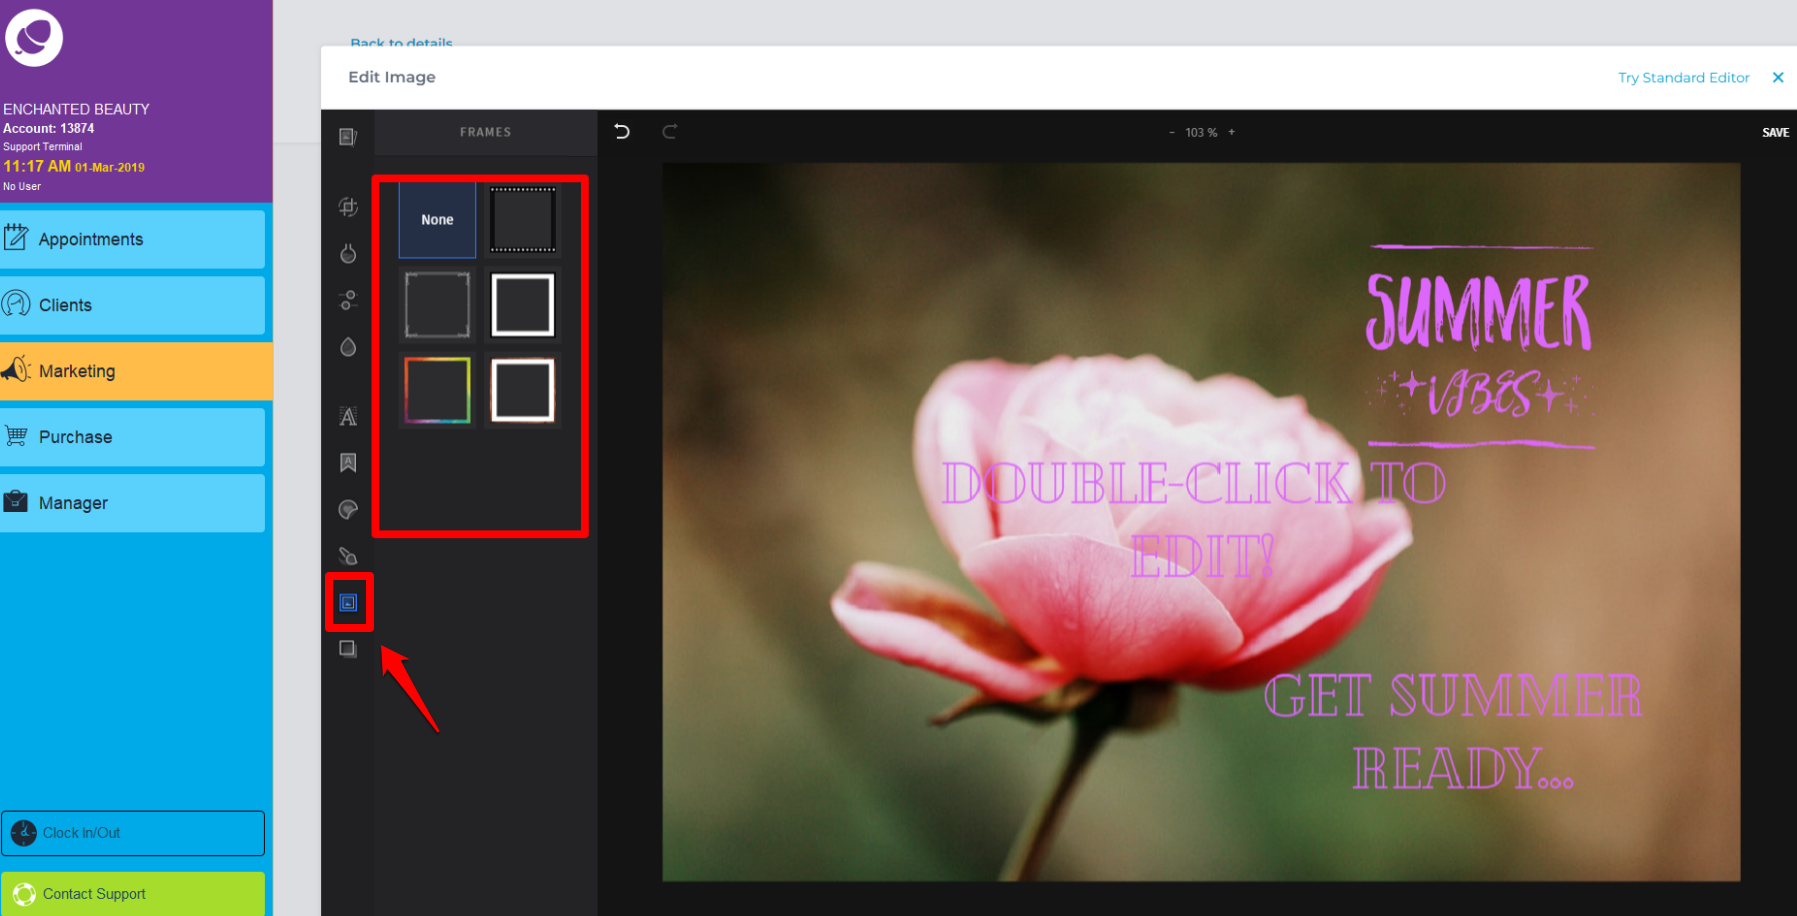
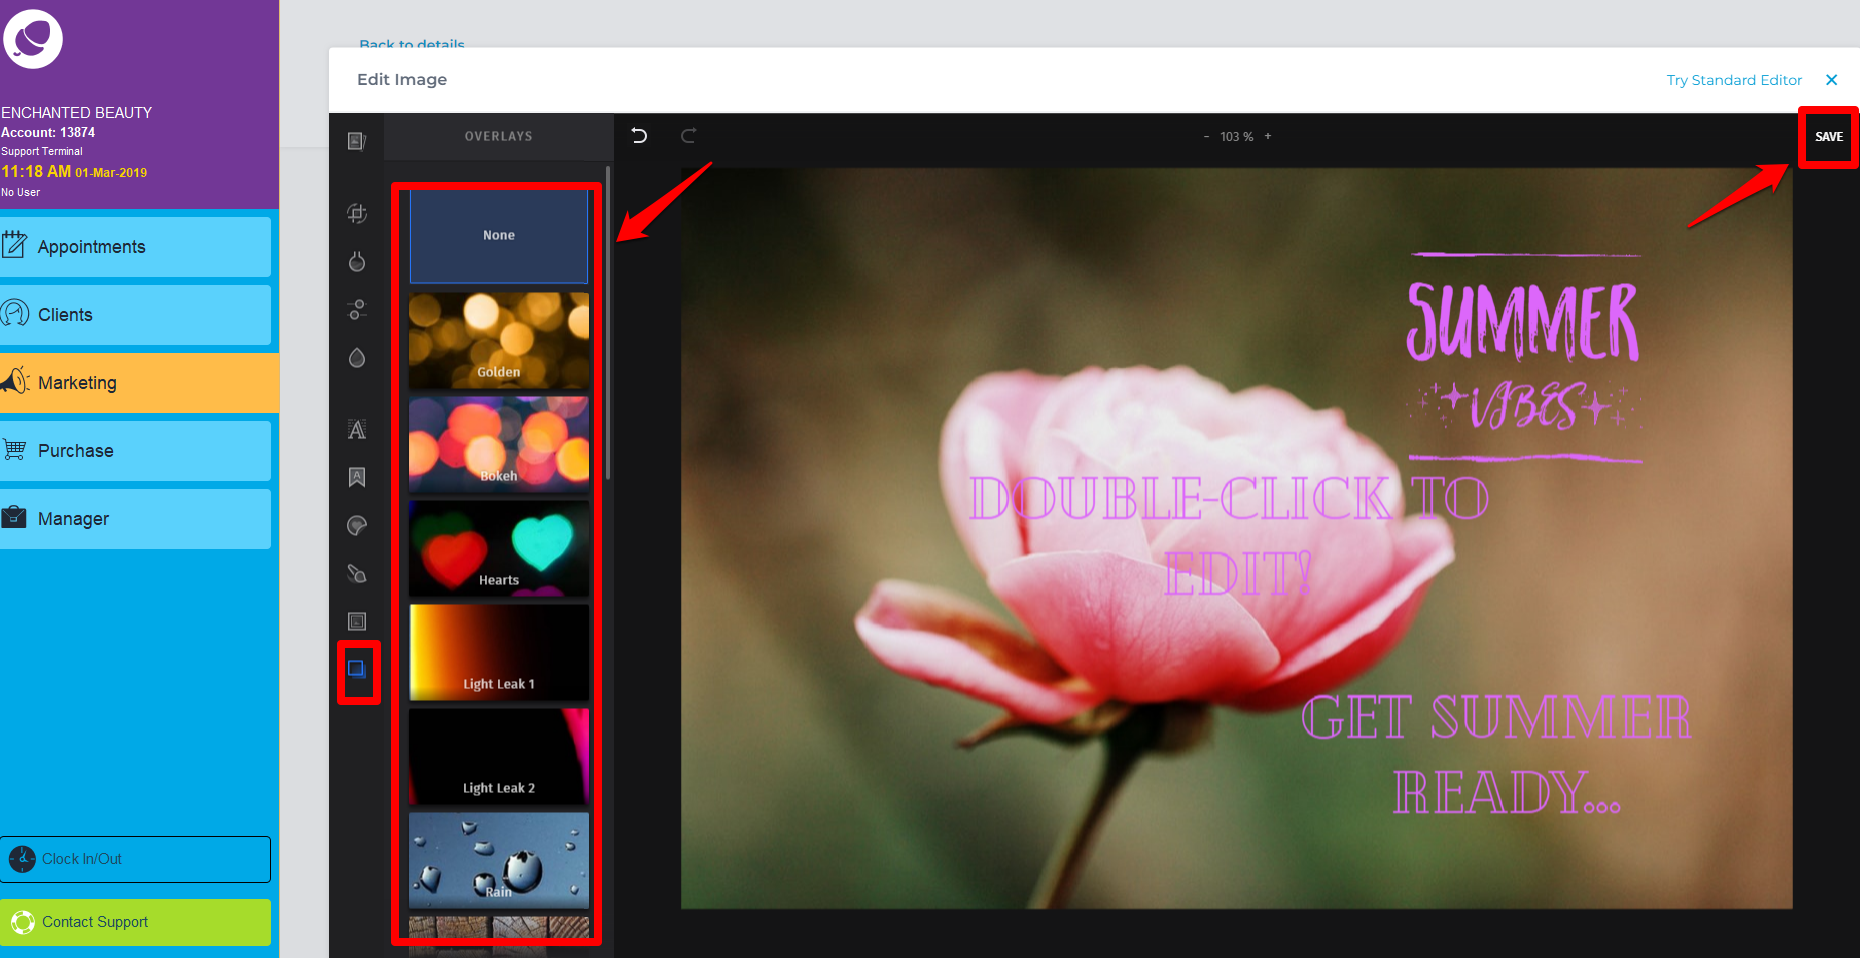
To chose an Overlay for the photo, click on the option highlighted and you can see the options for overlays. Once happy with the editing, click Save.
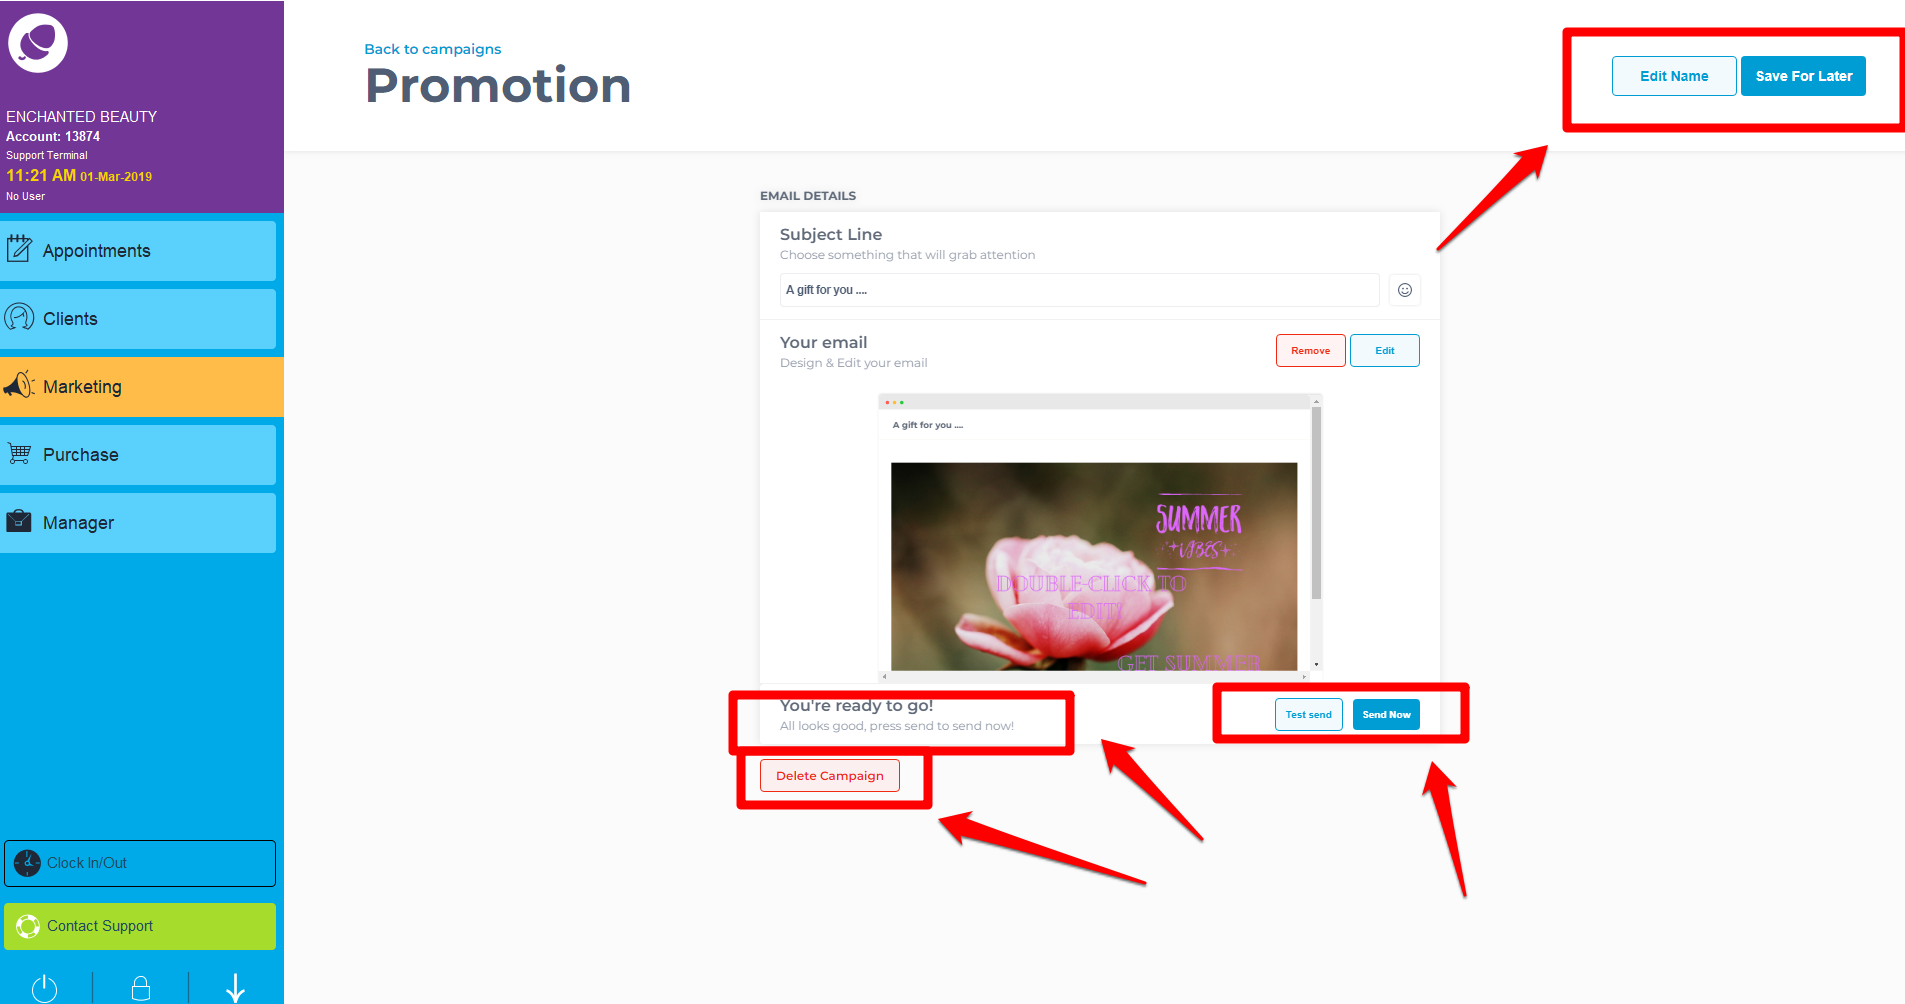
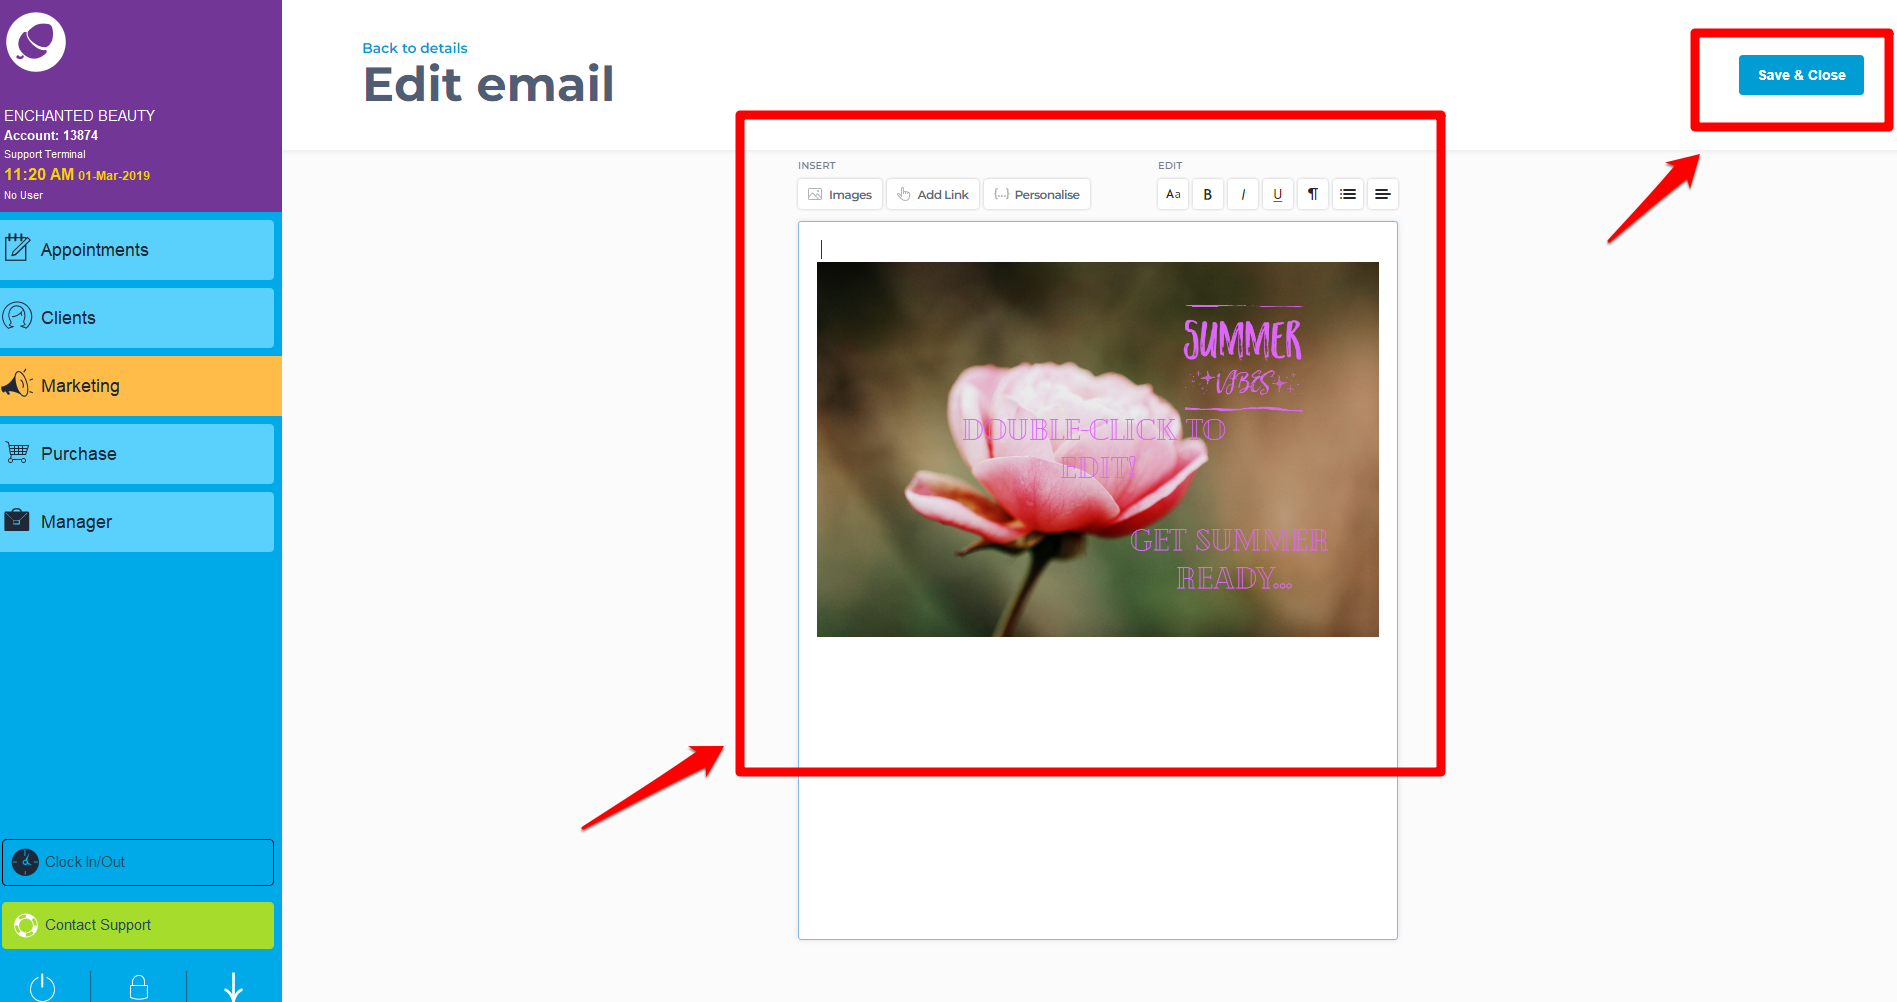
The new edited image will now drop into your email. Click Save & Close to save this email.
In this section, a test email can be sent to yourself to make sure you are happy with how it looks. Send Now will move to the next step to send to all your clients. Click Save for Later and send at a more suitable time or more edits it later.