If you want to add a product to a client's bill when they arrive but pay for it later - this is how you go about it.
This is also called Putting a Sale on Hold
Step-by-step guide
- Click on the appointment and click Pay
- Scan in the product or products you want to add to the bill
- Before completing the sale, (Do not pay!) click away to another section of the software - e.g. the appointment screen
- Your purchases will now be saved for later.
There are two ways retrieve your items later:
Method 1: You can either choose to pay the appointment as normal, and your product purchases will be automatically added.
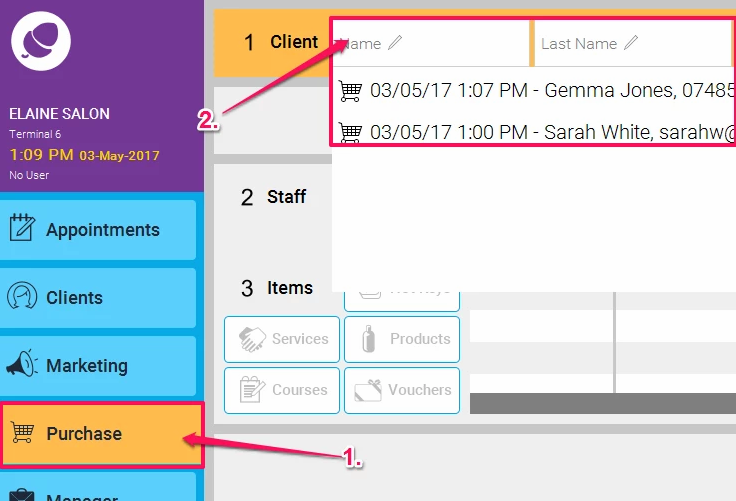
Method 2: Click Purchase, (as shown in point 1. below) and in the Purchase screen, by default your cursor should be flashing in the Name field. Now click on the Down Arrow on your keyboard, and all of today's saved sales will be shown in a drop down list with basket icons next to them (as in point 2. below)

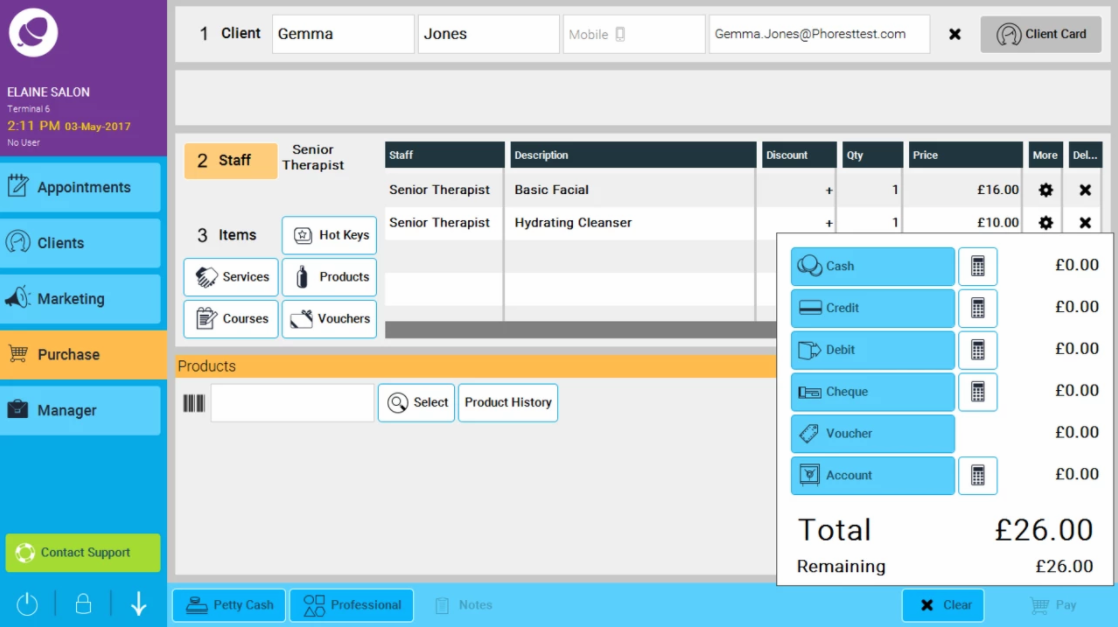
Scroll down to the one you wish to pay and press enter, or click on it. You can now add or remove items, apply discounts etc and pay as normal.

NOTE: it is also possible to view your saved transactions on ANY terminal within a branch. Lets look at an example.
We can choose to add a product on one terminal, but we can then later pay it off on a different terminal and even add more products to it.
Here is a step by step guide:
1. Go to the purchase screen following the above instructions, and add a purchase which you are going to save for later on one terminal
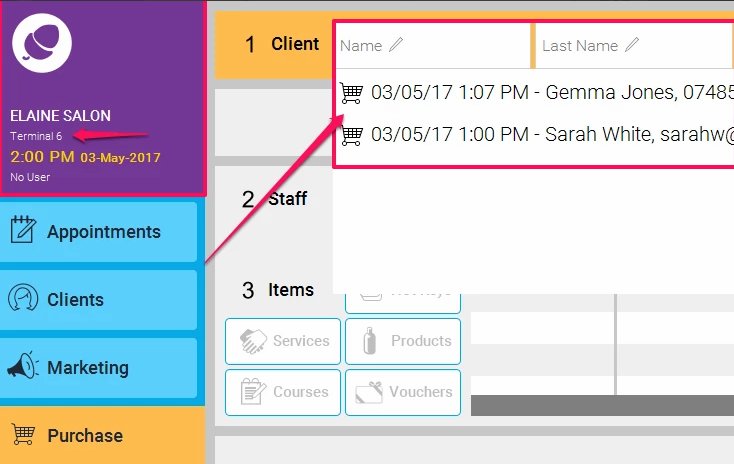
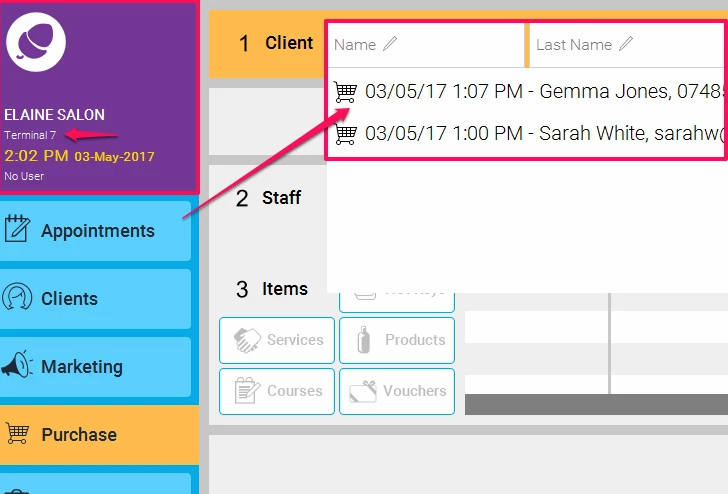
2. Now go to a different terminal, and click on Purchase, and then click on the down arrow in the name field, and you should see exactly the same information, so you can view the same basket from any terminal, and pay it off. ( As illustrated below, the same purchases can be seen on 2 separate terminals)
|
|
|---|

