The Following are instructions to set up a Maxatec receipt printer with Phorest Cloud.
Quick Version: Download the drivers and virtual port utility, extract them and run the auto installer. While installing the VirtualCOM port, select USB / POS printer and select a COM. Open the Phorest software and and go to Manager>Settings>Terminal Settings and select Direct, Maxatec MT-200 and the com you set up previously and click Test, click Save and you are done!
Note: If you have already had the printer installed and it was working in the past, check and see if the Virtual COM tool is running.
Step-by-step guide
- Download the drivers from Here
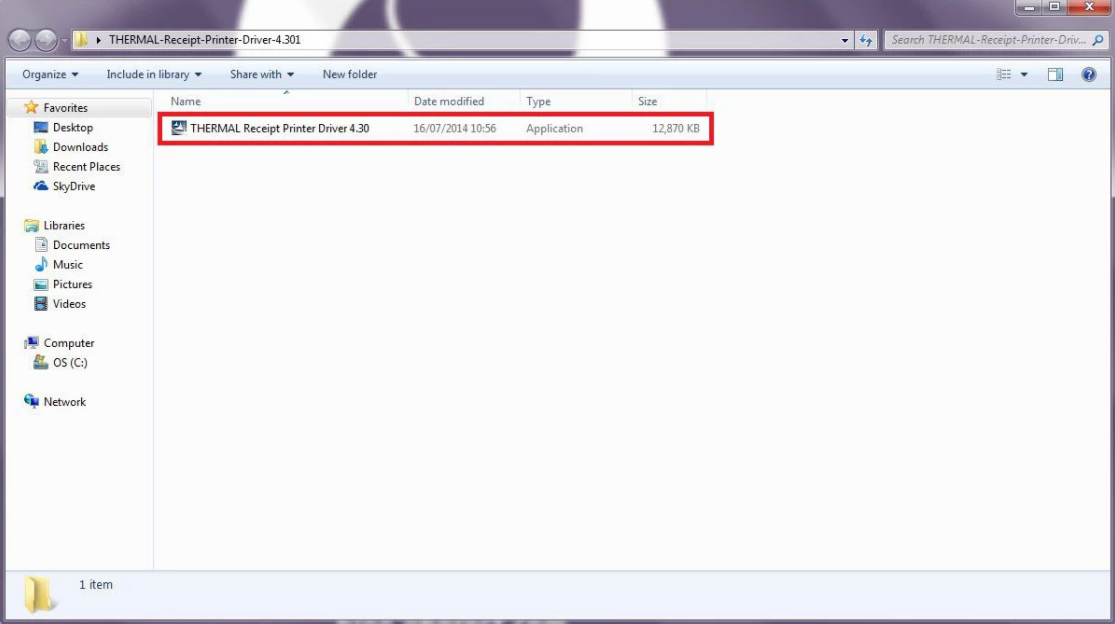
- Extract the files to your desktop, open the folder and double click on the file hi-lighted below.
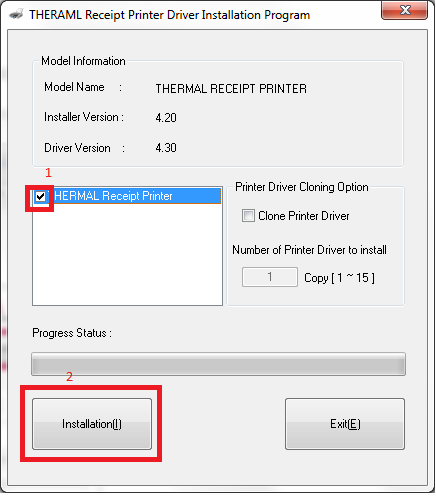
- Check the box for the printer you want to install (1) and the click on install (2).
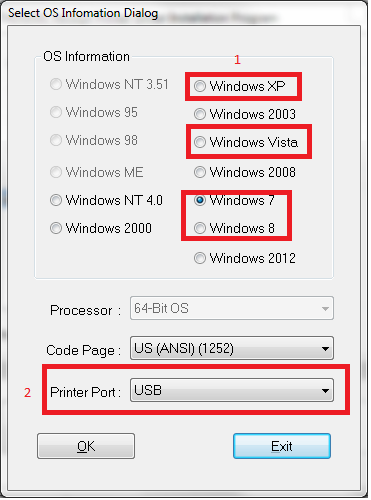
- Next select your operating system (1) and your printer port (2) which should be USB and press OK
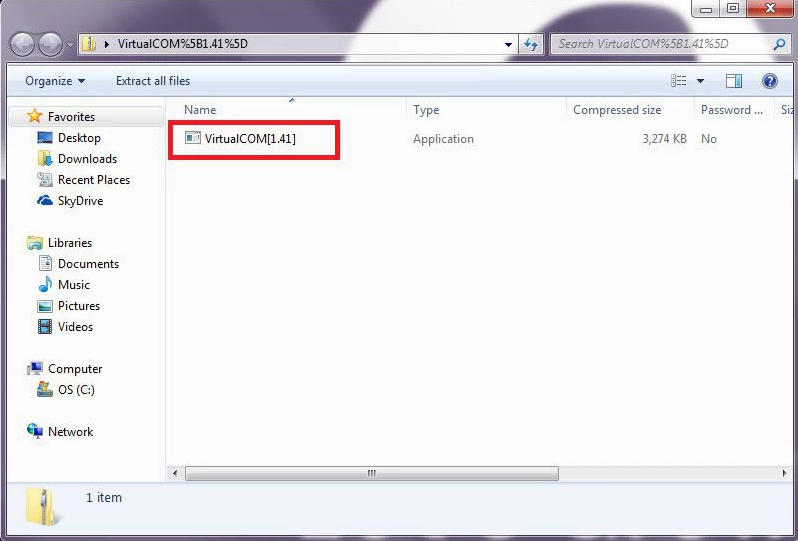
- Next we need to extract VirtualCOM_Driver_1.41 to the desktop and run it.
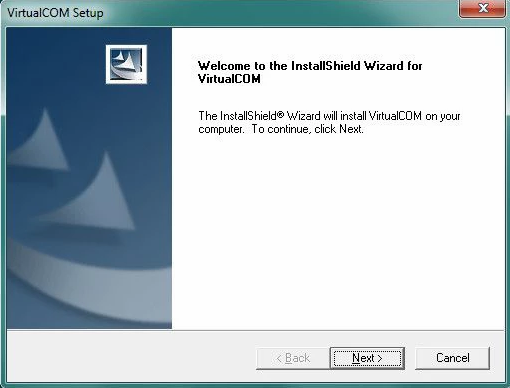
- Run the installation wizard.
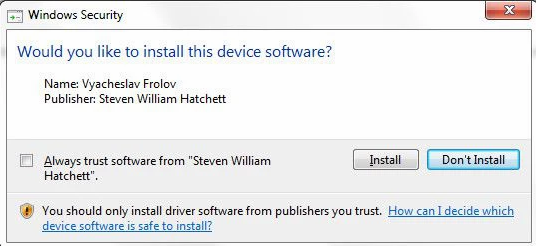
- You will get a prompt with a name that you don’t recognise, just click install as it is part of the installation.
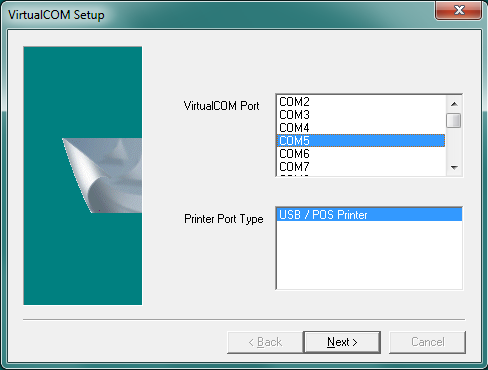
- Next Select a COM port that would not have been used before and highlight USB / POS Printer and click next, it might freeze for a minute which is normal.
- All the drivers a now installed.
- Now go to the Phorest Sofware, click on Manager>Setting>Terminal Settings and set as below, choosing the Com port number you had assigned in the previous step. Set the
purchase receipt mode to On or Optional and click Save.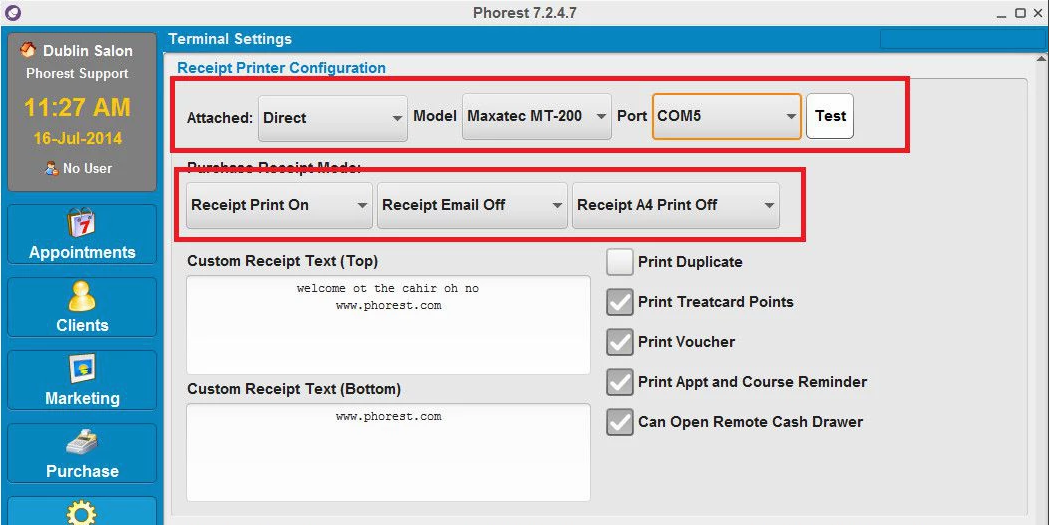
- Done!
