Staff access allows you to block staff members from accessing certain areas of your system that may be sensitive, for example reports, or staff member details. It also allows you to track which staff members are booking or editing appointments, and running the sales through.
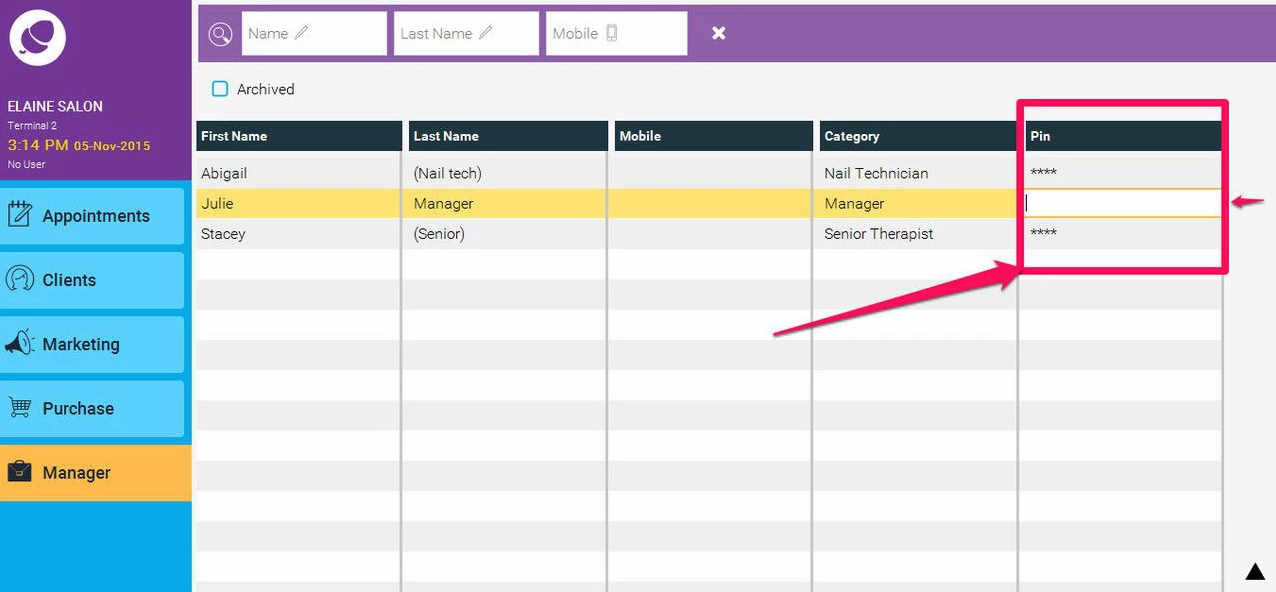
- First give each Staff Member a PIN number by going to Manager and then Staff Members. There are two ways to enter a PIN code.
- Method 1. : Double click in the cell to add a PIN for each Staff Member.
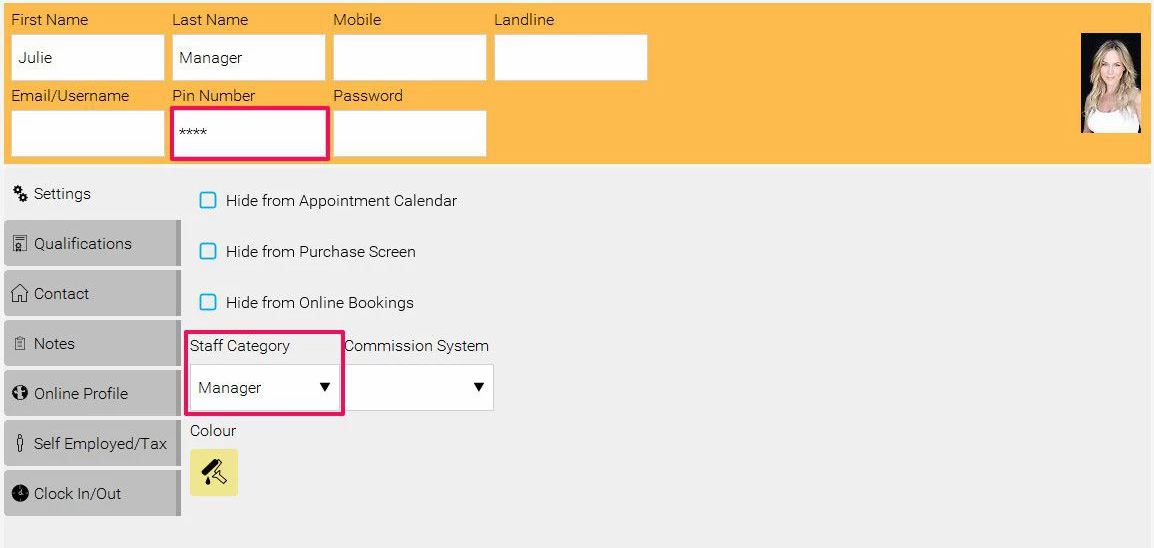
- Method 2.Double Click on a member of staff, and then in the staff member details screen, enter the PIN code in the PIN field. You can also change the staff category in here if necessary.
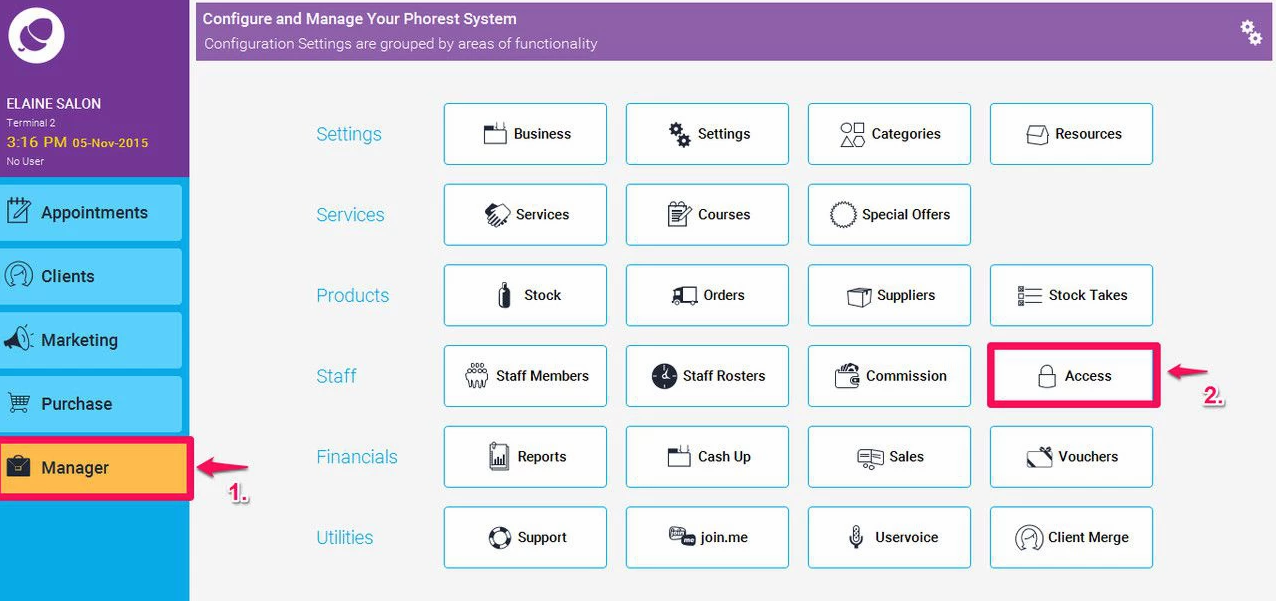
- To Setup the access system, go to Manager then Access
- This brings up a list of sections of the system that you can edit access too.
- First we need to choose the staff category, this means you are assigning a certain level of access to this category. This will then apply to every member of staff associated with this category.
- Select the staff category from the drop down list.
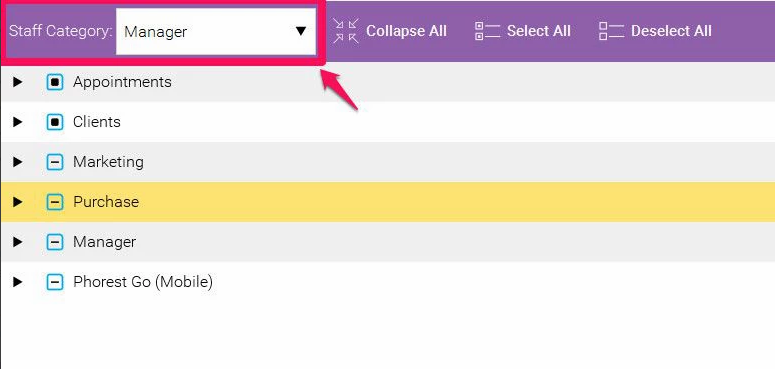
- Once you have chosen this, you can then tick or untick the areas that that particular staff member can and cannot have access to. The Access system is organised based on the sections of the software as they appear on the left hand side of the software. You select the arrow beside the section name to see all the buttons within that section that can be restricted or not. By clicking on the tick box so it has a black square in it indicates that this feature is turned on, and so the user can have access to it. In the example below, the manager category has access to all Appointments features. (as indicated in point 1. in the screen shot below)
- Finally, once you are happy with all of the features you have set, then click the Turn on PIN codes button (as indicated in point 2. of the screen shot below)
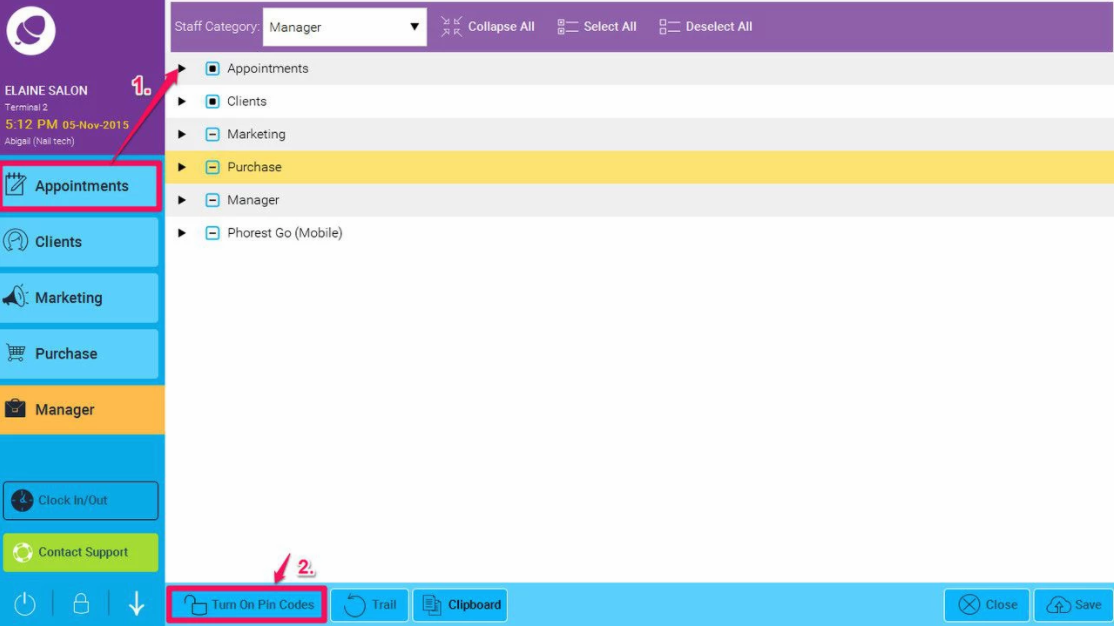
- Click Save.
- Now the staff member must enter their pin number to use the system.
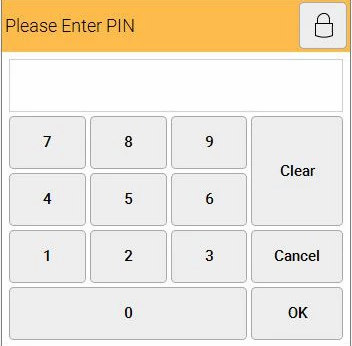
- Once entered you will see their name registered in the top left hand corner screen.

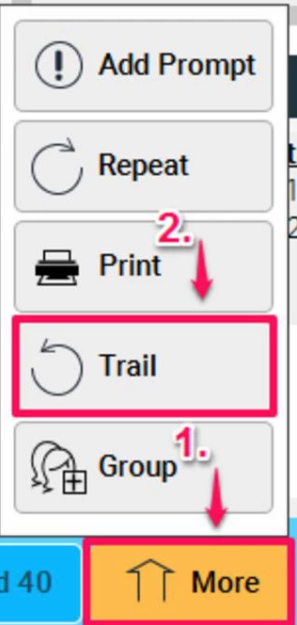
- If the staff member books an appointment you can view this by double clicking on the booking and clicking the More button, followed by the Trail button at the bottom of the screen.
- You will then see all of the details of the booking including the staff member who made the booking (The system can log this information now as the staff member would have had to enter their PIN code to make the booking)
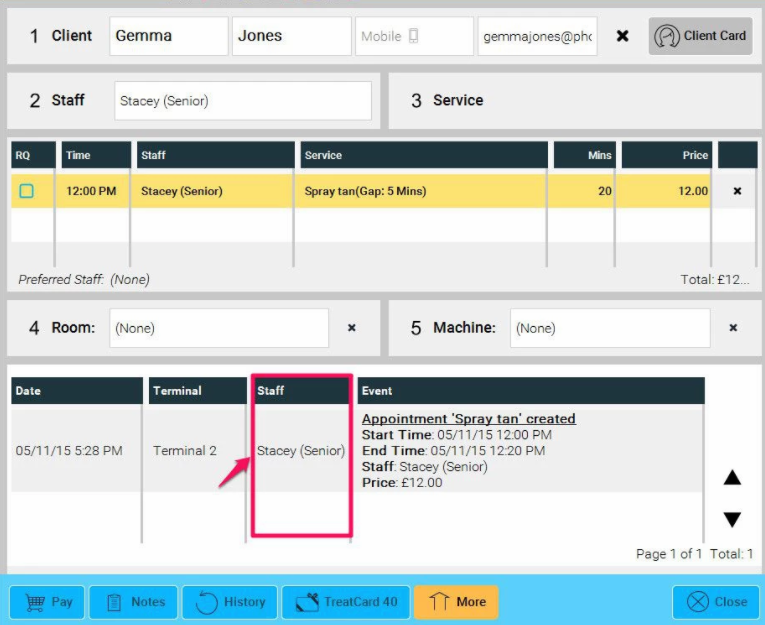
-
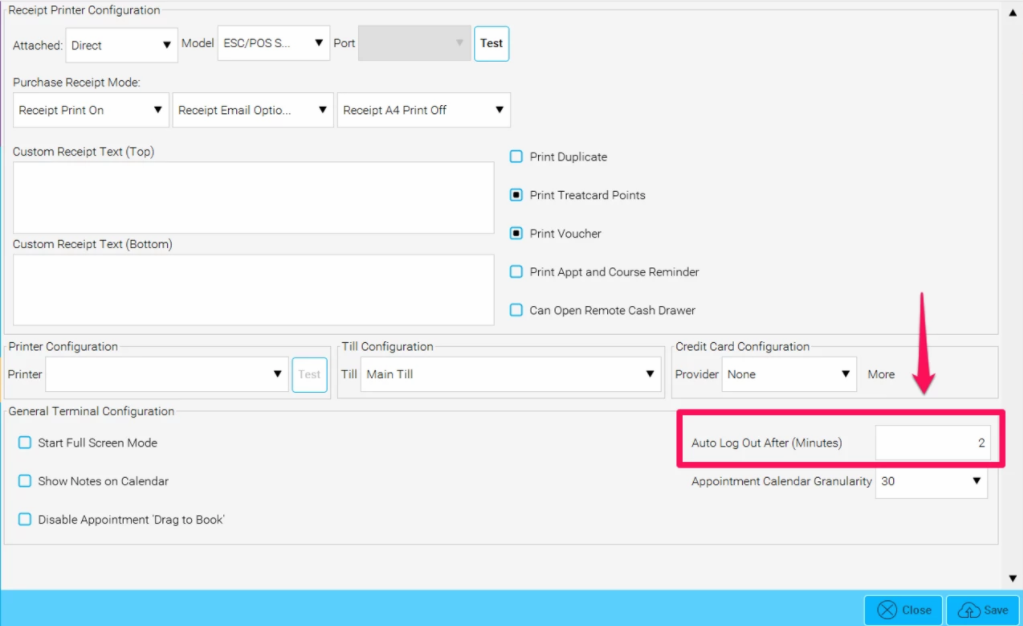
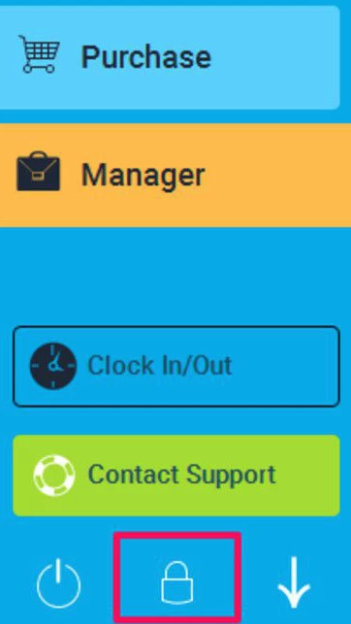
The staff member will be logged out after a time of inactivity which can be set by going to Manager > Settings > Terminal Settings and entering a time in the 'Auto Log Out' field, but they can also log themselves out manually by selecting the lock icon at the bottom of the screen.
To restrict the people who can change Access Levels - click here.
