To learn about more areas like this in your Phorest system enroll in our Phorest Go App series in Phorest Academy - online, on-demand and on-the-go learning for busy salon professional.
Video: Understanding the Client Card on Phorest Go
Step-by-Step Guide
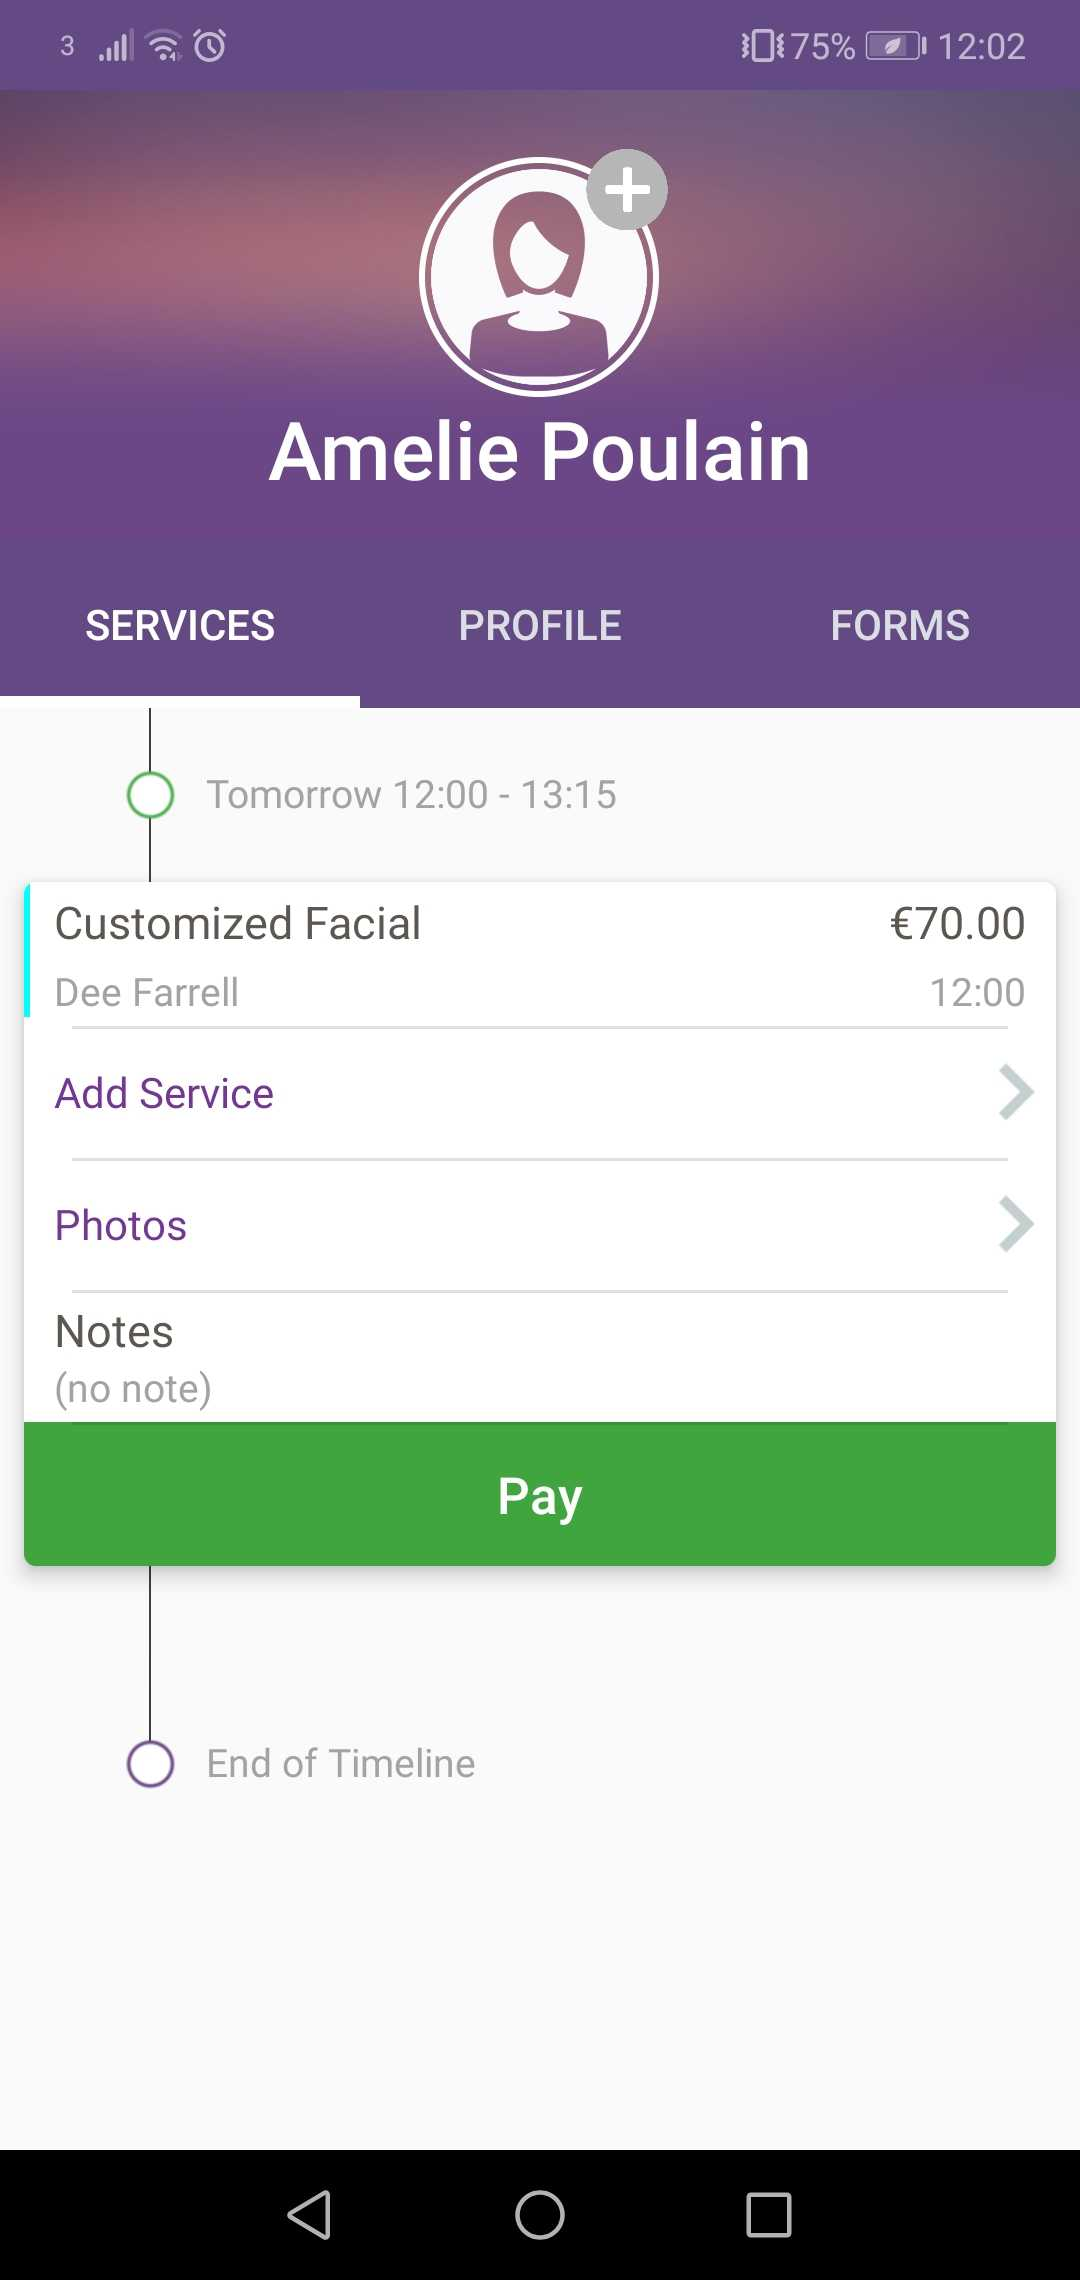
Tap on an appointment. An option for Photos on today appointment will appear. Click on Photos
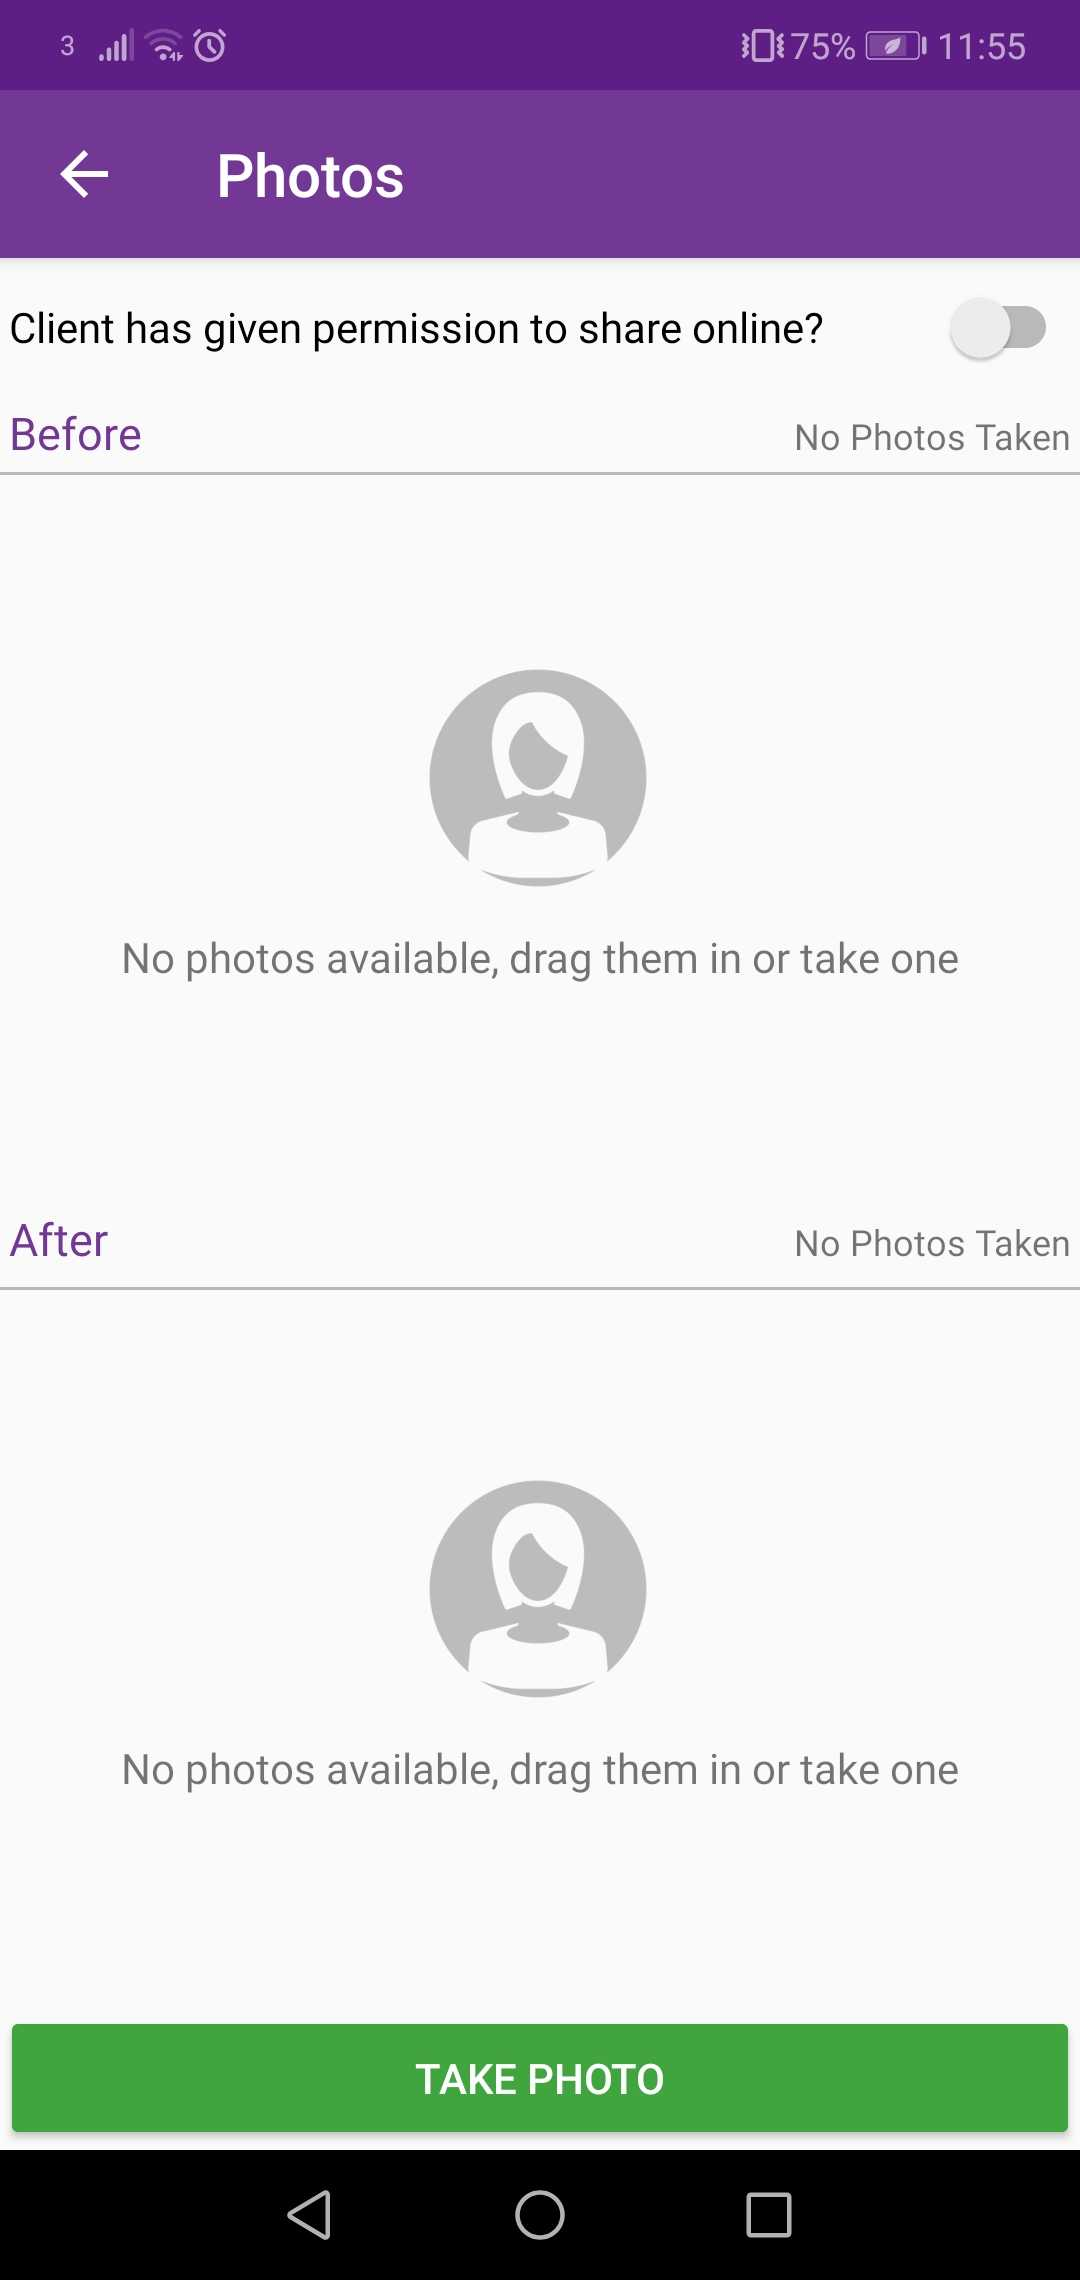
Tap on the Take Photo button. Take a direct photo or upload a photo from the gallery.
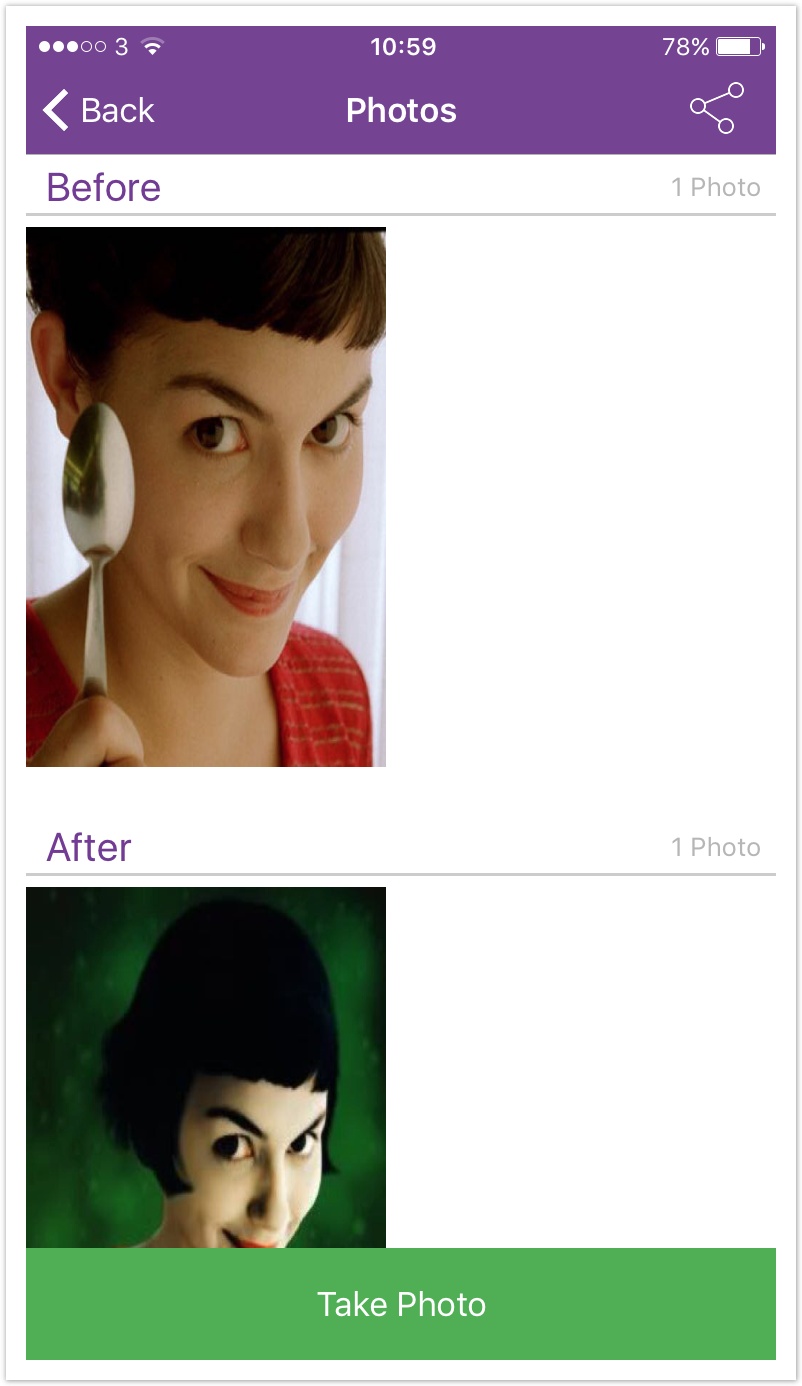
Photos added within the first 30 minutes of an appointment will be automatically assigned as a Before Photo, and subsequent photos will be considered an After photo. Drag and drop them as you see fit to change them between the two groups. Easy!
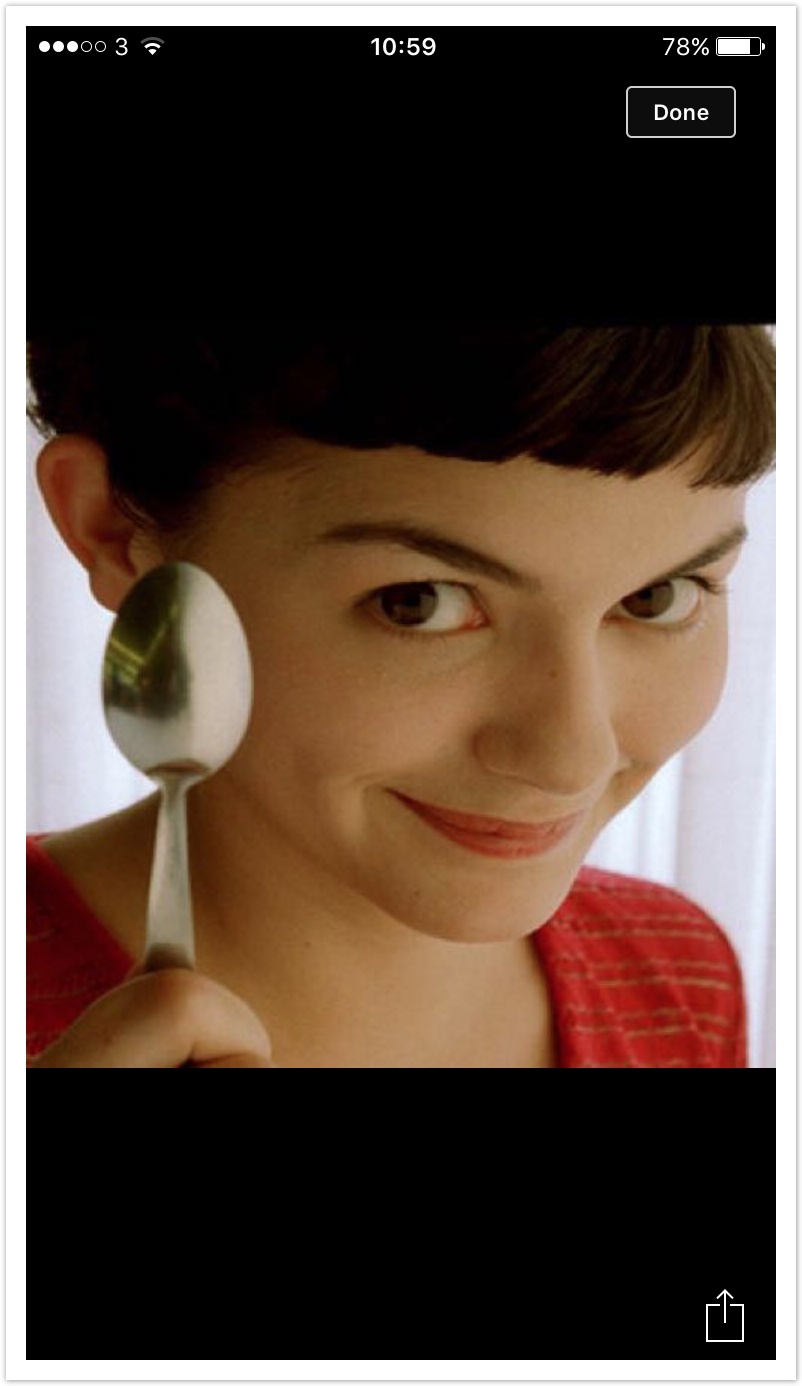
Tap on any photo to see a full screen view of it. Delete a photo or set it as a a profile picture from within here.
To client's photos from a previous visit, scroll back through the service history in the Phorest Go app and click Photos. Any photos taken on that date will appear here.
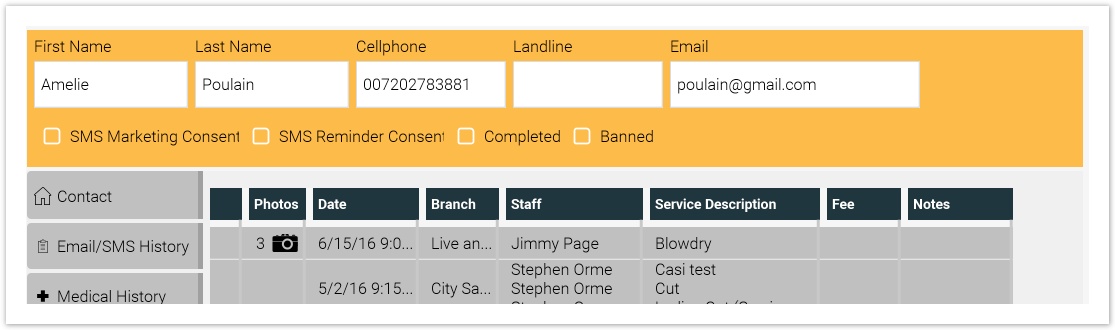
View any photos on the desktop by opening the client card. Click Service History. Any service history with photos will have a camera icon beside it.
To learn about more areas like this in your Phorest system enroll in our Phorest Go App series in Phorest Academy - online, on-demand and on-the-go learning for busy salon professional.