N.B. For Phorest Pay in the USA please follow the instructions presented when you click on the PhorestPay button. The below guide applies to salons outside of the USA and Canada
To start using PhorestPay to take payments you must first set up your Stripe account. You may need to check out Stripe's availability for outlying territories of supported countries here.
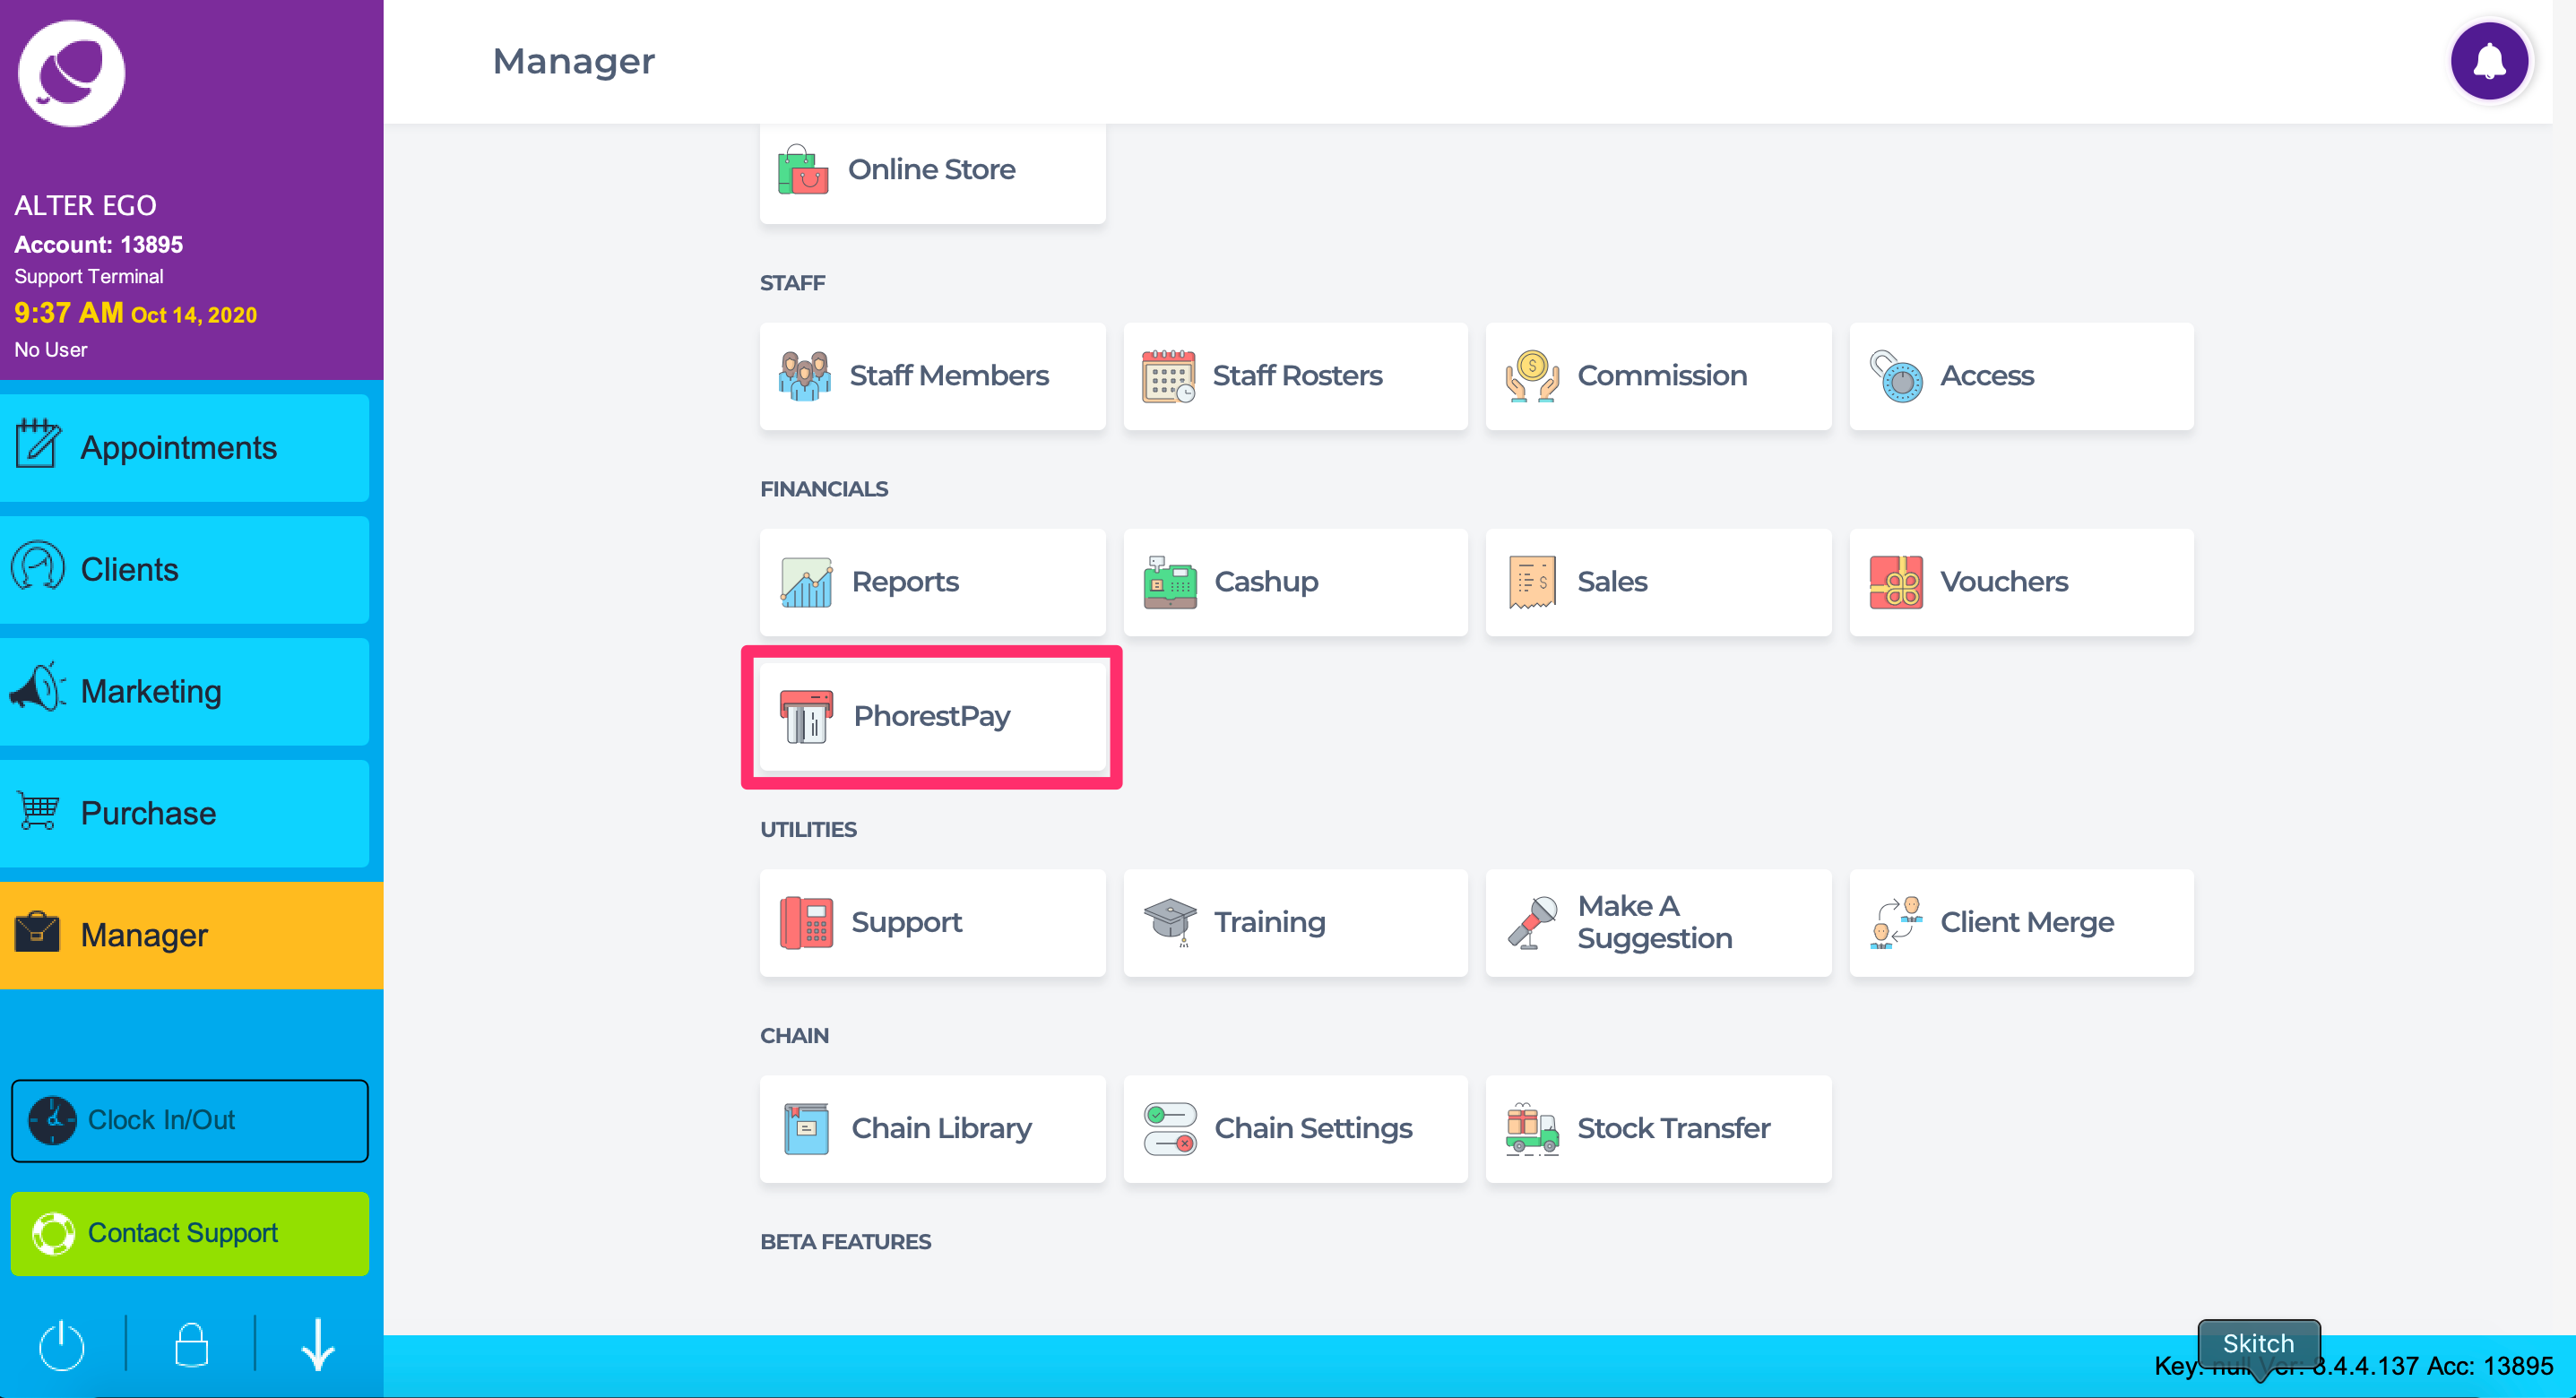
From the Manager screen, scroll down to FINANCIALS and click into PhorestPay.
NOTE: You can expect to receive payouts every day for sales received two days prior.
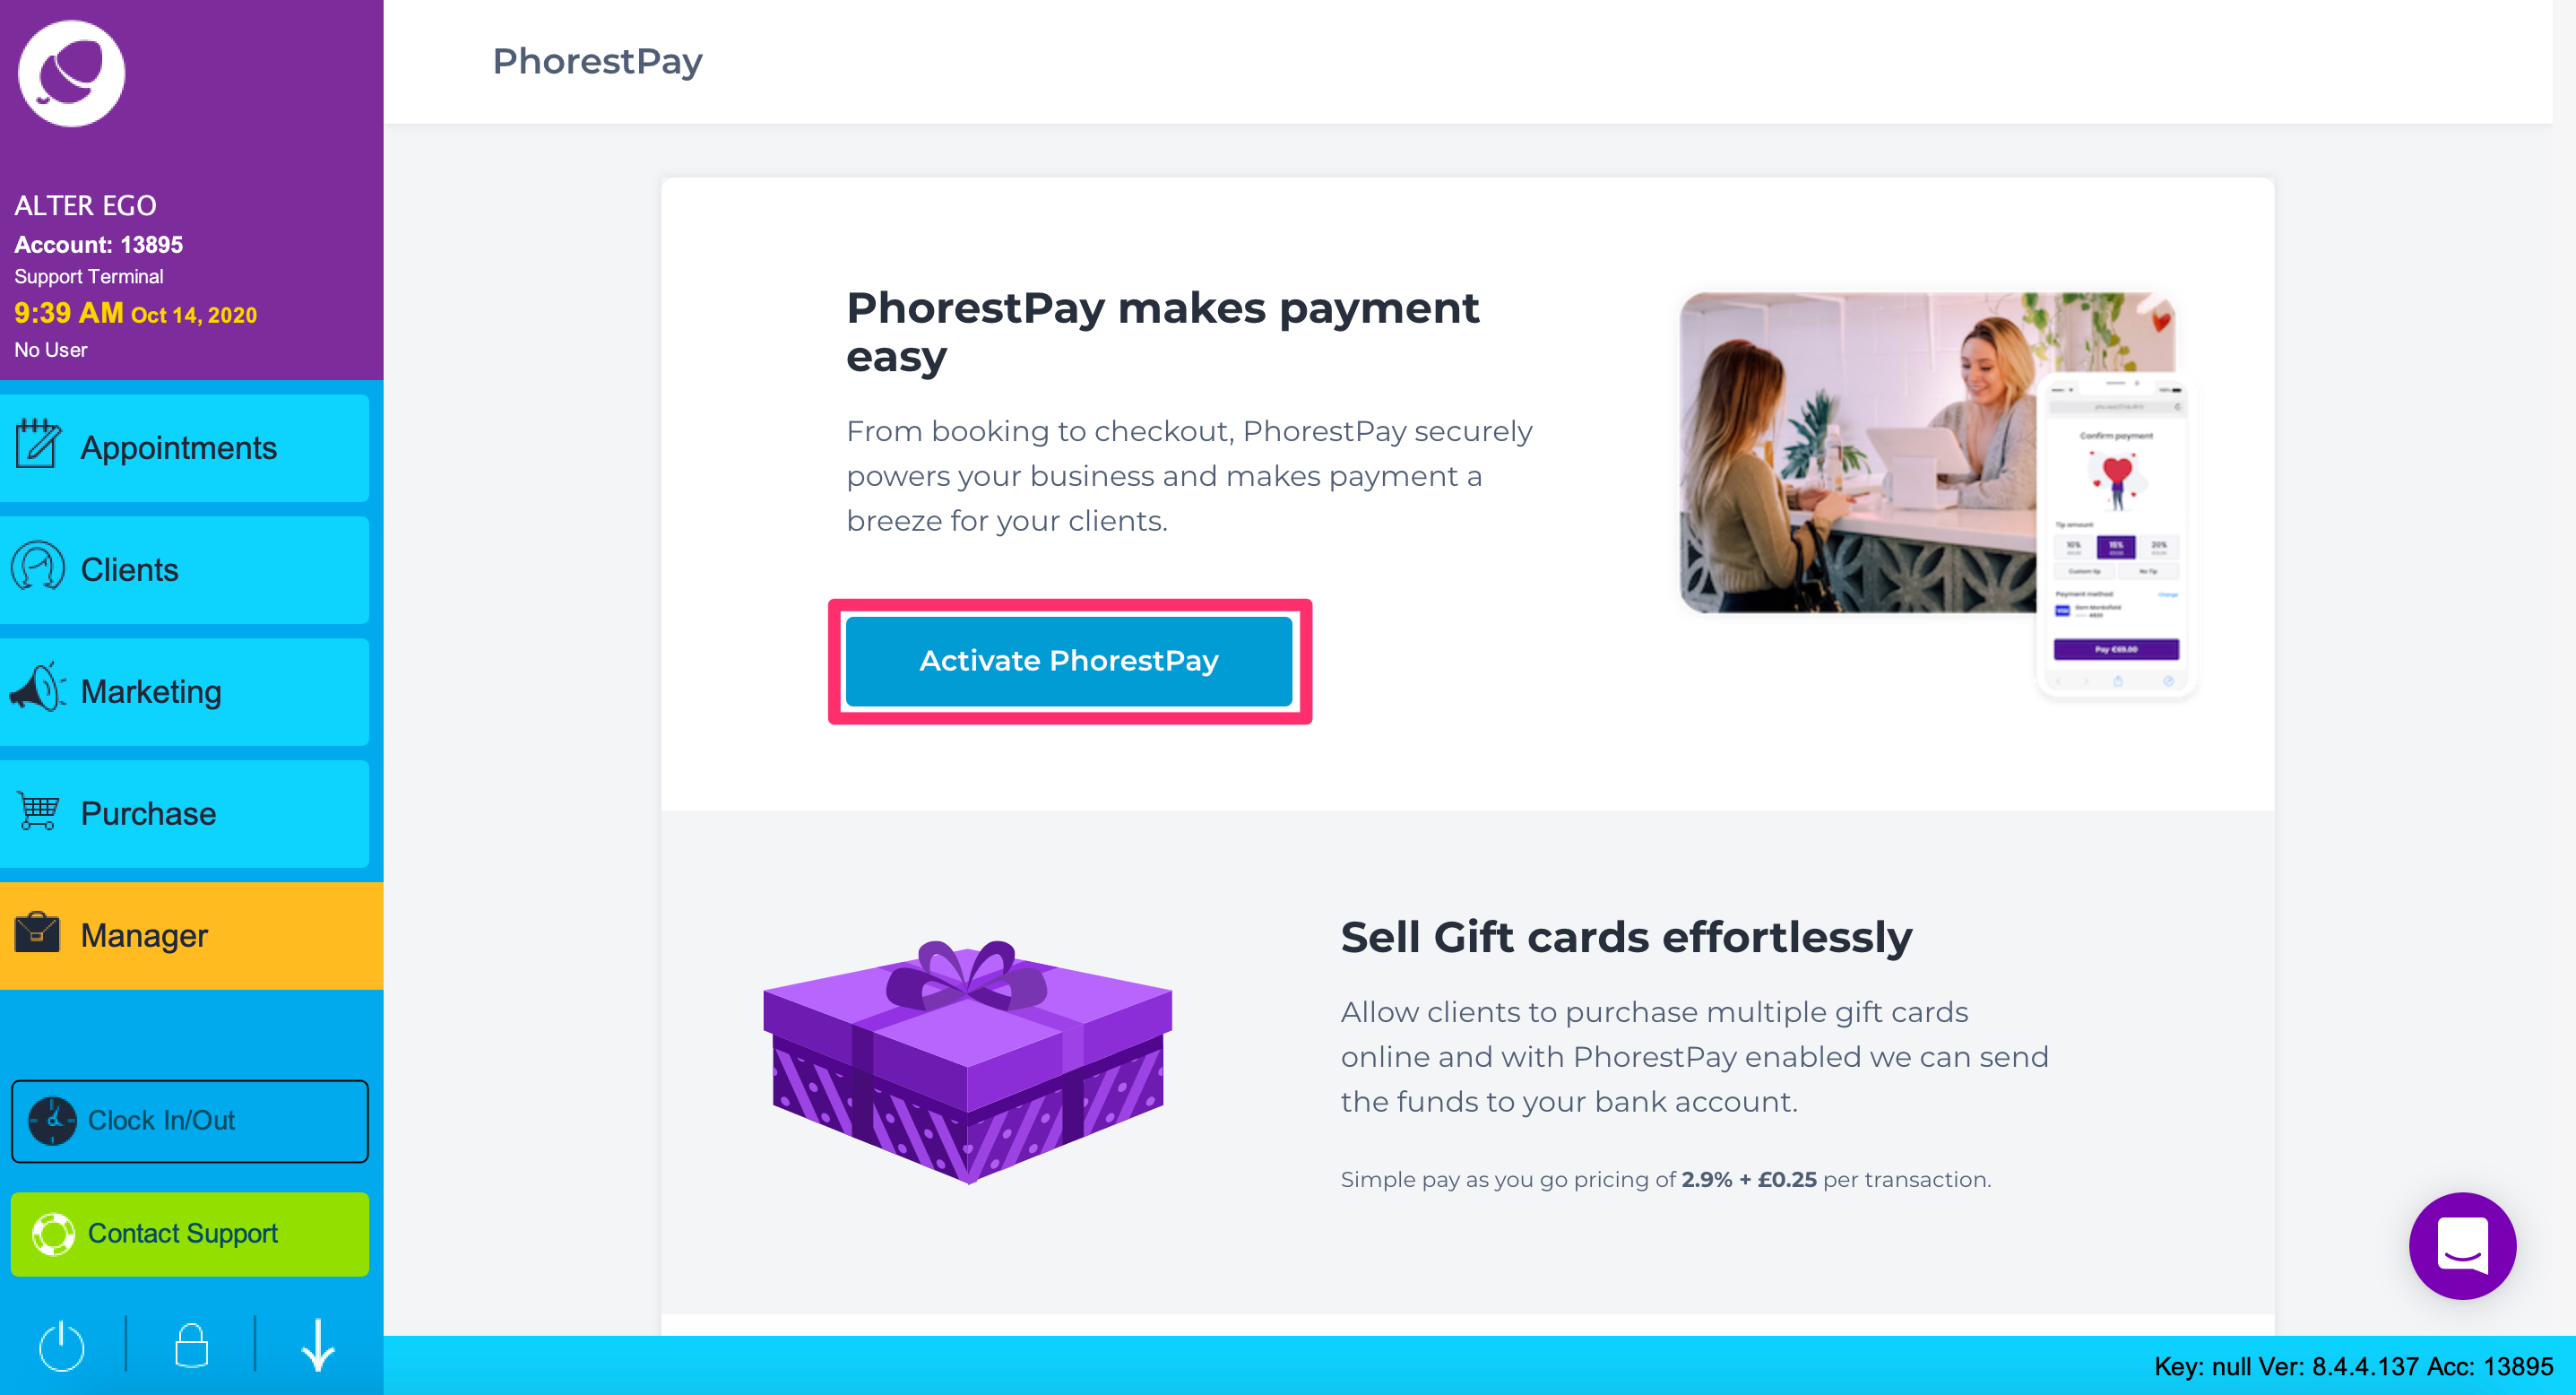
On the next screen is a list of benefits using PhorestPay offers your business. Click on either Activate PhorestPay at the top or scroll through the list and click Turn On PhorestPay at the bottom.
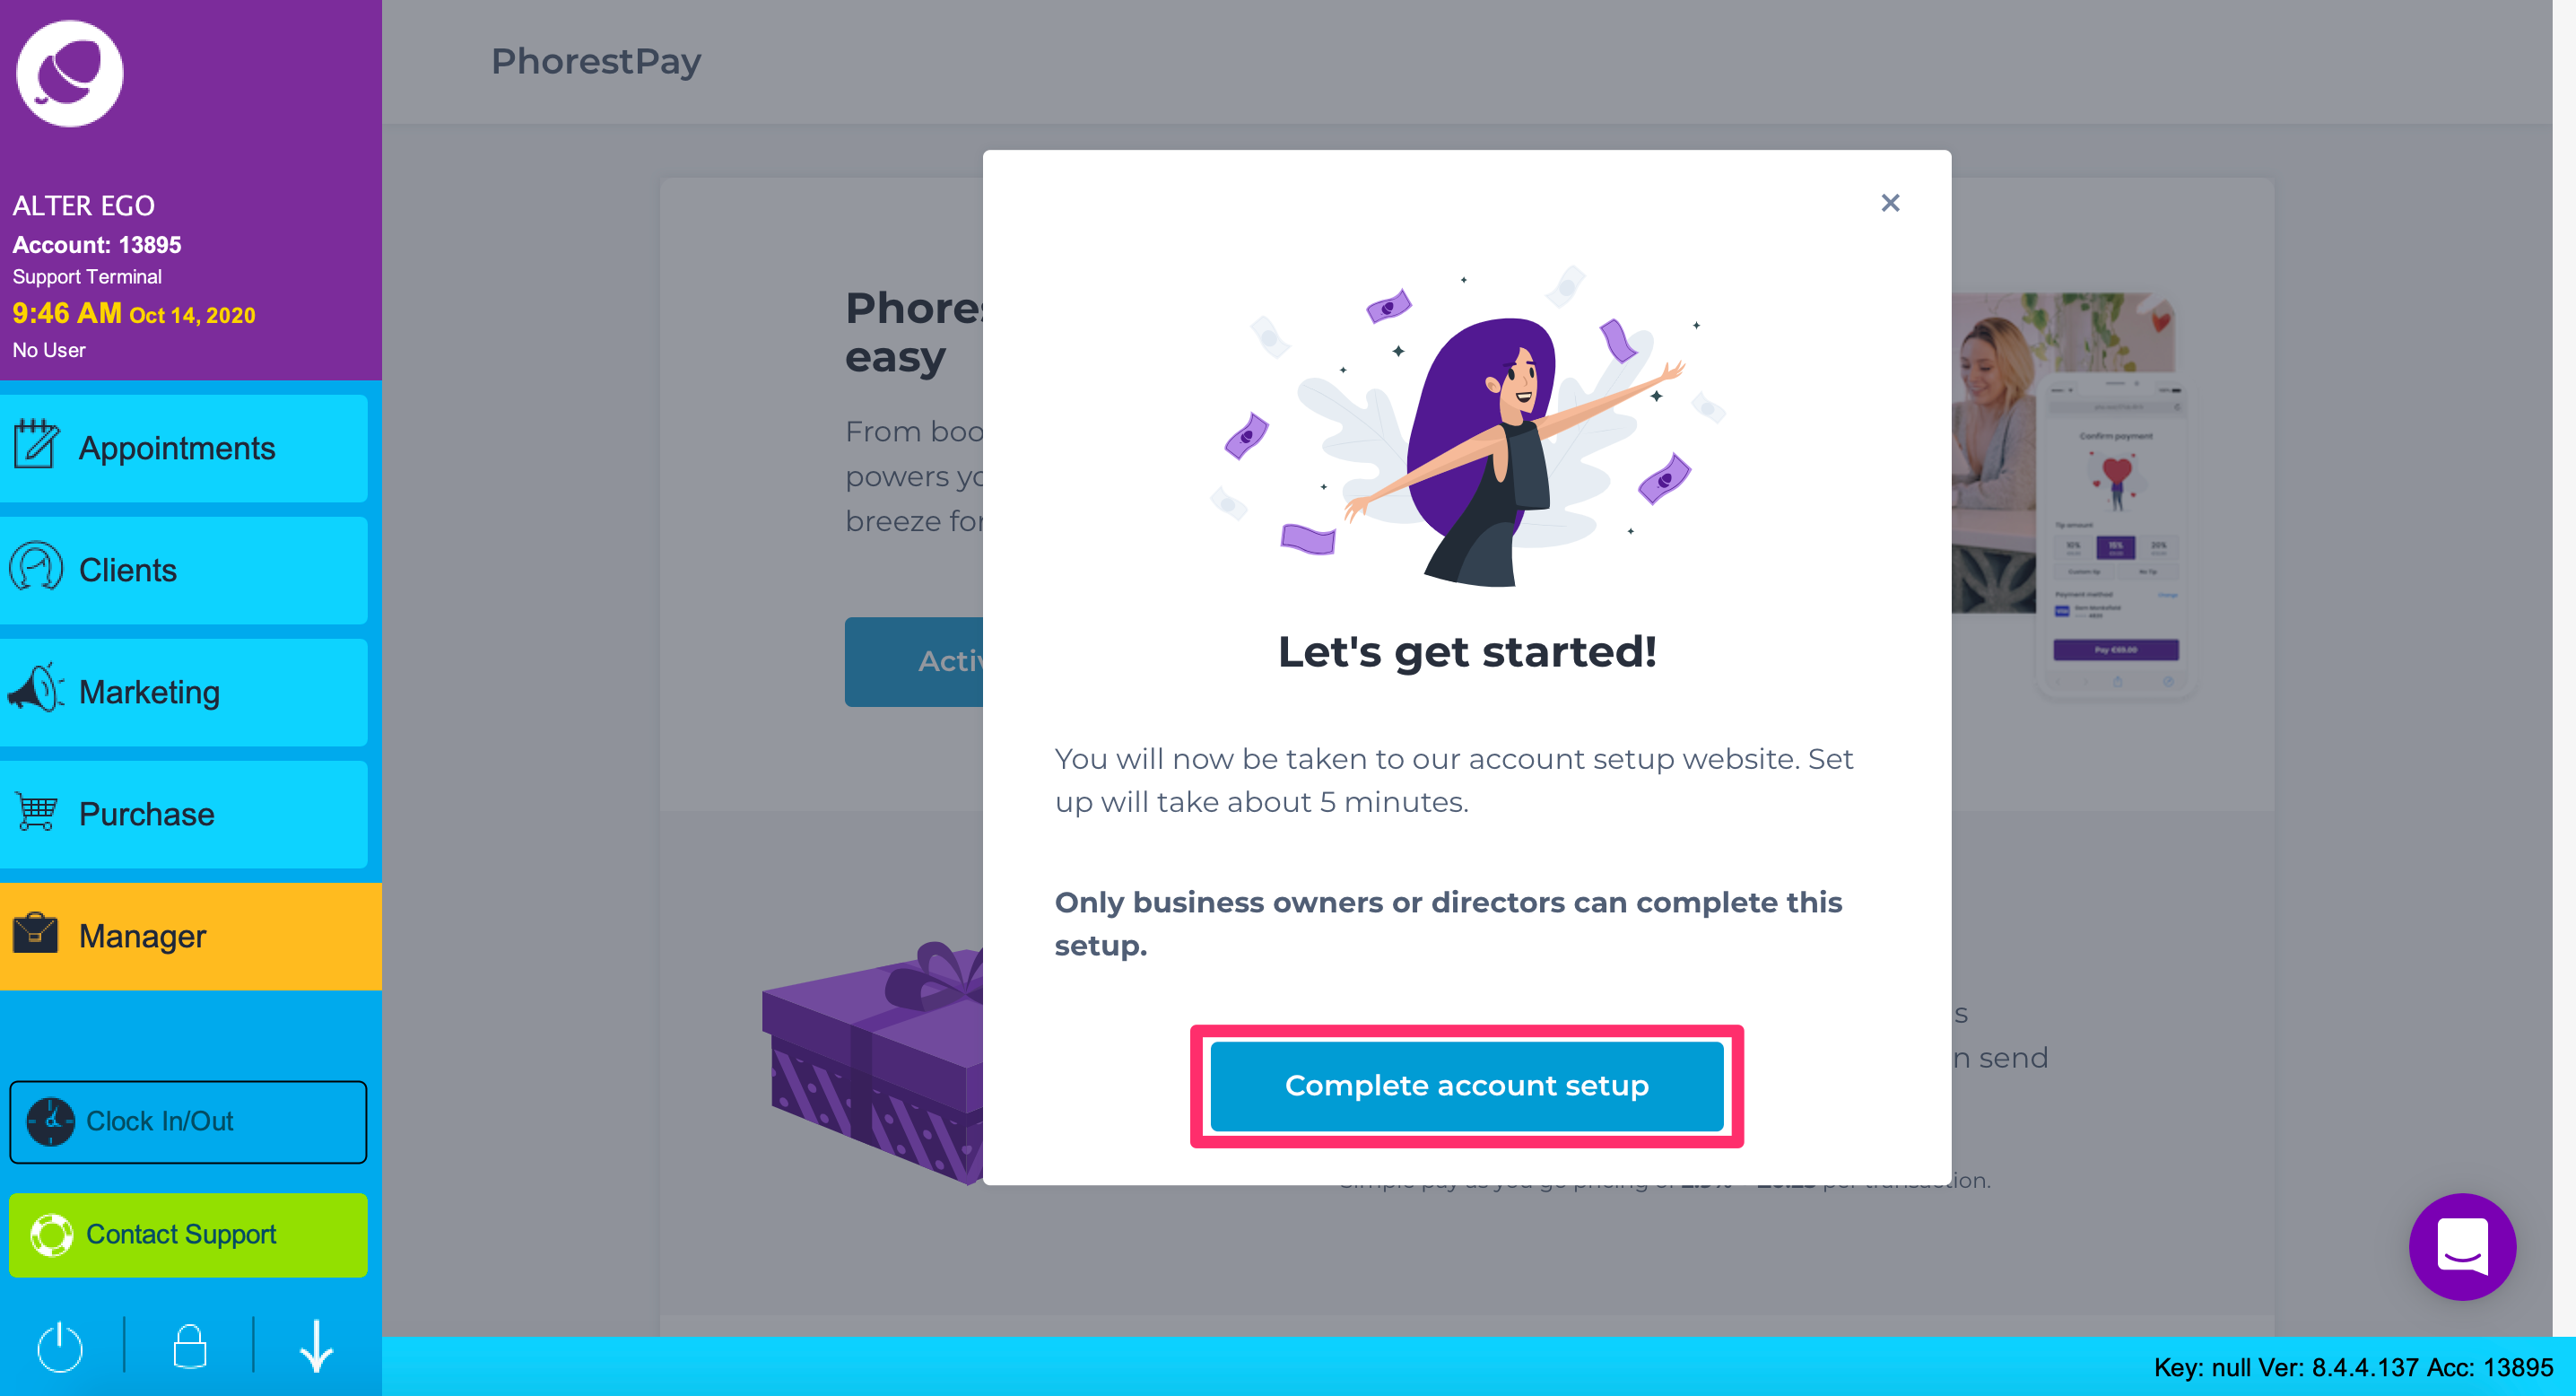
A pop-up screen will appear requiring you to confirm your intention to set up a Stripe account. Click Complete account setup.
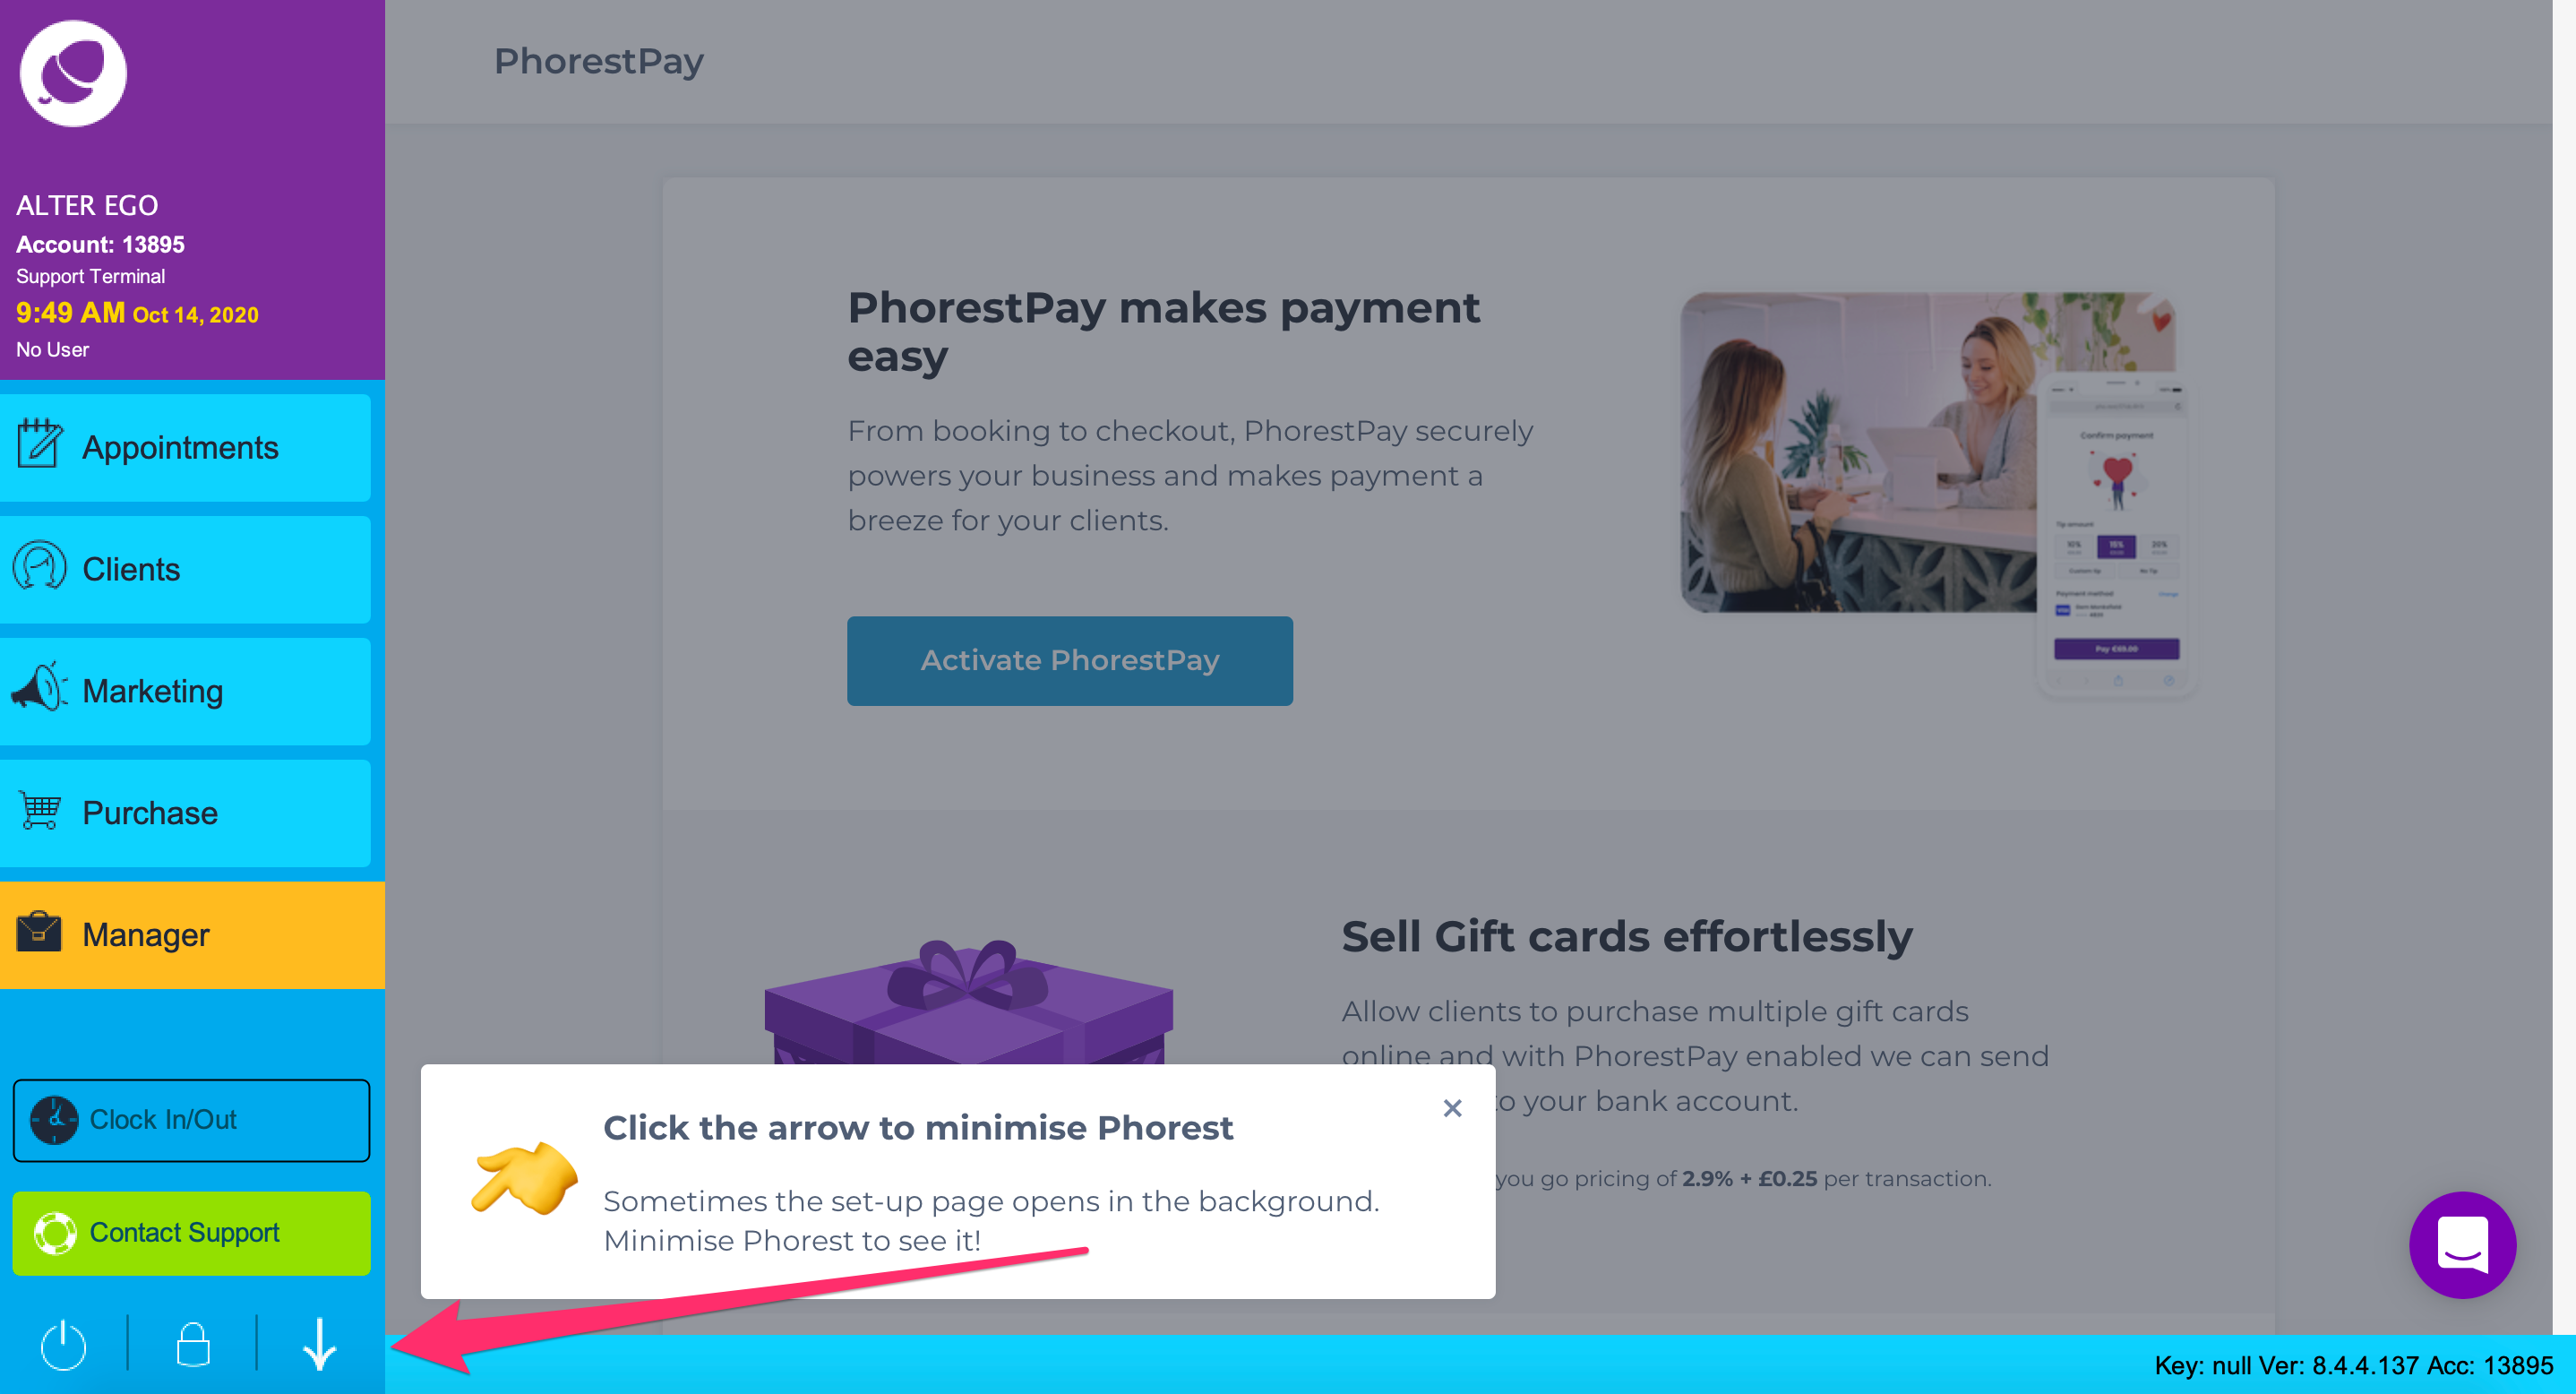
A new web-browser should appear in front of your Phorest system to proceed with your Stripe account setup.
NOTE: If you don't see a new web browser you may need to click the downward-facing arrow in Phorest to minimize it.
Here is an example of the web page you are looking for.
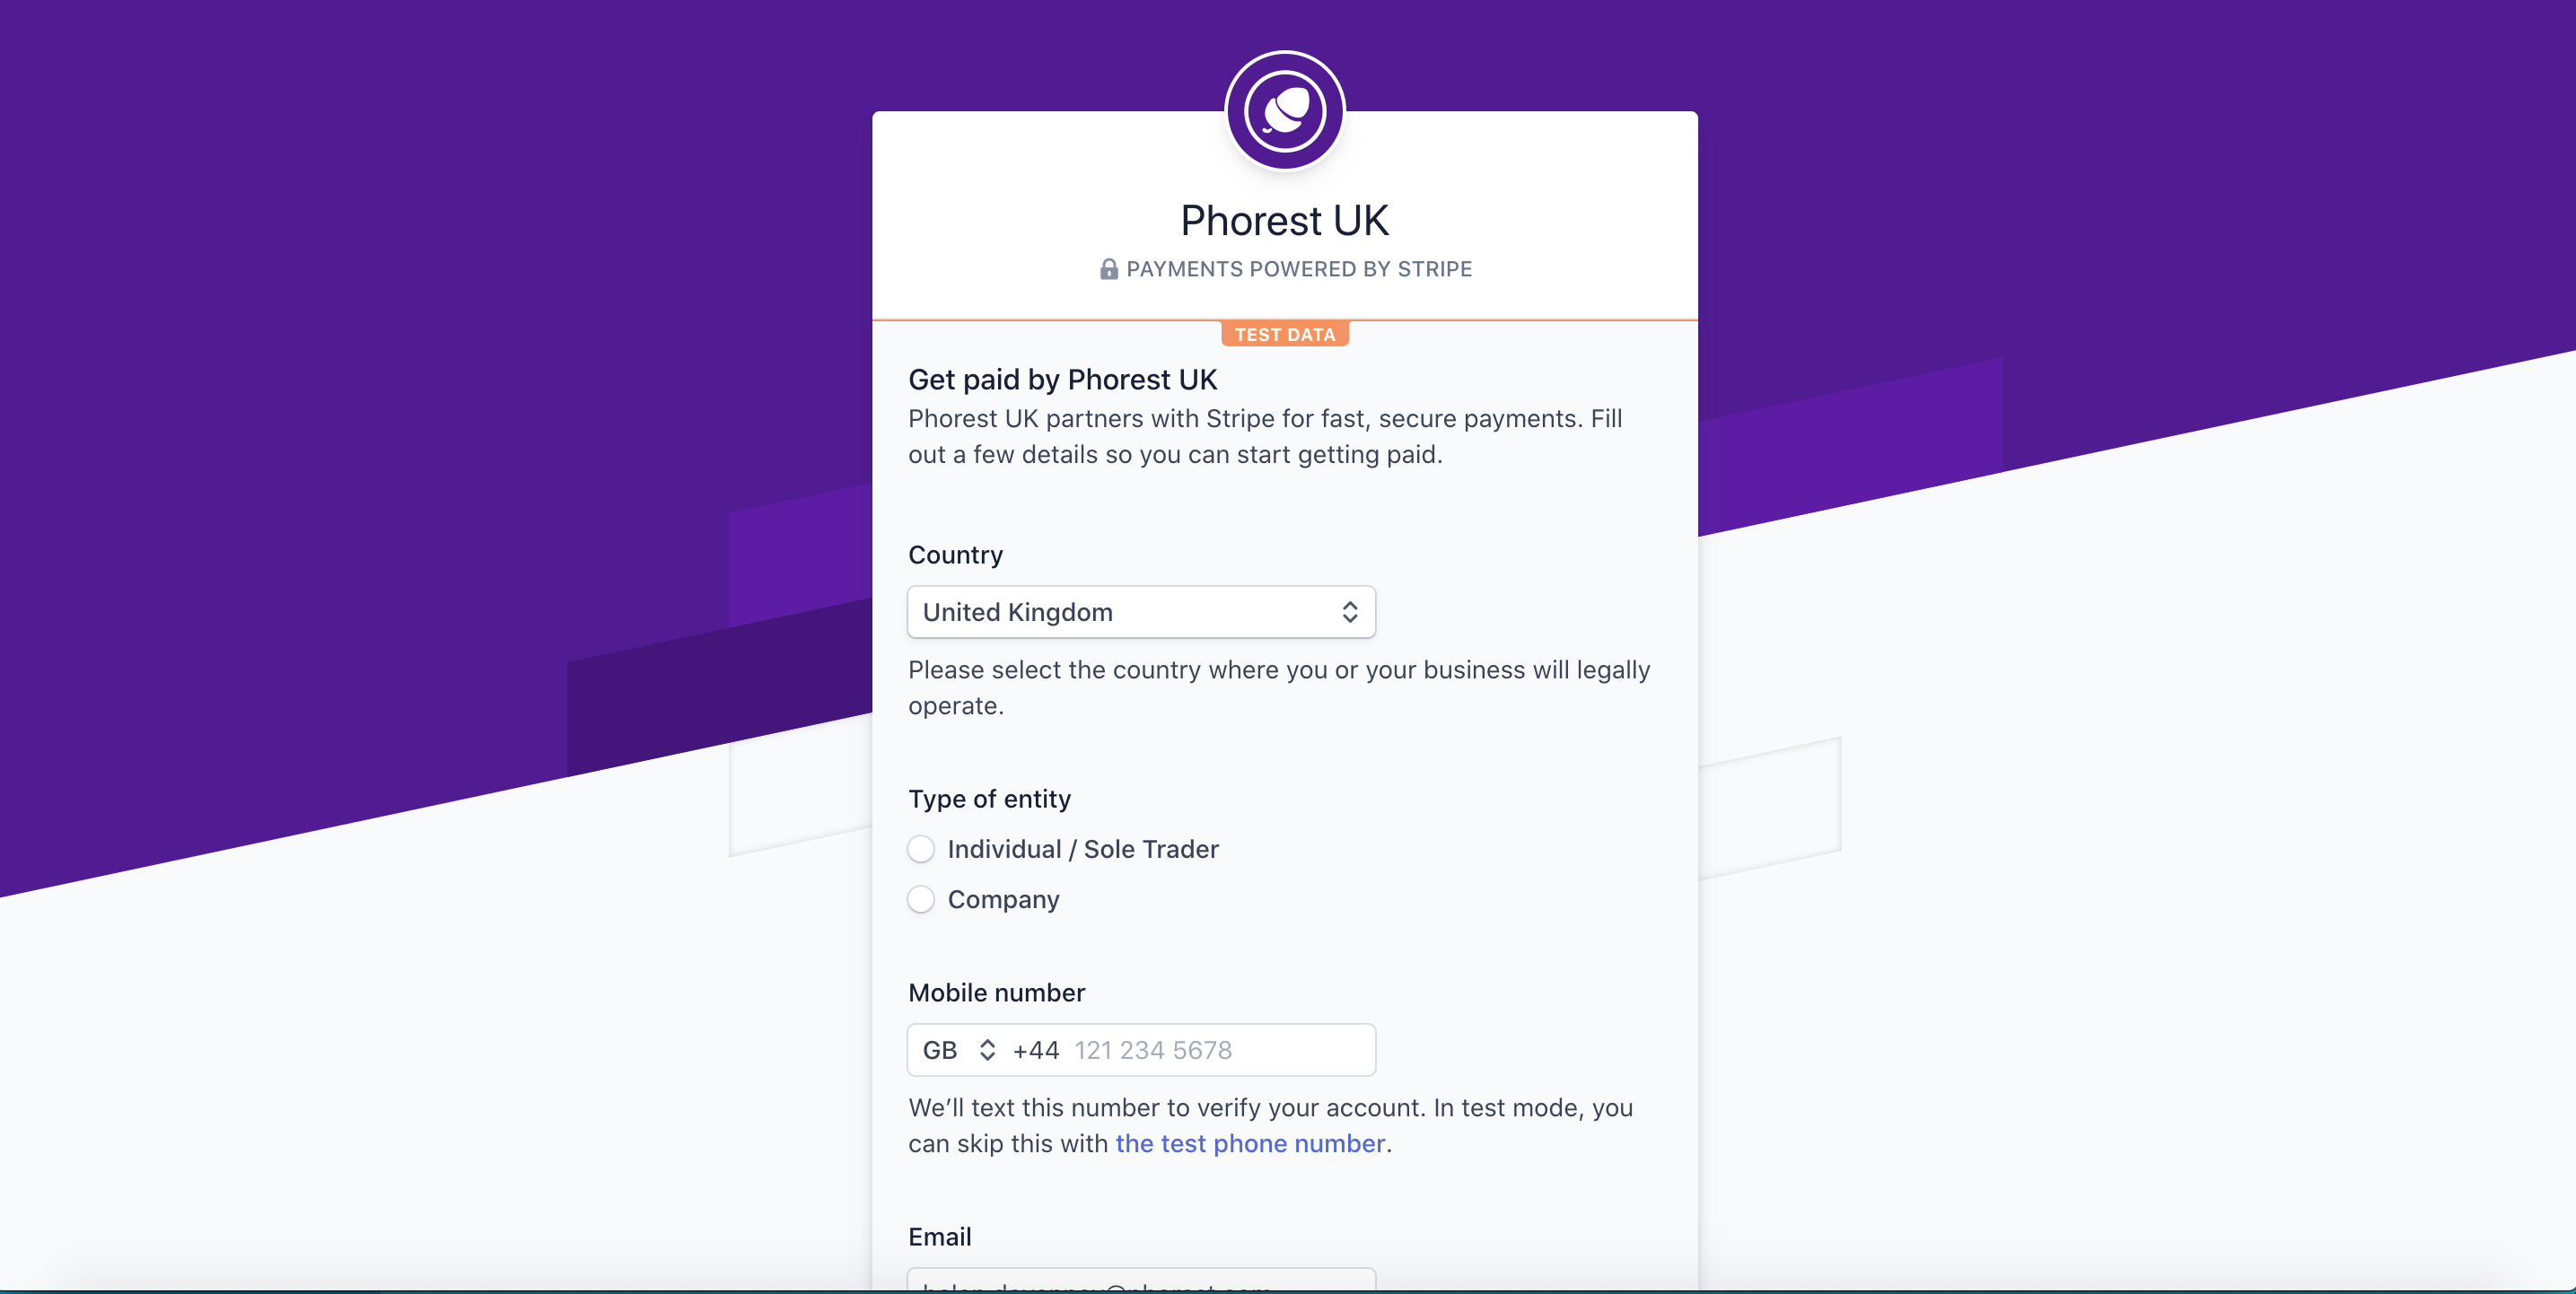
On the first page, you must state your Country, Type of Entity, Mobile number and Email.
NOTE: If you are in a Partnership, select Individual / Sole Trader.
EXAMPLE: Initial Page
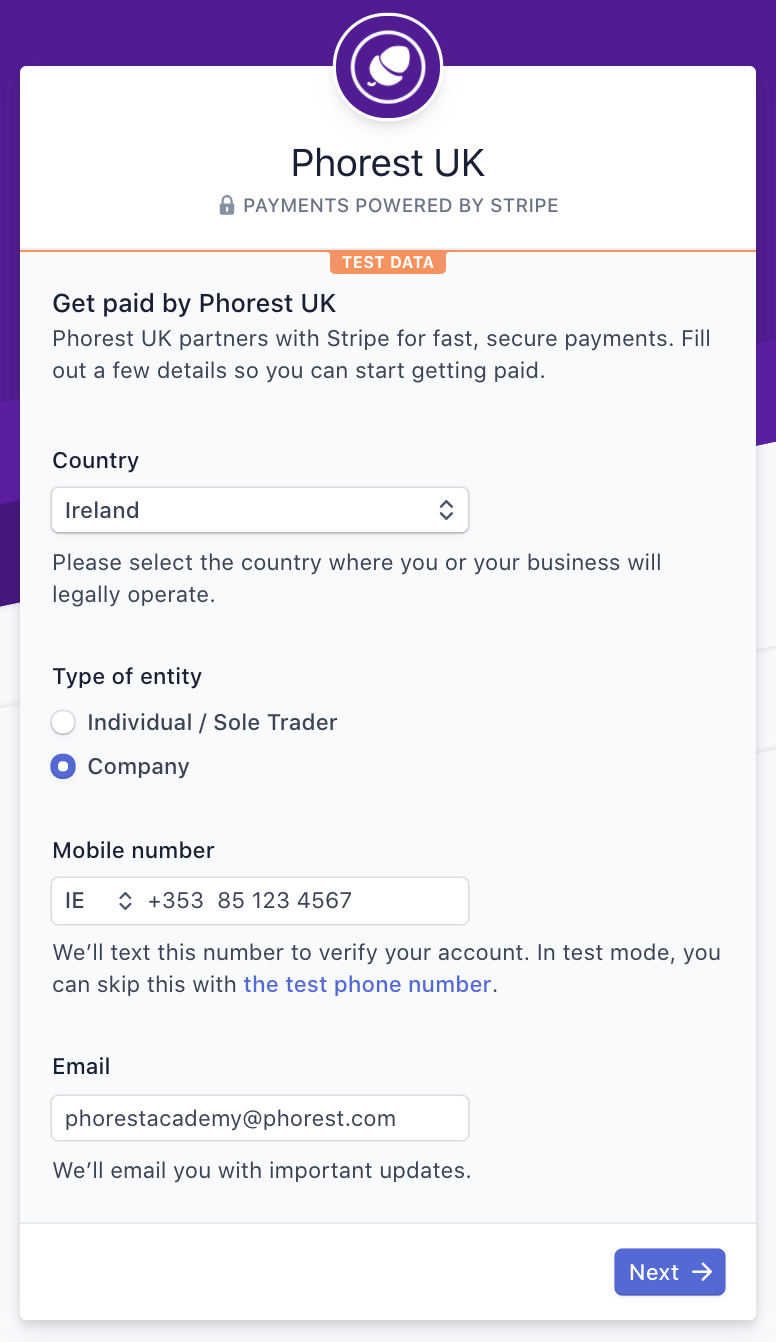
On the next screen, you must enter the 6-digit verification code. You will receive this from Stripe via SMS.
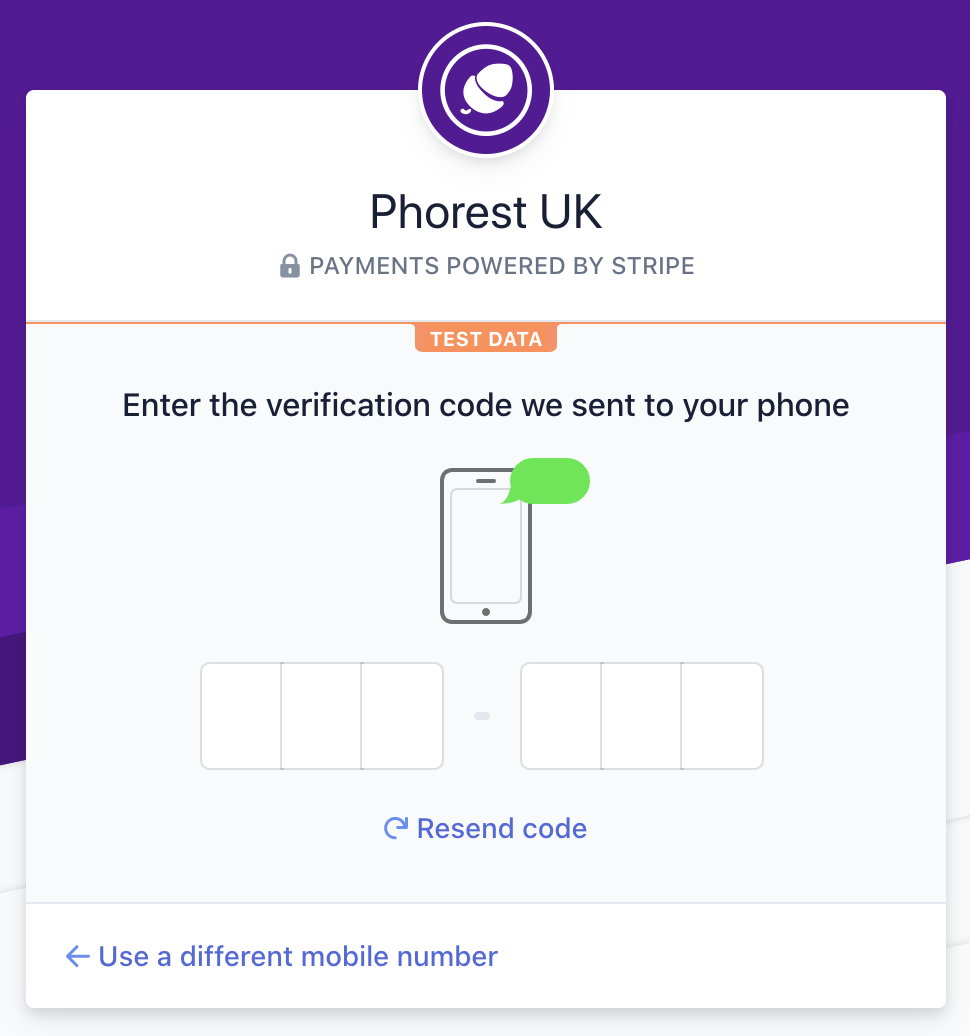
Once verified, you are required to fill in some business details; Legal business name, Company number (if you don't have one or can't remember yours click Apply online to head over to your countries Registration Office), Registered business address, Business phone number, Industry and Business website.
For Industry, select either of the following categories that best represent your business:
- Salons or barbers
- Health and beauty spas
- Massage therapy practices
Click Next when you're done.
EXAMPLE: Business Details
The fourth must be filled in by some with significant responsibility for the control and management of your business.
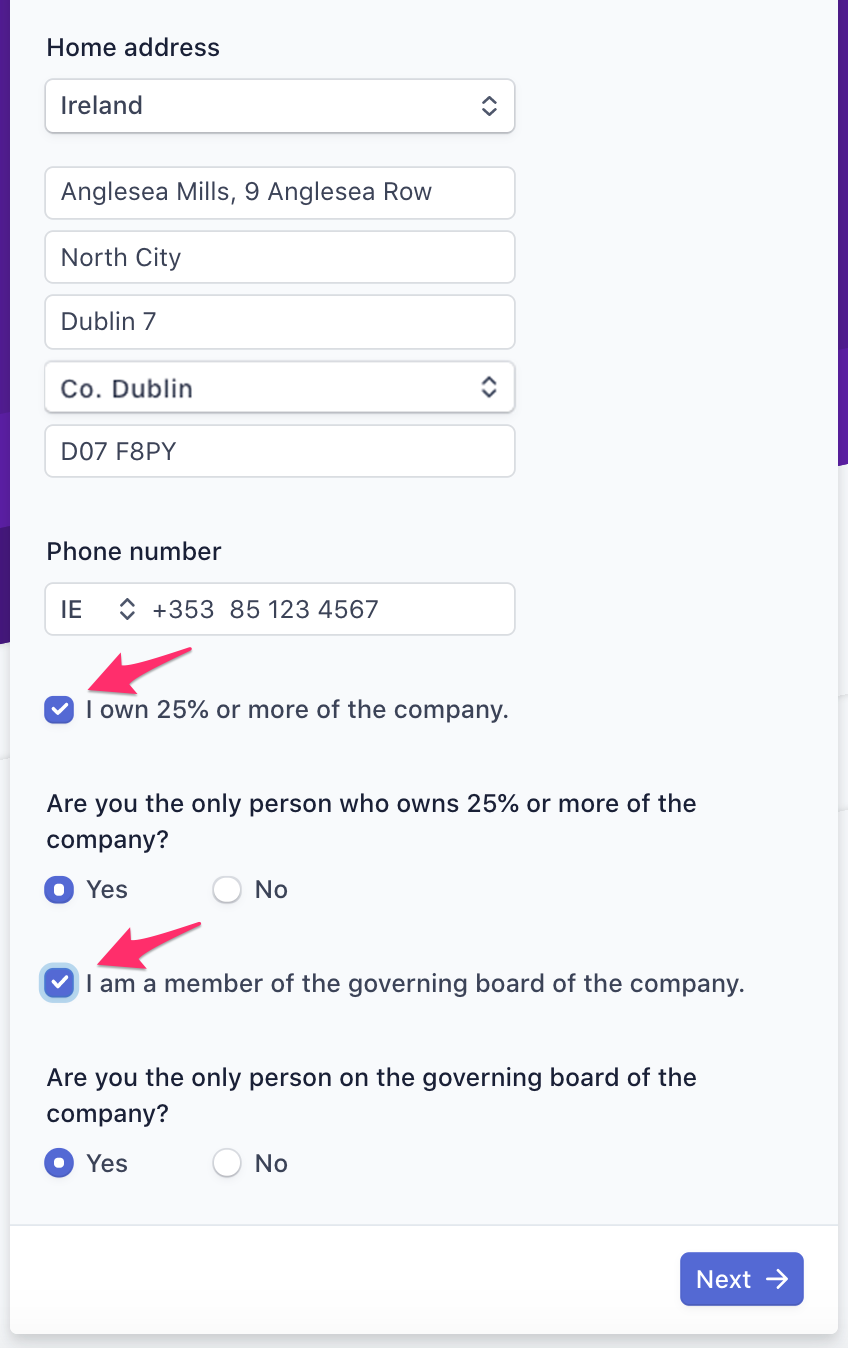
At the bottom of the page are two additional options. When ticked they will expand additional checkboxes.
EXAMPLE: Business Representative
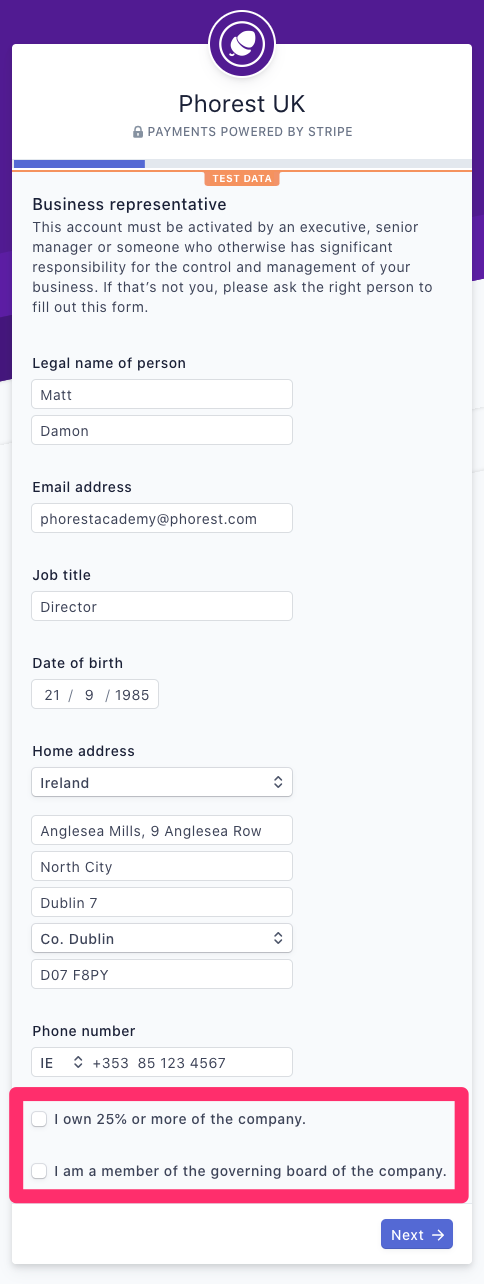
Once you're done, click Next.
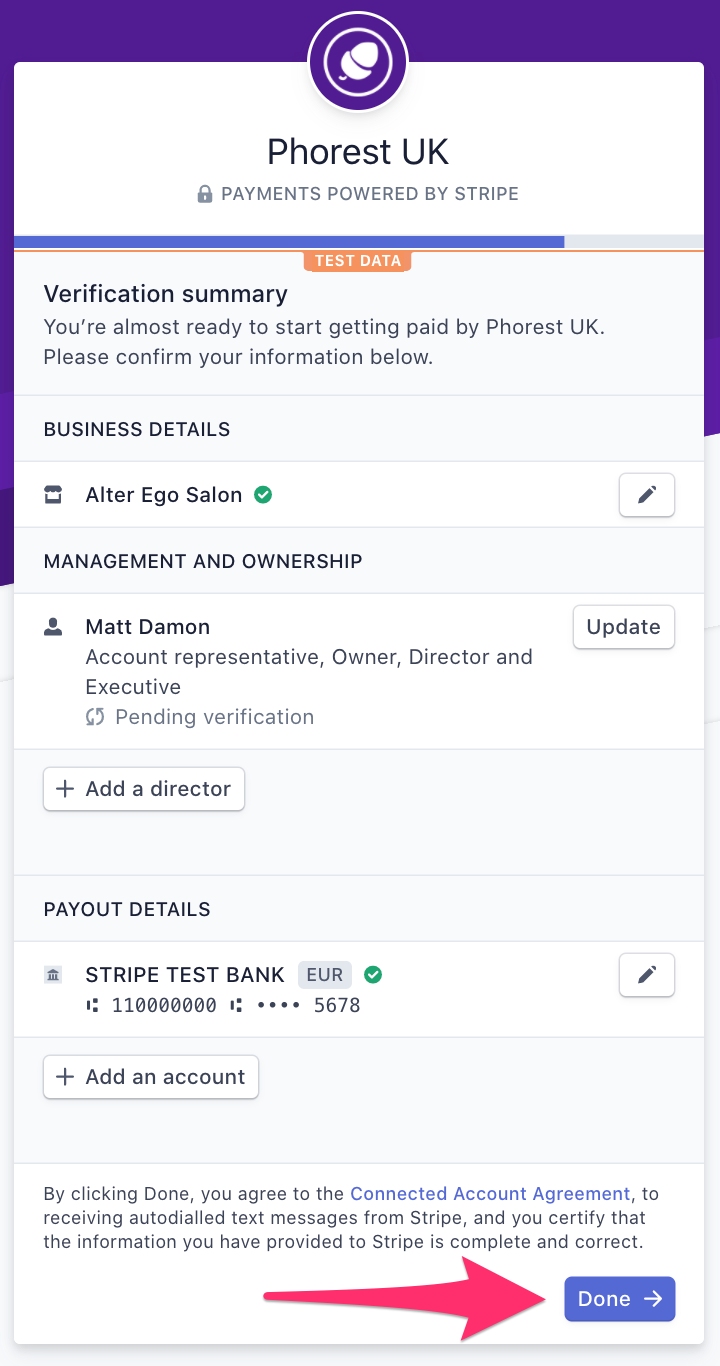
The final screen is the Verification Summary screen. If there is any missing information or additional directors that need to be added you can include them from here.
Once you are happy with everything click Done.
Your Stripe and PhorestPay account are now live. Head back to your Phorest system to start using PhorestPay.
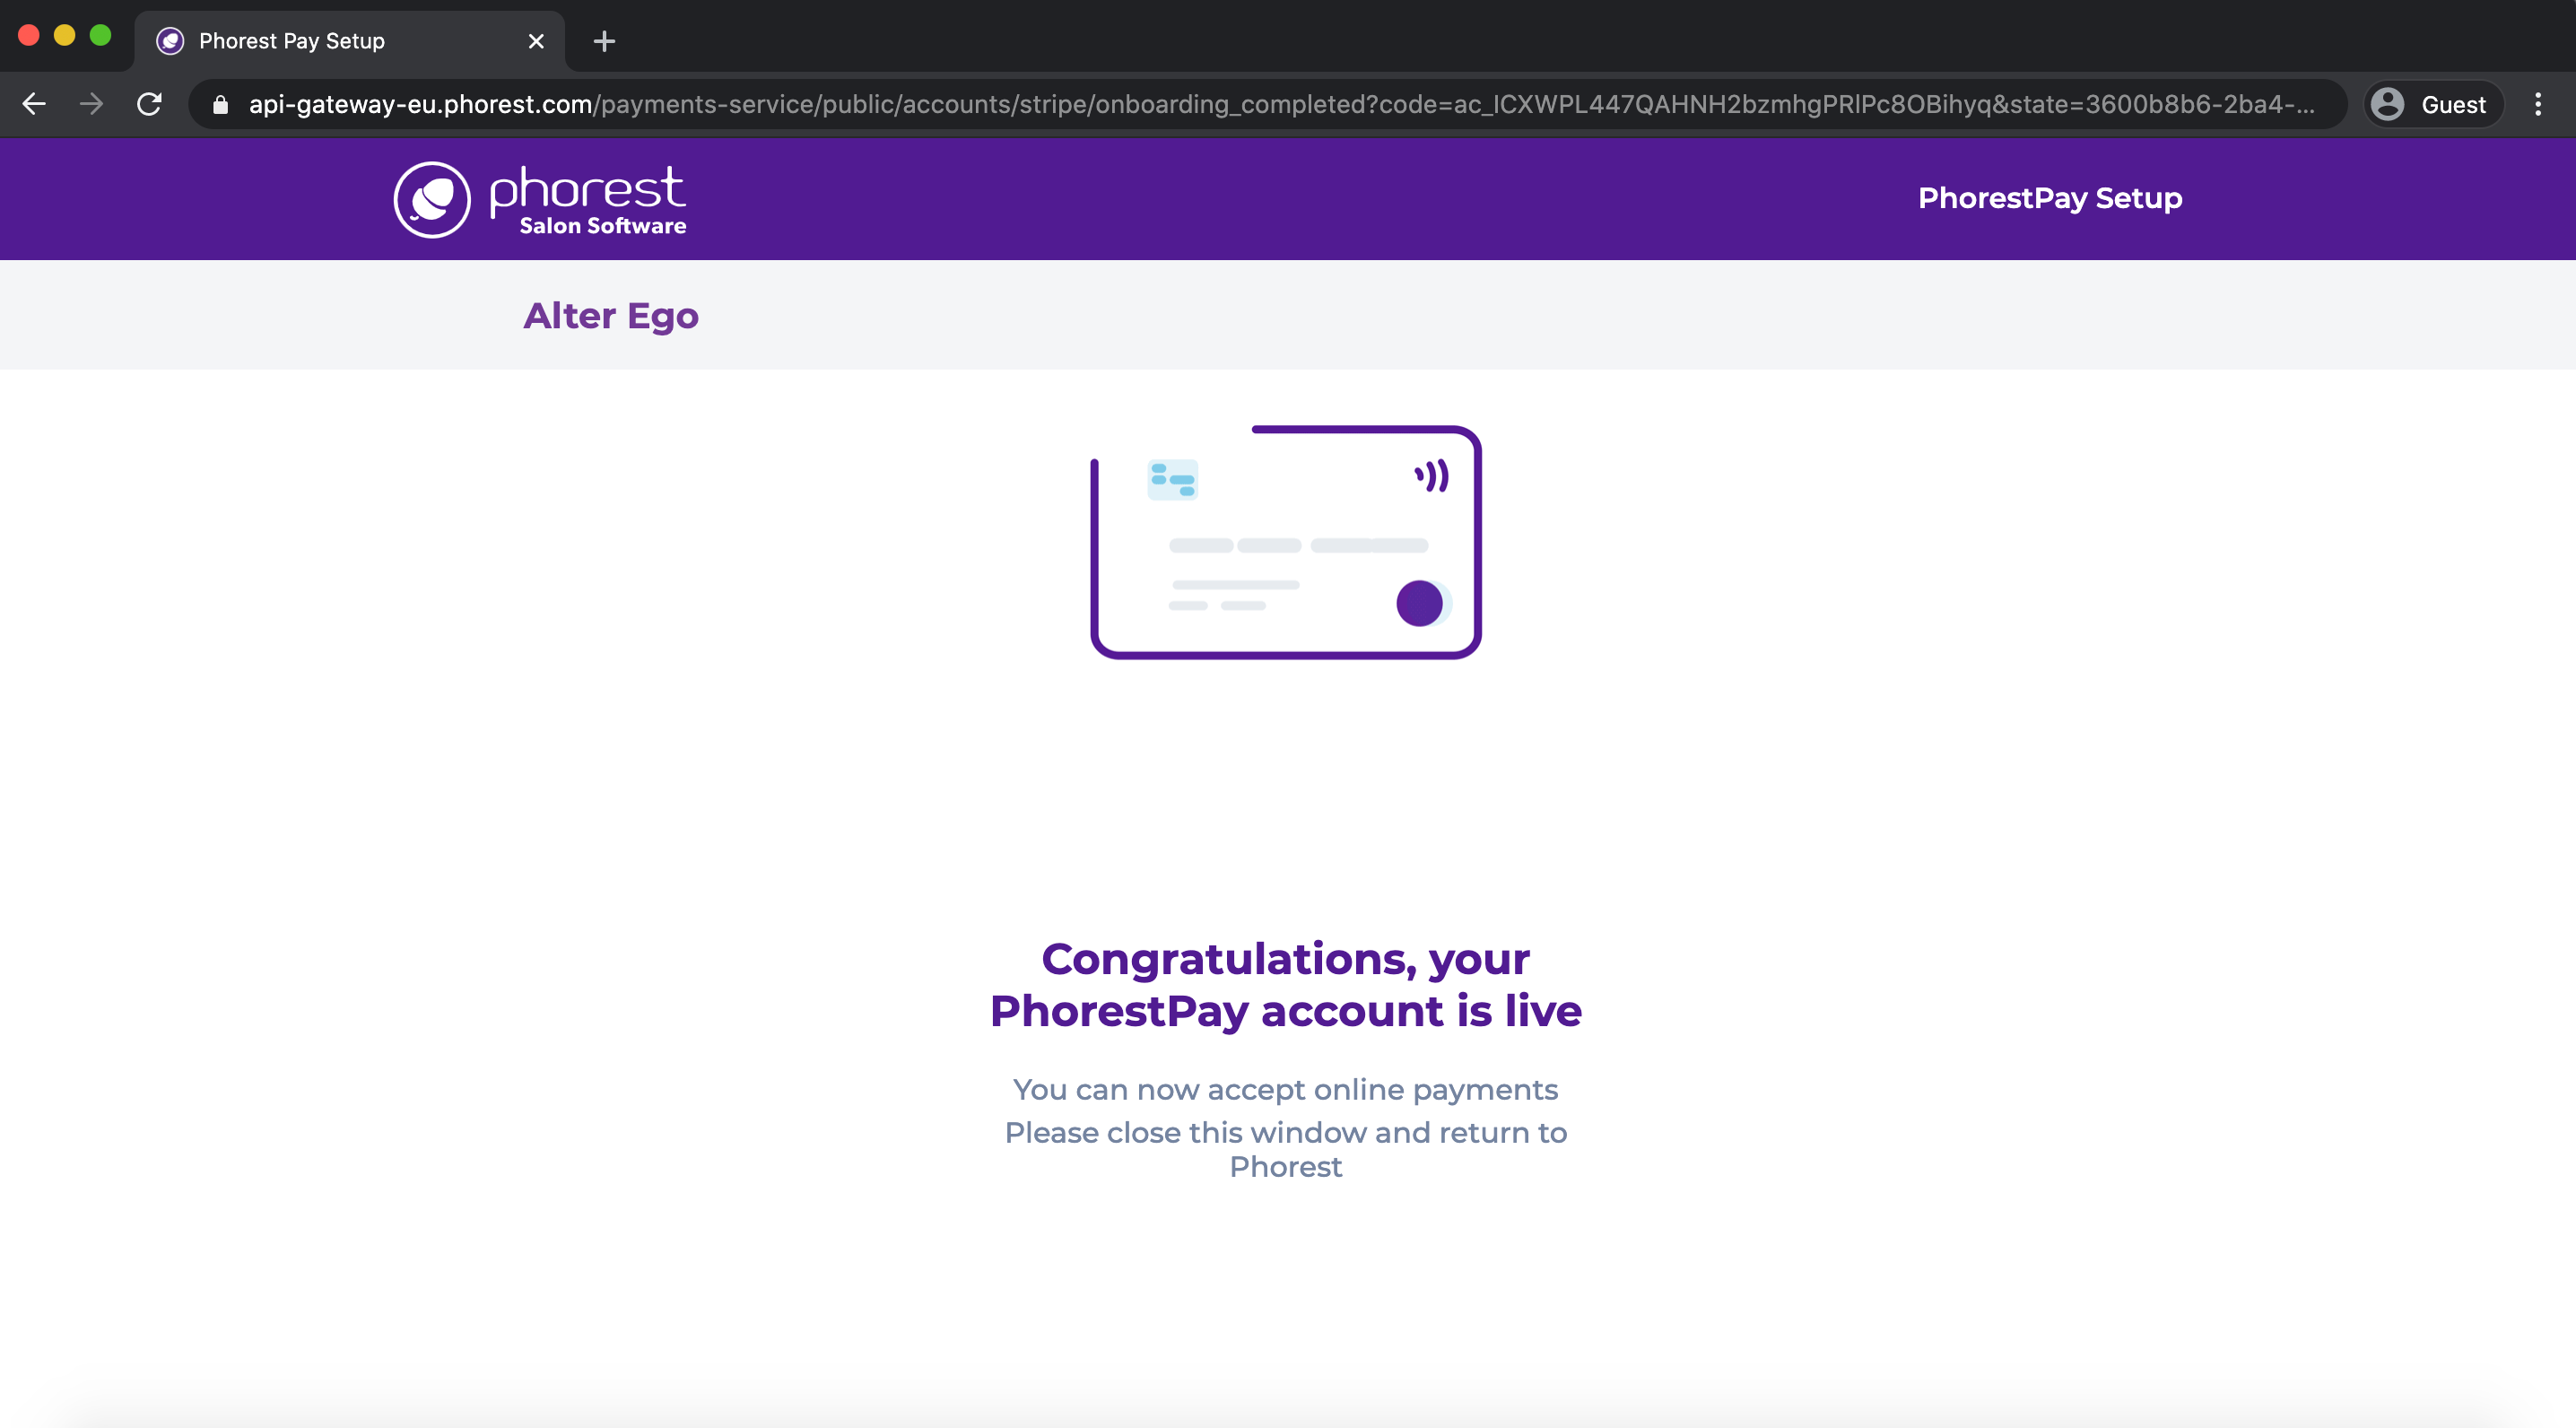
You will need to leave the PhorestPay area of Phorest and go back into it to see any changes.
At the top of the screen are your Balance, Previous Payout and Next Payout.
Of course, these are all at zero for now.
If Stripe Can't Verify Your Information:
If Stripe can't verify your information with that already provided you will need to finish off the process by clicking Complete My Setup.
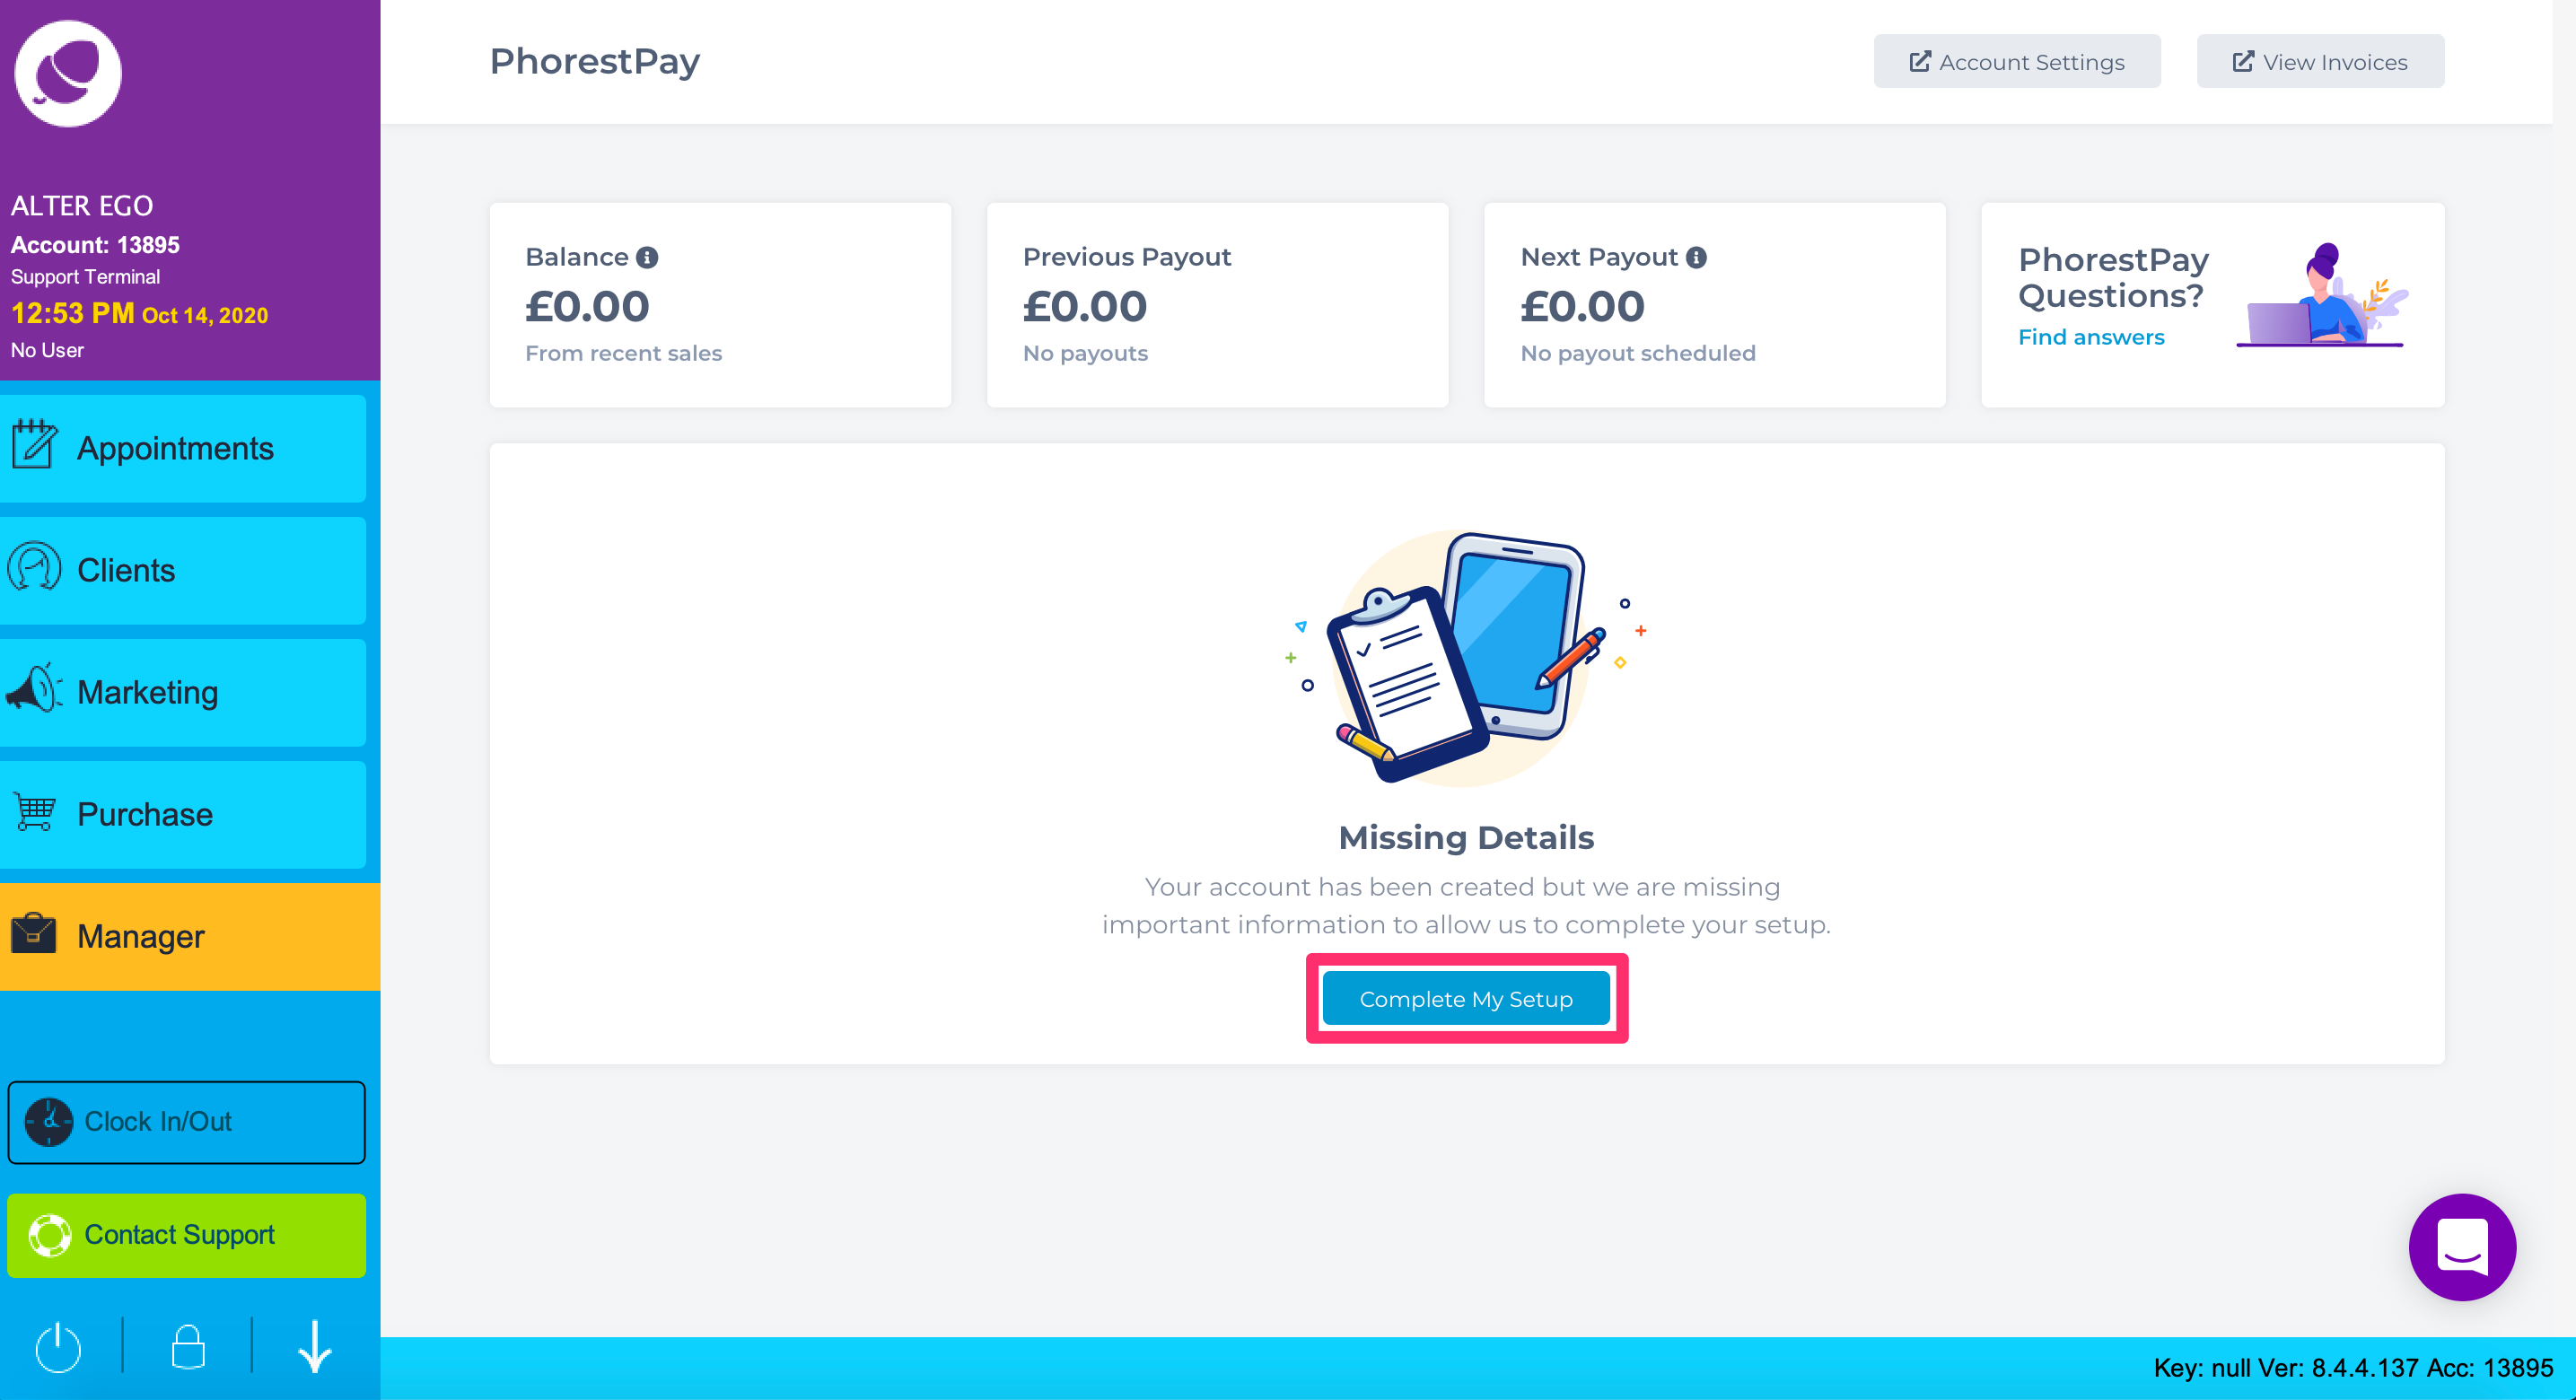
Again, this will take you back to the Stripe pop-out web browser screen.
From here, you must finish your setup by submitting proof of Identification and of your Home address.
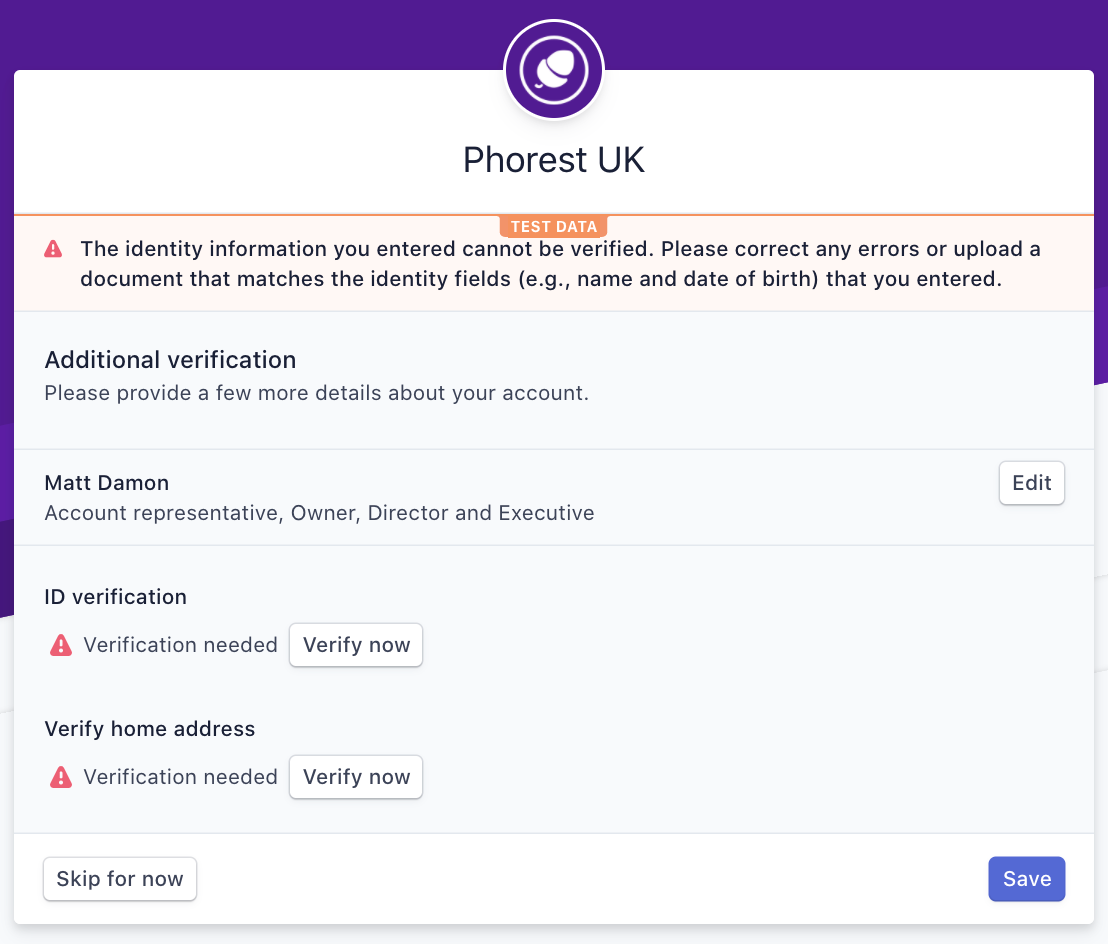
Click Verify now for a list of accepted identifications and documents.
Once verified, click Save.
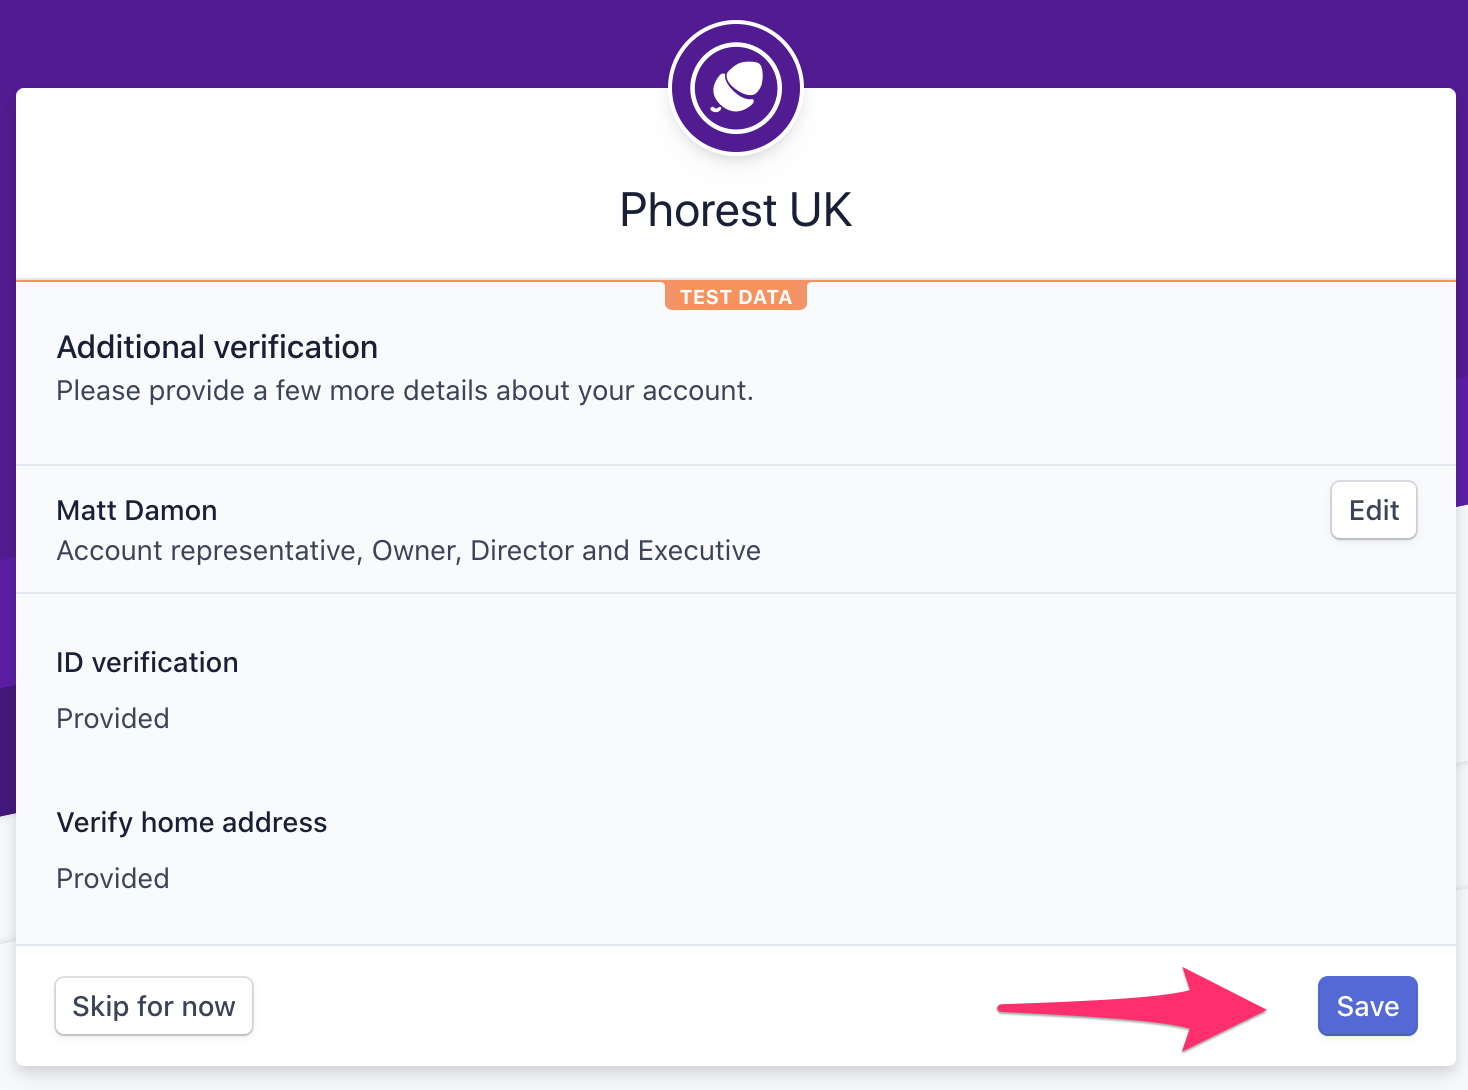
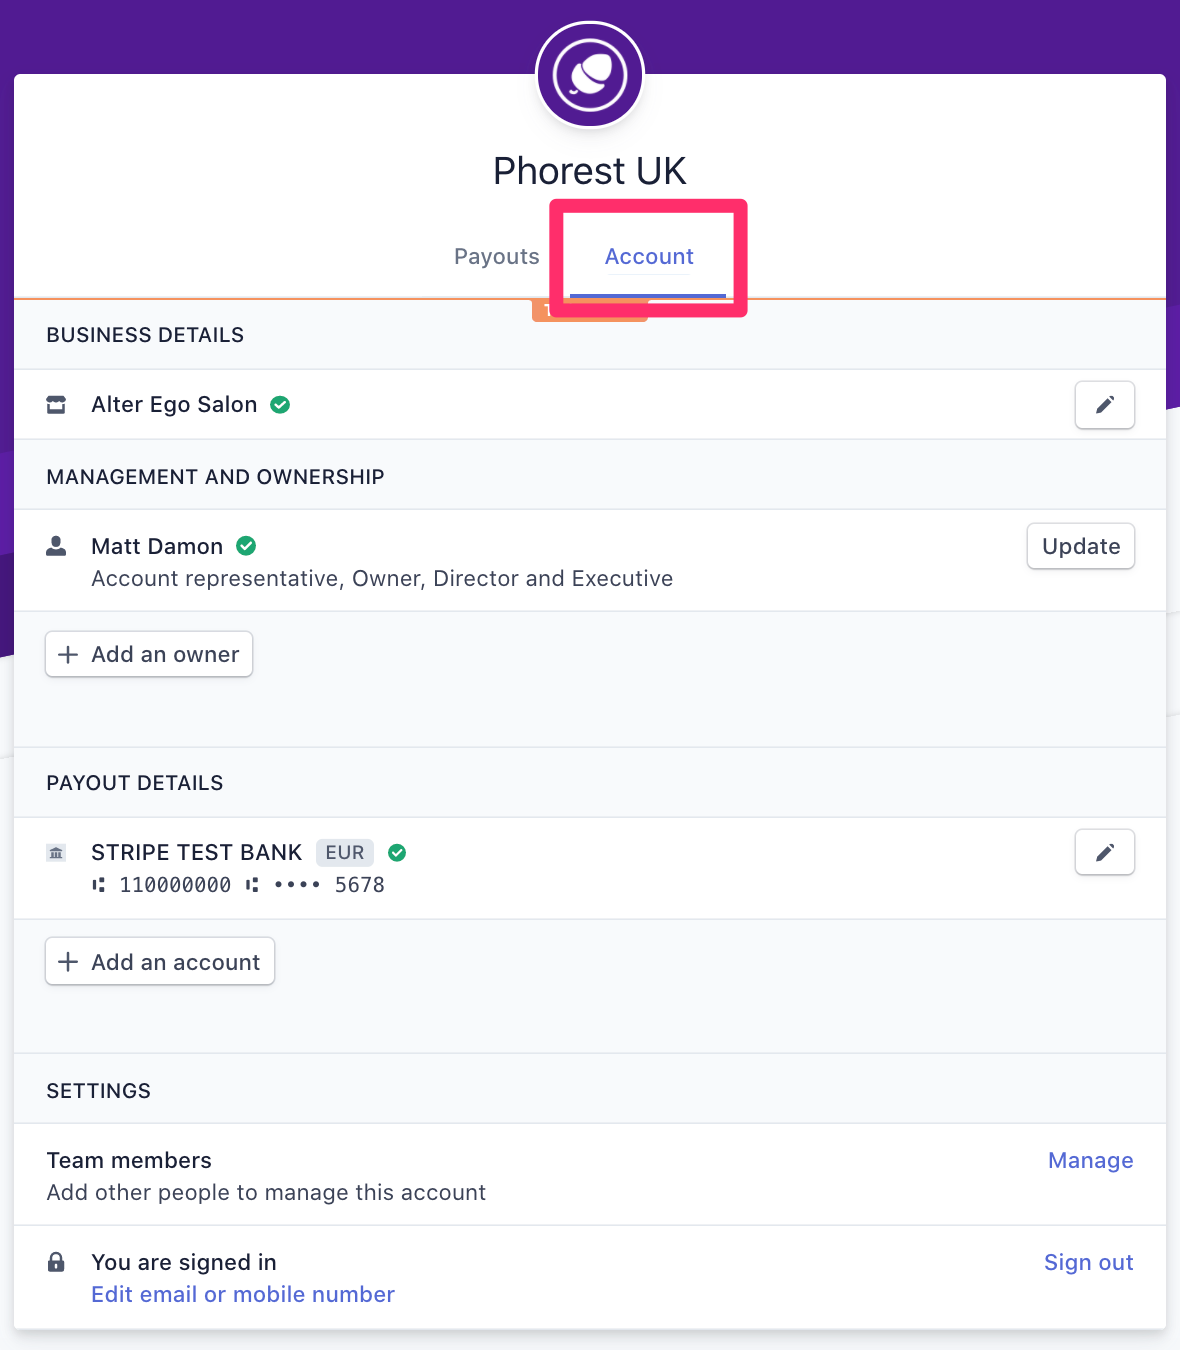
Once saved you will land on the final Stripe screen where you can view your Payouts and Account details.
What you see in the Payouts tab is the same as your PhorestPay dashboard in Phorest.
EXAMPLE: Payouts
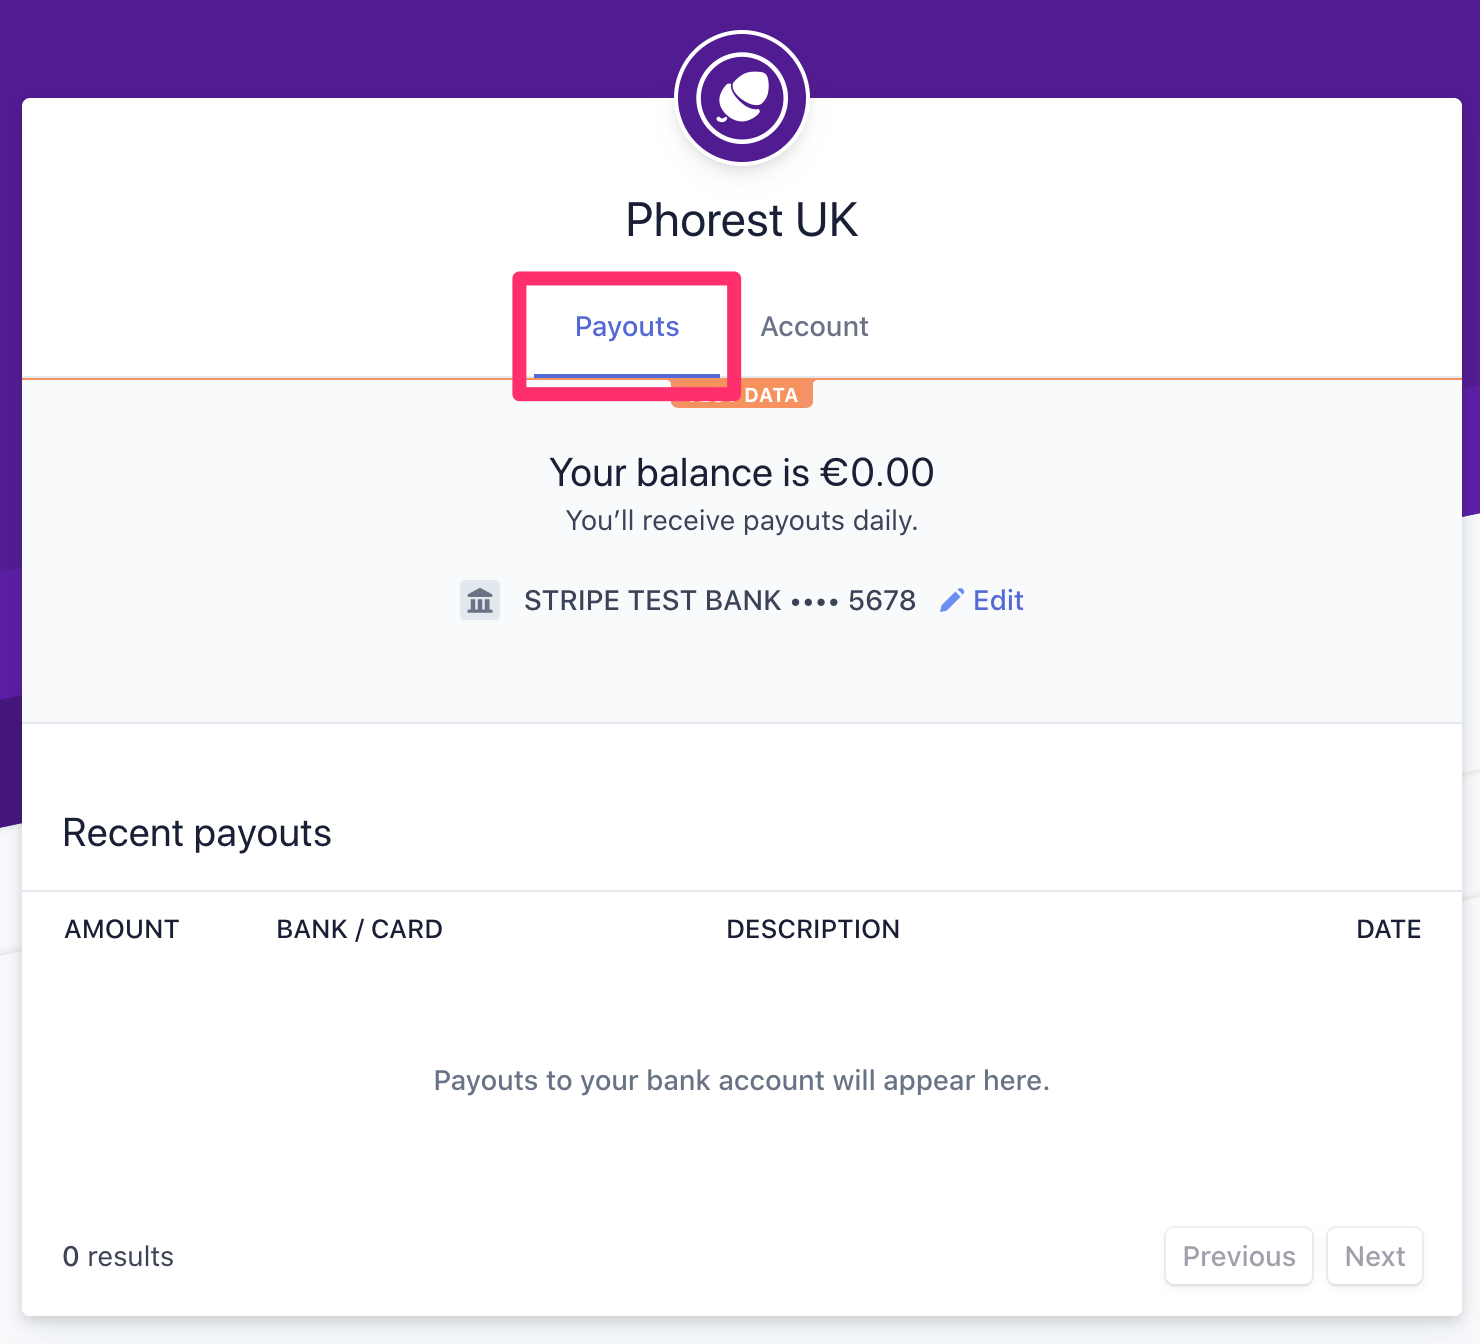
EXAMPLE: Account
Head back to Phorest for the final time and again leave the PhorestPay screen and return to finalise your account set up.
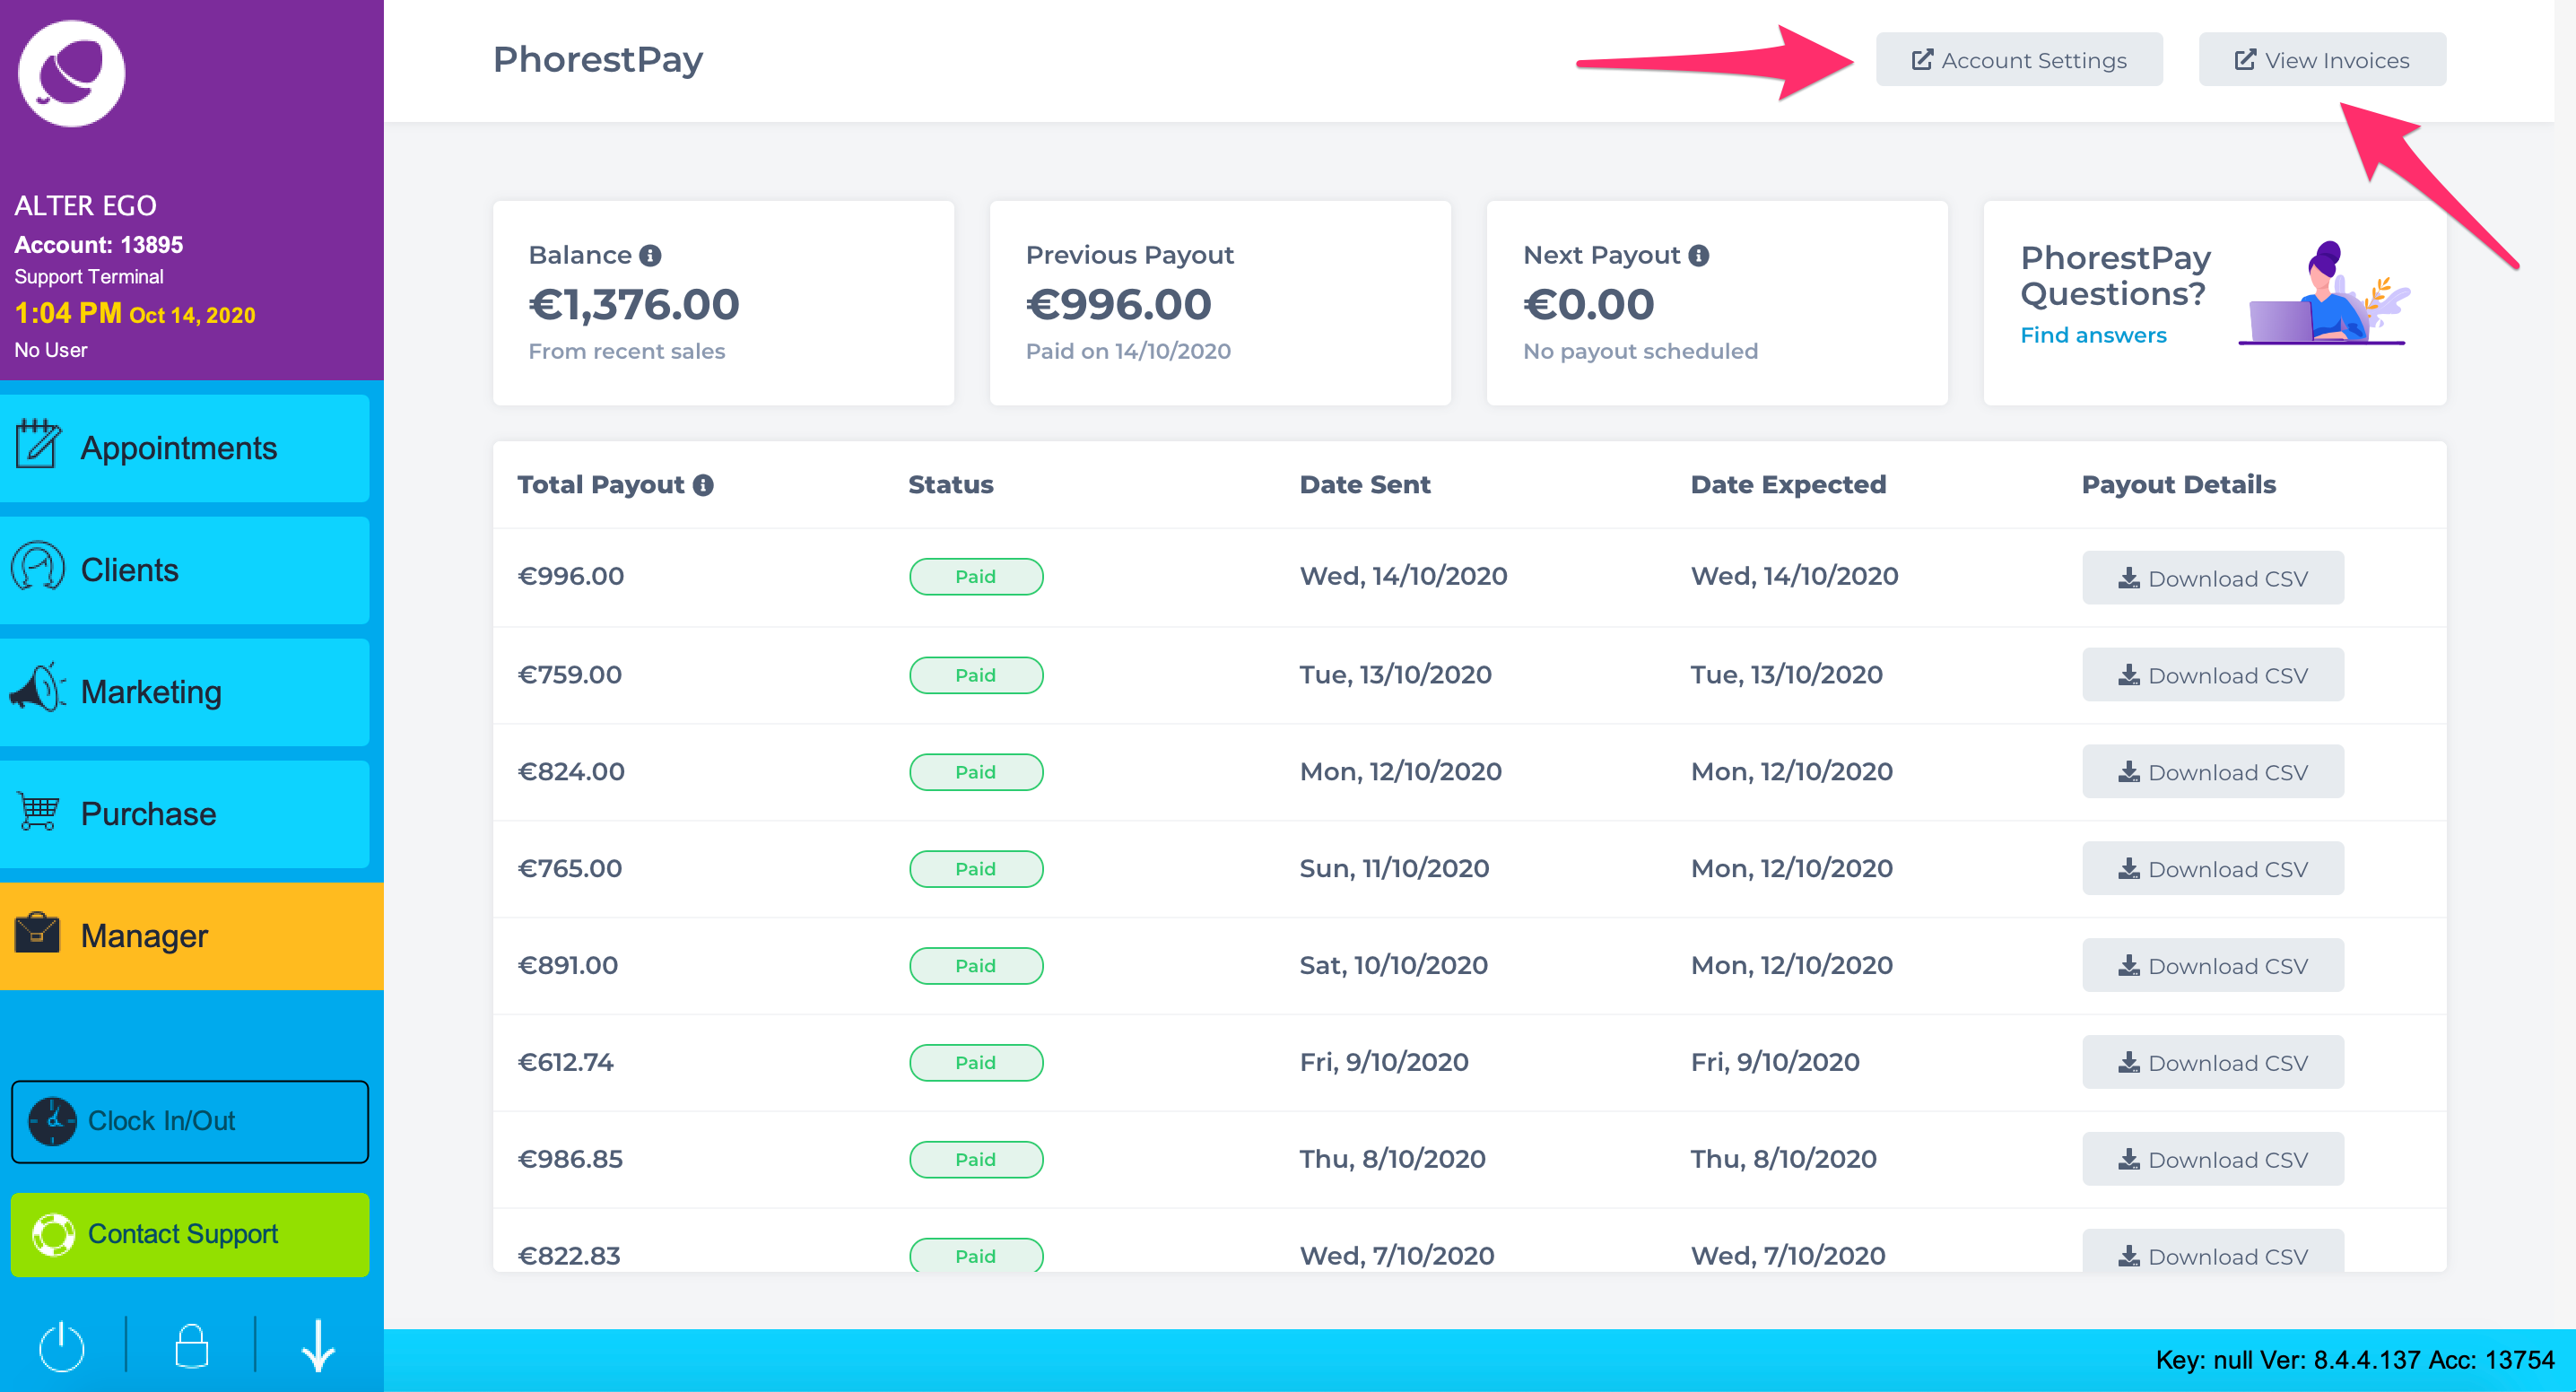
You can update your account online at any time by clicking Account Settings. Similarly, you can View any Invoices you have with Phorest.
Here's how your PhorestPay screen will look one your payments begin to roll in.
EXAMPLE: PhorestPay Payouts Screen
How do I receive payments?
You can expect to receive payouts every day for sales received two days prior.